The jarrarium is a truly versatile creation.
A mini-ecosystem in a jar, it’s essentially whatever you make it to be!
Of course, I’ve interpreted it as a mini planted terrarium (no surprises there), but I’ve seen everything from tiny aquariums to natural ecospheres. As long as it’s a DIY creation in a jar and it houses life, it counts.
In this guide, I’ll take you through everything you need to know about building a jarrarium of your own. From plants and placement to ideas and inspiration, we’ll leave no stone unturned.

What is a Jarrarium?
A jarrarium is an unofficial term for any kind of vivarium in a jar. They can be made in various glass containers and host a wide range of different environmental conditions, each being a mini-ecosystem contained within.
In practice, the term “jarrarium” can mean many things to many people.
There are no concrete rules with this one, as it’s not an officially accepted (or well-defined) term, but it does have a thriving Reddit community – so that’s good enough for me!
They’ve voted that any kind of jar aquarium and jar terrarium is valid as long as the container wasn’t initially made for that purpose. 1
So, it’s really the DIY jar approach that matters here.
Alas, as much as nano shrimp jarrariums and marimo moss ball terrarium setups are awesome and welcome here, we can’t cover every type in this article. So, we’ll be focusing on what we do best.
Building a stunning little jarrarium filled with lush green moss and tiny vines!
Jarrarium Guide (Step-by-Step)
Naturally, how you go about your build might vary a little depending on what size jar you use or what plants you’re going with.
So these instructions are by no means the only way to build a jarrarium.
If you’re planning on incorporating plants with complex root systems, you’ll need to plant them before adding your moss. But essentially, the process will be roughly the same.
So feel free to tweak and adjust these steps to personalize the method to your project.
Now, let’s get onto the good stuff.
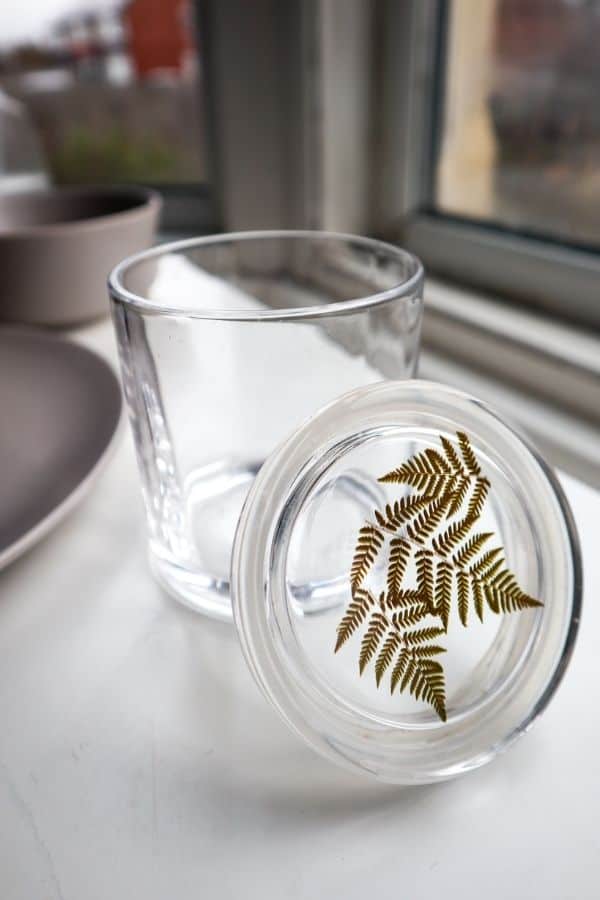
1 | Source a Jar (and Make Sure It’s Clean)
An obvious yet crucial step indeed.
When building any closed ecosystem, it’s essential to make sure no unwanted nasties are hitching a ride into the mix. This includes pests, microorganisms, and harmful chemicals.
So make sure you give it a good scrub with soap and water and let it dry completely before you begin.
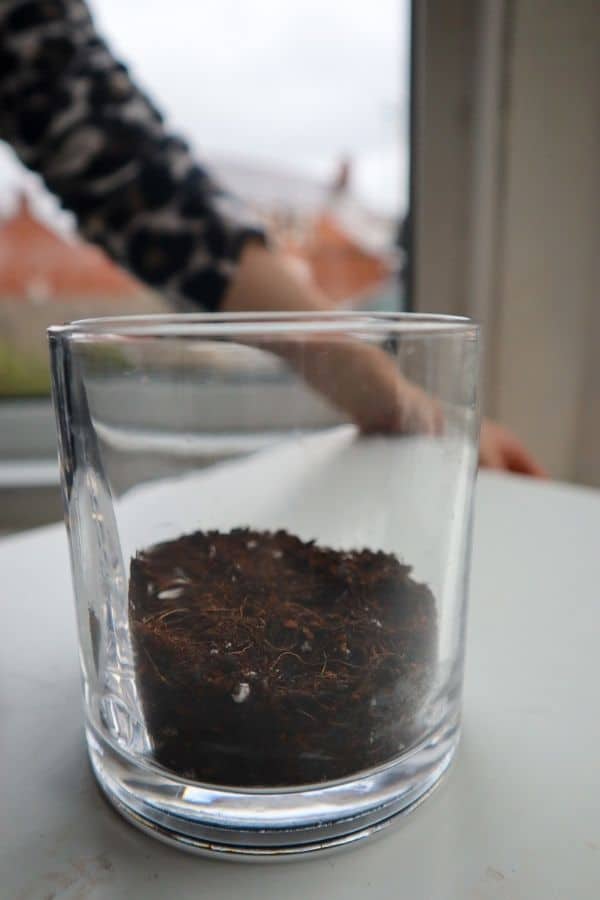
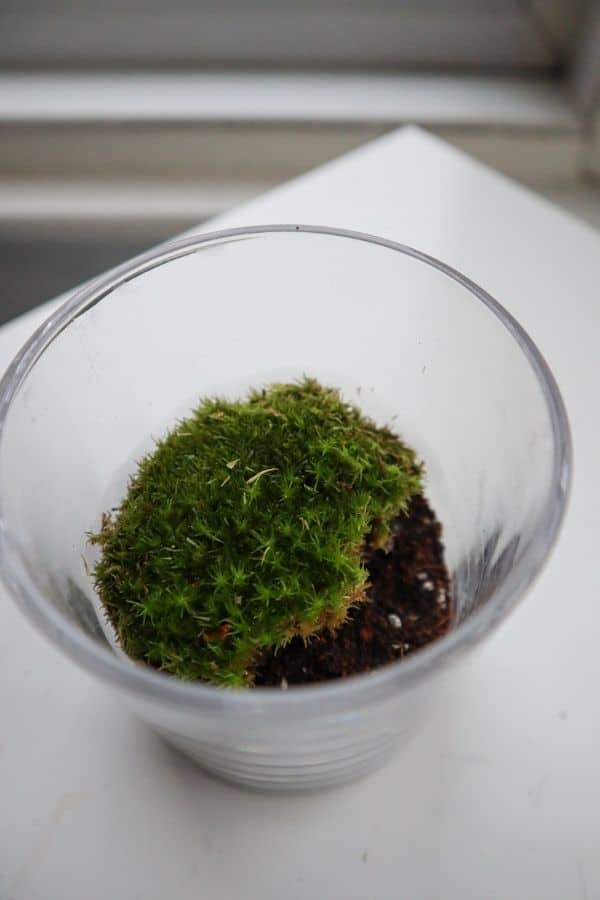
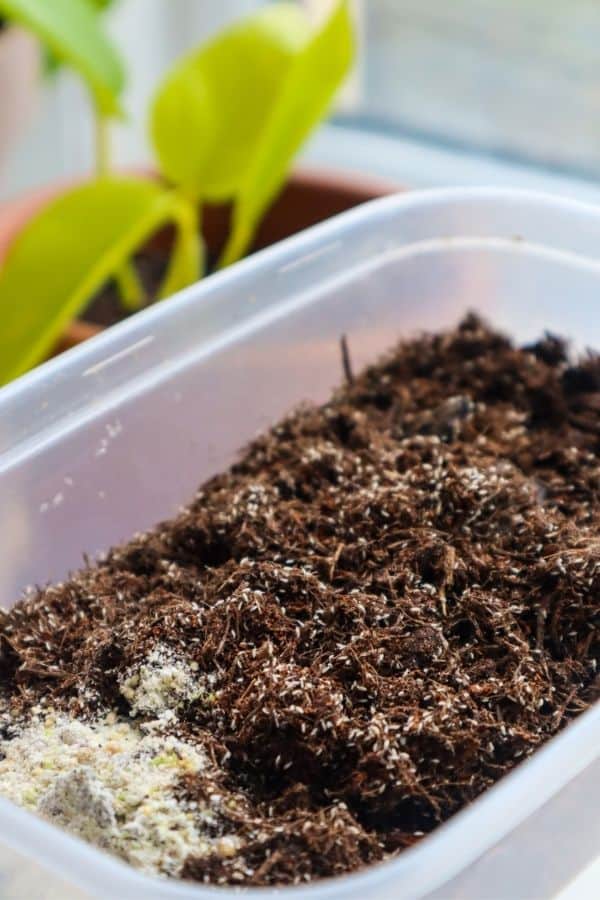
2 | Add Your Substrate
If your jar is comparable to mine, you really won’t need much substrate. Just a little pinch of a nice, fluffy tropical mix should do the trick.
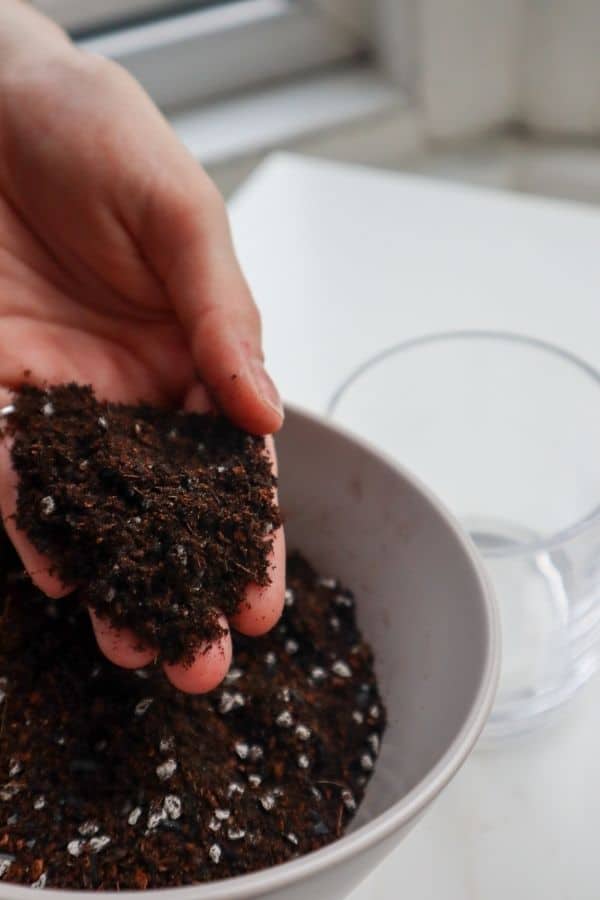
However, if you’re opting for a larger build, you might want to add a layer of leca balls or gravel first to act as a drainage layer (also known as a terrarium false bottom). It’s not essential by any means, but it can act as a great failsafe in the event of an overwatering situation.
If you want to create a more dynamic look, you can sculpt your substrate to sit higher on one side, creating a slope. This will provide a wonderful sense of scale.
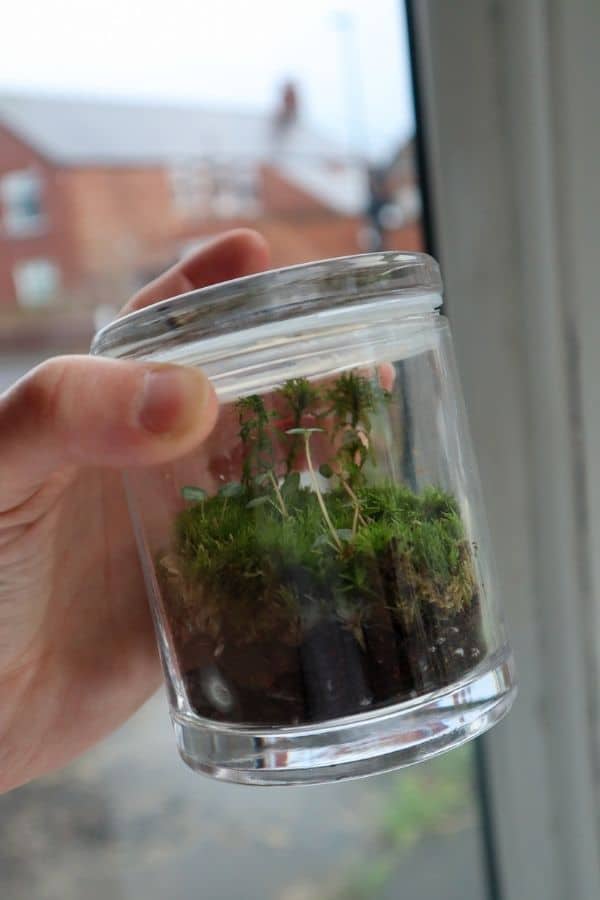
3 | Time for Moss
Now, it’s time to place your moss. I’ve used Cushion Moss (Leucobryum glaucum) in this build, but Mood Moss (Dicranum scoparium) would work nicely, too.
Start by trimming off the brown fibrous underside. Take off as much as you can without the moss falling apart.
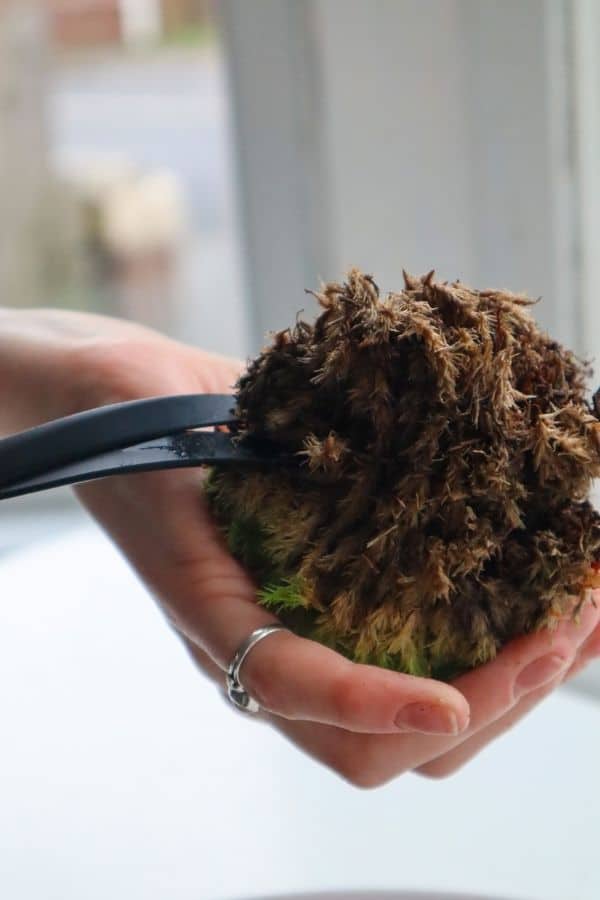
Then, simply break it into clumps and ease it into the jar until you’ve covered the entire surface.
With the outside pieces, try to angle the brown underside away from the glass so that the lush green side faces the viewer.
4 | Plant Up (or Rather, Place Up)
Finally, you can add your feature plants.
If you’re not sure what plants to choose – sit tight! I’ll deep dive into this in a moment.
For my project, I chose the terrarium classic Pilea glauca and a more unique moss called Hart’s-tongue Thyme-moss (Plagiomnium undulatum). Both are an absolute treat to work with.
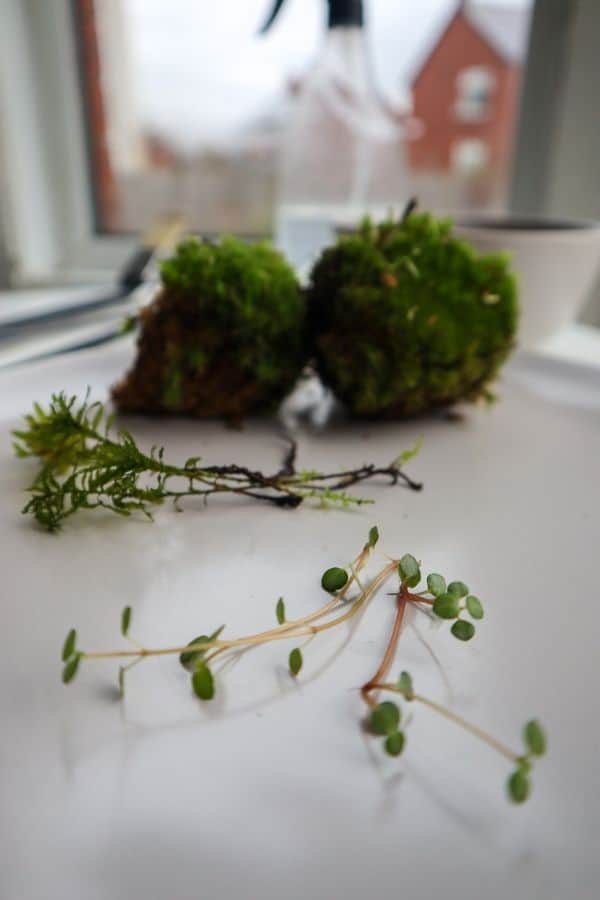
I pressed a few strands of the Hart’s-tongue Thyme-moss into the Cushion Moss to keep it steady. Because it doesn’t have any roots, it’s a perfect way to pop a striking feature into such a small build without the hassle.
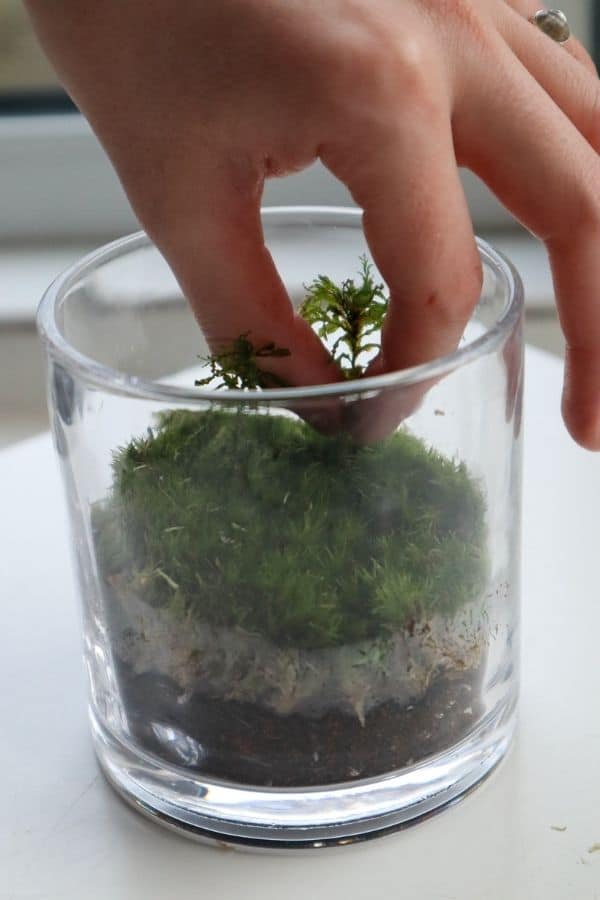
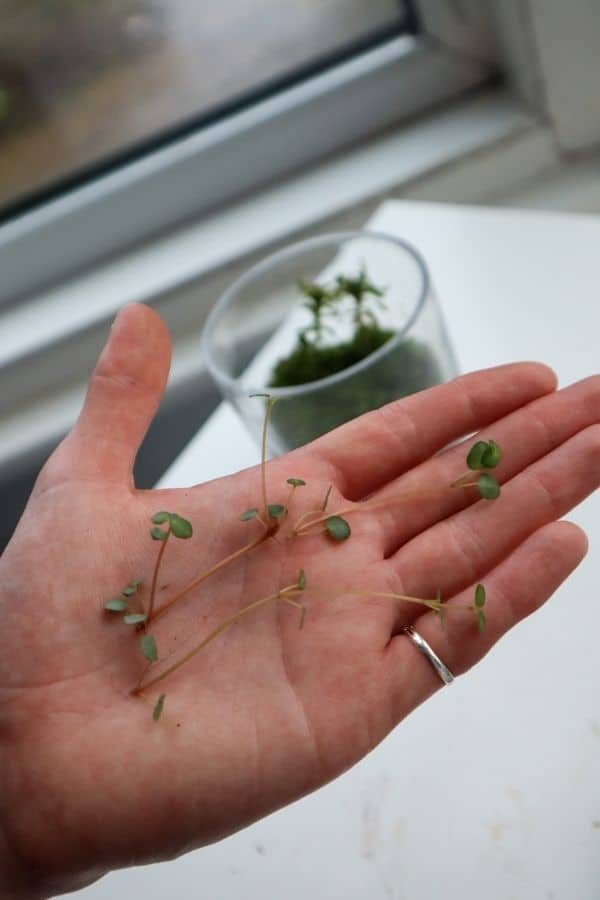
Then I placed my Pilea glauca. I took my scissors to the mother plant, grabbed a few cuttings, and placed them where I wanted them.
This plant roots up in no time in a humid terrarium environment, so no planting is necessary. Easy peasy.
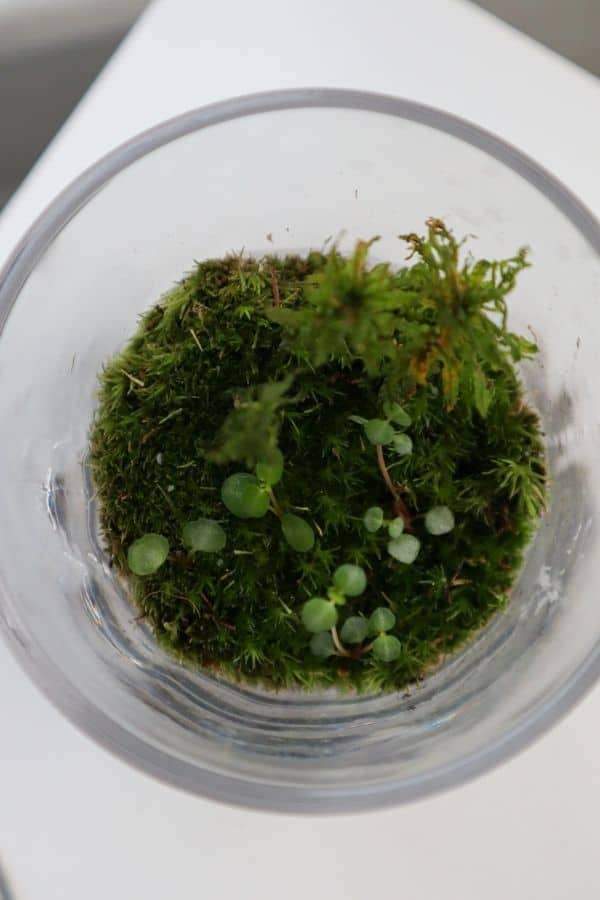
There you have it!
Great Jarrarium Plants
Not all plants were created equally, at least not in the context of closed setups.
There are three main things to consider when selecting jarrarium plants for your project:
- Suitability – You’ll exclusively want to use plants that will thrive in a humid environment, i.e., tropical plants. Some semi-aquatic plants will be a good fit, too (especially if the aquarium-style jarrarium interests you, too).
- Size – To me, the word “jar” certainly implies “small.” If that’s the case, you’ll want to limit your search to miniature plants and cuttings that will squeeze into the smallest of places.
- Growth – To add to the previous point, some plants can grow deceptively fast. This is fine if you don’t mind a regular trim, but it’s not ideal if you want a self-sustaining ecosystem.
The good news is, anything that’s primed for life inside a terrarium will be a great fit for jarrariums too. Phew!
Sealed Jarrarium Care
Caring for a simple jarrarium creation needn’t be too complex.
Of course, if you’re going full-on vivarium/aquarium style, then things might get challenging with water filtration and the like. But if you’re opting for a jarrarium similar to ours, then there are just two key things you’ll need to get right.
1 | Jarrarium Light
Closed terrarium plants and moss aren’t too demanding when it comes to light conditions (luckily for us).
They tend to prefer bright yet indirect light.
Aim to put your jar in a spot where it gets plenty of bright sunlight but no direct rays. If this can’t be done with natural light – then you can pop it under a grow light.
The great thing with grow lights is that you really can’t overdo it!
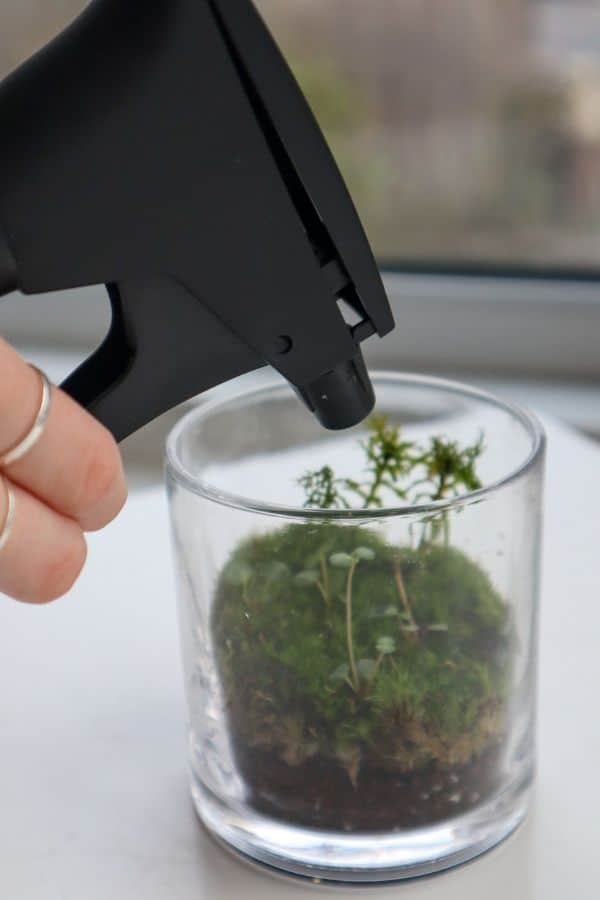
2 | How to Water a Jarrarium
The thing to remember is that with a sealed environment, it’s much easier to add water than it is to remove it.
Also, from what I’ve found, the smaller the container, the more likely I am to overwater it!
So, the key here is to start small; a few sprays should do it.
Enough to moisten the moss, but not so much that the substrate looks wet.
How to Make a Jarrarium Self-sustaining
You’ve built your jarrarium; now you want to take it into the realms of truly self-sustaining.
How do we achieve this? We turn it bioactive, and that means calling in the cleanup crew. Two main detritivorous insects (that eat mold and decaying matter) are commonly used in closed jarrariums.
- Springtails – Tiny, mold-hungry critters that you can fit into even the smallest of containers.
- Isopods – Cute crustaceans that come with additional care requirements and will need larger setups.
Now It’s Your Turn
I practice, a jarrarium is mostly just a specific type of terrarium in a jar, and there’s absolutely nothing wrong with that.
They’re a great, accessible way to get started in the hobby.
What does jarrarium mean to you, and what are you going to create?
References
- https://www.reddit.com/r/Jarrariums/comments/hhhbc7/the_sub_has_spoken_heres_how_we_go_forward/ ↩︎