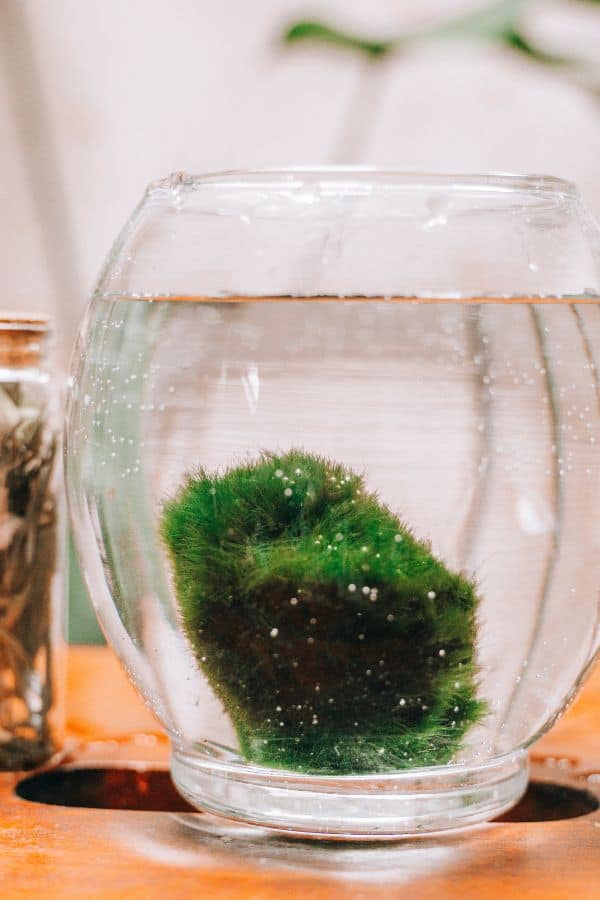
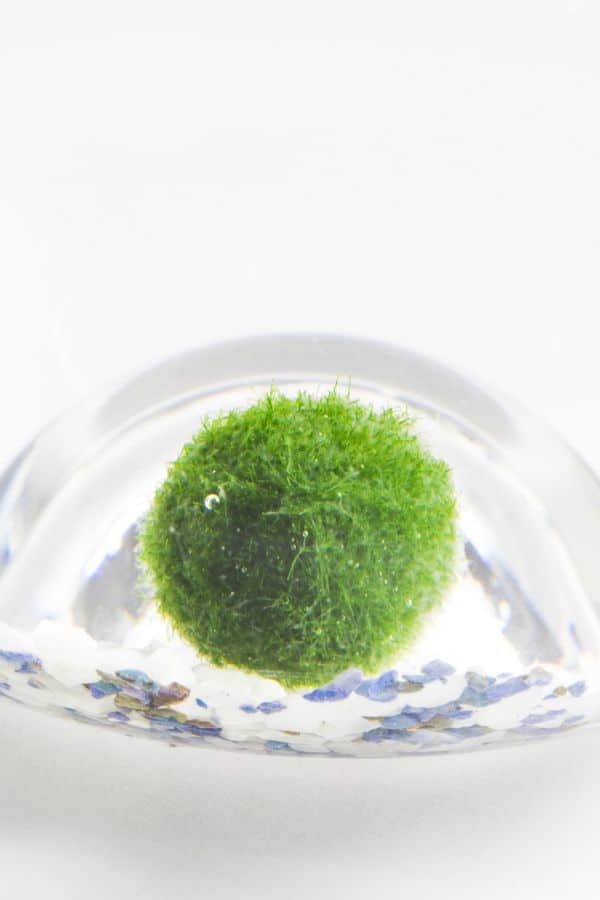
A marimo moss ball terrarium is, without a doubt, the easiest of its kind to make and look after.
Seriously, it’s the kind of set-and-forget terrarium we’ve all dreamed of. And all it takes is a fluffy moss ball (well, technical algae) and a container of water. Easy right?
Perfect for kids’ projects or those looking for a bulletproof moss pet to keep them company at their desks.
That said, they don’t have to be quite so simple as that. There’s still plenty of room for creativity – in the container and composition/decor.
In this guide, I’m going to take you through the process of making a simple marimo moss ball terrarium and then show you a variety of ways you can spice things up.
Let’s get this rolling!

Terrarium Tribe is reader-supported. When you purchase through links on our site, we may earn an affiliate commission (at no further cost to you). 💜
*Important note – Marimo moss ball sales have been suspended in the US since 2021 due to them harboring an invasive species of zebra mussels. As far as I know, as of the date of this article, it’s only the country affected.
Marimo Moss Ball Terrarium – DIY Guide
Okay, so a marimo moss ball terrarium isn’t a terrarium in the technical sense (it’s more of an indoor water garden, really), but it’s the popular name for our little underwater world, so we’re running with it!
For the basic build, you really only need a handful of items:
- Container of choice – Literally, any glass container that can hold water will do! Mason jars and bottles are a cute and common option, but the possibilities are endless.
- Marimo moss balls – You can easily find these for sale on Etsy. Pick one (or more) of these in a size appropriate for your container of choice. The more, the merrier! More moss = more options.
- Purified water – Marimo moss can be sensitive to chlorine in tap water, so opt for distilled water or rainwater where possible.
- Decorational items – Natural materials like shells, driftwood branches, and rocks all pair well with our green bundles of joy. Or perhaps you want to pay homage to their Japanese origins?
You can often get all of these items (bar the water) as part of a kit if you want to make it as easy as possible.
Otherwise, here’s how to make a moss ball terrarium.

Step 1 | Prepare Your Container and Materials
You can choose to go with an open or closed container here.
Marimo will need oxygen to thrive, so an open container makes sense. But the occasional opening and water change should be more than enough to refresh the oxygen supply in a closed container, too.
Start by giving everything a good clean. You don’t want any dirt or chemicals to leach into your water and spoil the moss (or the view).
Step 2 | Add Your Foundation
Honestly, marimo moss balls are all too happy to float around, so it’s not that they need any kind of base to attach to.
That said, a solid foundation can help to set the scene (and we’re trying to make this at least look like an actual terrarium, right?). Sand, sea glass, river rocks – whatever you fancy, now is the time to add it.
Just a thin layer is enough to frame the scene, but add as much as you see fit.
If you’re adding a branch, a thicker base layer can be helpful to anchor it in position.
Step 3 | Fill Halfway With Water
Before adding any other elements, it’s a good idea to partially fill our container with (ideally distilled) water. That way, anything we add will be able to sit/float naturally in position.
Don’t overfill it with water just yet, as we don’t know how much water will be displaced by our decor.
You can always top up later.
Step 4 | Decorate Your Scene
Whatever your desired theme, now is the time to build it!
Add those particular elements, anchoring them in the base if you need to.
Ideally, you’ll want a range of sizes to create a bit of depth, but you don’t want to go so big that you overwhelm the main event, which is your moss.
A coastal seaside-type scene is common, but you can do anything you like! Make your own little Atlantis if that’s what floats (or should I say sinks) your boat…
Step 5 | Add Your Marimo Moss Balls
The moment of truth – time to add your moss balls.
Don’t worry about squishing them through narrow openings; they should be absolutely fine.
One marimo ball is plenty if you’re going for teeny tiny terrarium containers. But it’s probably best to give your moss ball pet some company for bigger containers, right?

I’d say two at a minimum, or else they risk being lost in a larger scene.
Personally, I love the look of having lots of them (like 5+), so you can use them to create a natural and dynamic-looking scene.
Top up the water when you’re done!
Step 6 | Add Extra Plants and/or Animals *Optional
You already have a gorgeous little moss ball terrarium, and from this point, you can be completely finished with it.
It’s just worth mentioning that some people like to add more plants (easy aquarium plants like mini Java Ferns) and animals (like Betta Fish and shrimp) to make it into more of a live jarrarium – but that’s beyond the scope of this guide.
With the essential guide out of the way, how about we explore some interesting ideas to really make it pop?
Fun Moss Ball Terrarium Ideas
We’ve covered some basic ways to decorate a moss ball terrarium, but how do we take it to the next level?
I have a few ideas.
1 | Trees – I can’t take credit for this fantastic idea (thank Serpadesign on YouTube), but I’m more than happy to share it! By attaching moss balls to a small driftwood branch – either by glue or fishing wire – you can create the illusion of a lush, bouncy tree.
2 | Hillside scenes – Much like my beloved Cushion Moss in regular terrariums, marimo moss makes an excellent choice to create soft hills and mountains underwater. Plus, it brings a new meaning to the term “rolling hills”, does it not?
3 | Jewelry – Getting creative with the containers now; there’s nothing to stop you from putting marimo moss in the tiniest of containers. They require so little maintenance and light they’ll do fine in all sorts of spaces. Little lockets and terrarium necklaces make a wonderful gift.
4 | Hot air balloons – Okay, so this is a silly one, but I’d love to see someone attach a little basket to the underside of a big moss ball and stick a figurine of a person in it. Do it and show me… I double dare you.
Where to Find Marimo Moss Balls for Sale (and Kits)
Internationally, marimo moss is widely available online (just not in the US right now, where it’s actively suspended and recalled).
My first port of call would be Etsy.
There’s a wide range of sellers with everything from just the live moss balls down to beautiful little kits with everything you need to get started. You can typically buy a range of sized balls, too.
👉 Shop Marimo Moss Balls on Etsy.
Alternatively, you can go ahead and pick up a marimo moss keychain and skip the entire DIY process if you want!
Key Moss Ball Terrarium Care
Marimo moss balls are incredibly straightforward to care for.
This super slow-growing aquatic plant needs very little in the way of light and nutrients. Though a water change every couple of weeks will be greatly appreciated.
What do moss balls eat? Nothing! Except for sunlight, I suppose. After all, they’re just a ball of algae (Aegagropila linnaei, to be specific) that takes on a pseudo-moss-type appearance.
If your moss balls are all floating around, fear not. It’s just a little trapped air (it happens to the best of us). You can solve this by giving them a little squeeze underwater to release the air.
If all goes to plan, marimo moss can literally live for hundreds of years!
Wrapping Up
That’s been the full low-down on the marimo moss ball terrarium.
Something so simple, that has the potential to be a truly unique underwater world.
How do you like to decorate your terrarium? Let me know.
Speaking of other easy terrarium projects, why not take a look at our Air Plant Terrarium guide? (It’s not technically a terrarium either, but it is fun!).
