A bioactive terrarium is designed to function like a living system.
Instead of dead leaves, fungus, and organic waste building up (and slowly turning into a problem for its inhabitants), it gets broken down and recycled as it appears. Or at least, that’s the idea.
This guide explains how bioactive terrariums work, what makes them function properly, and how to build a setup that’s stable, practical, and built around the needs of your enclosure.
What Makes a Bioactive Terrarium Work?
A bioactive terrarium works because the enclosure behaves like an ecosystem.
Its cleanup crew and microbial life break down waste and keep nutrients moving, while the substrate supports that process by holding moisture, creating structure, and giving plants and microorganisms somewhere to thrive.
Bioactivity is mostly nutrient cycling (just with better branding).
The practical side of bioactivity is simpler than it sounds – set the system up properly, give it the right conditions, and let those processes do the dirty work for you.
As the great Jeff Goldblum once said, “Life finds a way.”

Bioactive Terrarium Bugs (Cleanup Crews)
When people talk about “going bioactive,” they’re usually talking about the bugs.
And fair enough. They’re doing most of the visible work.
These small custodians feed on the aforementioned decaying organic matter, excess fungi, animal waste, and leftover plant debris. So while plants may get all the glory, the cleanup crew is what makes a planted enclosure function like a bioactive one.
In most setups, that crew comes down to two main groups of critters: springtails and isopods.
They do different jobs. And often, you’ll want both.
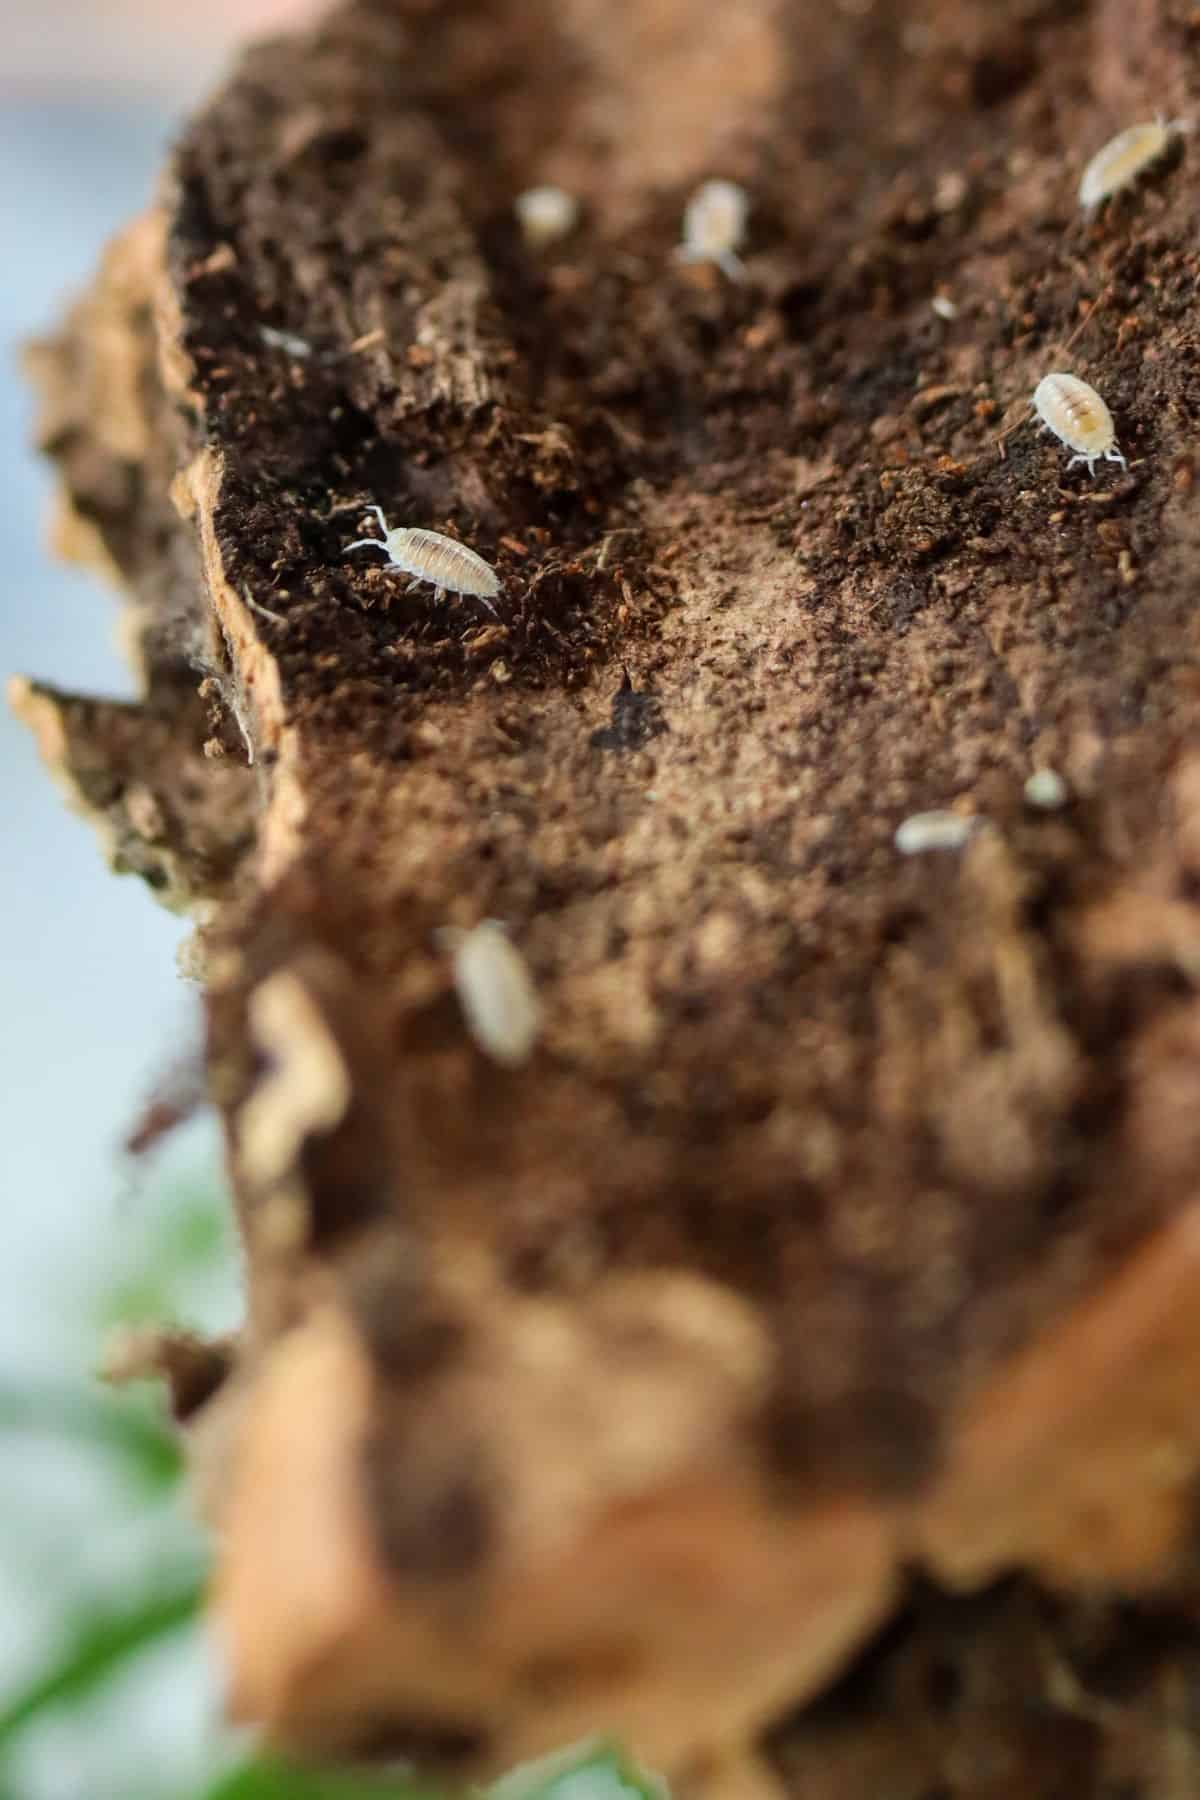
Springtails – The Micro Managers
A terrarium is a perfect storm of moisture, organic matter, and limited airflow. Which makes mold more or less inevitable.
Springtails are what stop “inevitable” from becoming “everywhere.”
They feed directly on mold and excess fungi before it has a chance to spread or overwhelm the system. Where larger cleanup crews handle visible waste, springtails tackle mold at a microscopic level.

In practical terms, that’s why springtails are usually the first thing I add to any bioactive build.
And in a healthy tropical enclosure, springtails rarely need much special treatment. If humidity is high enough and the system is producing natural fungal and microbial growth, they tend to find everything they need on their own.
Isopods – The Heavy Lifters
If springtails handle the fine detail, isopods (aka pill bugs) deal with the heavy debris.
They’re the organisms that deal with the bulky stuff – fallen leaves, decaying wood, leftover food, etc. As they chew through material, they break it down into smaller chunks, and that helps speed up the decomposition process.
Not all isopods behave the same way in a planted enclosure, though.
Some are excellent cleanup crew species, efficiently working through waste in the substrate or out in the open. Others are more enthusiastic than helpful. And some may decide your softer plants look suspiciously edible…
That’s why isopod choice matters. Understanding how different isopod species behave can help you make better choices in a bioactive setup.
Crucially, isopods don’t replace springtails – they reinforce them. Together, they form a bioactive cleanup crew that keeps nutrients moving.
Microflora – The Finishing Crew
Beyond the visible cleanup crew, a healthy bioactive terrarium also relies on beneficial bacteria and fungi.
It’s their role to finish the cycle of decomposing organic material (once the likes of springtails and isopods have munched the bigger blocks down to size).
Plus, a strong mycelium network – that’s the fancy name for fungal threads – leads to healthy root growth, and the fungi themselves can be a food source for your bioactive critters.
Bioactive Substrate (The Living Foundation)
The substrate is the foundation of the whole system.
And in a bioactive terrarium, it needs to do a lot more than just hold up plants.
A good bioactive substrate has to retain moisture without becoming stagnant, support root growth without compacting, and create a livable environment for cleanup crews and microbial life. It also needs enough organic matter to keep that life going over time.
It’s all about getting the right mix of ingredients to provide the necessary fertile grounds.
Getting that balance right comes down to function, not formulas. If you want to make a bioactive substrate, you need to combine materials that each play a specific role:
- Charcoal helps add structure and surface area for microbes to colonize.
- Earthworm castings provide easily digestible organic matter, acting as a steady fuel source for cleanup crews and microbial activity.
- Orchid bark adds long-lasting organic structure, breaking down slowly while maintaining airflow and preventing compaction.

How to Make a Bioactive Terrarium Setup
Building a bioactive terrarium is mostly about getting the foundation right.
You’re not just arranging plants and hoping the bugs figure it out later. The enclosure needs to function as a system from the bottom up.
1. Choose the Right Container
Bigger tends to be better when it comes to bioactive environments.
You’ll need enough space to support both plants and a functioning cleanup crew. Springtails are tiny and can thrive in almost any enclosure, but isopods need more room to establish and reproduce.
As a general guideline, a container of around 3 gallons or more works well for a small starter culture of isopods.
Most cleanup crews breed fast. Give them space now, or you’ll wish you had later.
I find fish tanks translate nicely into bioactive tanks. They have a generous volume, ample space for planting, and they’re a nice, even shape. And you know they’re watertight…

Finally, you may need more specialized enclosures for different pets (e.g., taller setups for arboreal species like crested geckos).
2. Add a Drainage Layer
We always recommend building in a drainage layer for bioactive setups.
Sometimes known as a “false bottom,” it’s a layer that sits at the base of your container that’s designed to channel and store any excess water that might pool in your system.
It’s a small structural decision that can save you from a lot of preventable sogginess later.
Leca clay balls are our material of choice. They’re lightweight (which makes a big difference in larger setups; the weight adds up fast), and they’re water retentive, so they can sequester the water directly – you really don’t want stagnant water.

Aim for a layer around an inch deep – and cover it with a mesh screen to keep it separate from the substrate layer.
3. Add a (Deep) Bioactive Substrate
Once the groundwork is in place, it’s time to add the substrate itself.
For most bioactive terrariums, a substrate depth of at least 4 inches provides enough space for cleanup crews to move, burrow, and process organic material effectively. If you’re working with burrowing species (isopods included), adding extra depth is always a good idea.
4. Build in Hardscape
Hardscape is the structural core of a terrarium.
This is the part that makes a terrarium feel designed rather than merely filled.
Whether that be a rocky outcrop/mountain formed with terrarium rocks or driftwood branches designed to look like a rainforest canopy or fallen trees. They add some visual flavor and really enrich the environment for your tank inhabitants.
In my opinion, no naturalistic terrarium is complete without it.
With hardscape branches, stick to hardwoods (e.g., manzanita wood) as they’re tough, durable, and mold-resistant.

And, though not technically a wood, cork bark is a super versatile terrarium material that holds up well in humid environments. You can use it for backgrounds or just sprinkle chunks around for natural hiding spots.
5. Choose Plants That Fit the System
There’s no such thing as a “bioactive terrarium plant,” but there are some considerations when it comes to plant picks.
For starters, some cleanup crew species are known for favoring soft, delicate plants as a snack. So you can either avoid those in your favorite planted setup (opt for hardier plants that they don’t like) or just accept that it’s a natural part of a bioactive ecosystem.

Hardier plants may be a better fit for larger, more active pets, too. You don’t want your prized plants being crushed by a ball python…
Your plants must also naturally match the requirements of the animal, tropical terrarium plants for dart frogs or arid plants for bearded dragons.
Finally, if you are housing a terrarium pet, finding safe, compatible plants needs to be a priority. Some plants can be toxic to different species of reptiles, so be sure to do your research.
6. Add Leaf Litter and Natural Accents
Leaf litter is non-negotiable in a bioactive setup.
It’s the perfect blend of easy nutrition and natural shelter for pets and critters (and its earthy aesthetics always look the part).
Leaf litter can be whole added on top or crushed up and mixed into the substrate. We often like to do both.
As for what kinds of leaf litter are best? Magnolia leaves hold up longer in humid environments, but oak leaves release nutrients more easily, and they’re softer/more palatable to munch on.

Along with leaf litter, wood is the other major part of an isopod’s natural diet. Softwoods, such as cholla wood and spiderwood, are best from a nutritional point of view, as they more readily break down.
It’s also one of the best ways to add natural flair to a terrarium.

How to Care for Bioactive Setups
Creating a bioactive terrarium isn’t just about adding the right bugs and colonies.
You’ll also need to nail the terrarium fundamentals to create a sustainable foundation for your ecosystem. Even a bioactive system needs support. Here’s what people often overlook:
- Moisture and humidity. Both springtails and isopods require consistent access to moisture (isopods are crustaceans, after all) and typically need lots of humidity. So, in most cases, tropical conditions are required for bioactive enclosures.
- Ventilation. Humidity matters, but so does fresh air. Even isopods have limits. You can simply open the lid every now and again (like when you’re feeding them), or a vent/partial lid solution can work well too.
- Feeding your cleanup crew. Your microfauna colonies will naturally grow and shrink depending on the abundance of food available. However, you may need to supplement with other foods to maintain healthy colonies (especially in the beginning).

A Final Word on Bioactive Terrariums
Once you bring those bioactive factors into the equation, it becomes more about nurturing a live environment than building something static.
A bioactive terrarium is an ever-evolving ecosystem, so it’s good to get your ducks in order first.
If you’re ready to add a cleanup crew, choose species that match your enclosure size and moisture level – not just the ones that look cool. We keep a range of reliable bioactive terrarium species available if you need a starting point.
The whole explanation as how to make a real ecosystem is great. I am a beginner, and this is what I was looking for: not only beautiful terraria, but a natural real balance within.
Thank you!
Diana Auvert
If I’m adding to an existing terrarium, I’d there any easy way to incorporate the micro flora?
That’s a really good question. In an ideal world you’d get your microflora “dose” evenly disributed through the substrate, but that’d require you dig everything up (and sprinking on top won’t work). If you have any access, I’d probably just try to mix a small amount into a patch of substrate and let it distribute iteslf as it grows.