Is your coffee table crying out for moss? Is your dining table sick of having an empty bowl? Does your boring mantlepiece hate you?
Well, all of that is about to change.
Meeting at the intersection of Architectural Digest, horticulture, and Pinterest DIY, moss bowls are the hot new trend, and you definitely need one in your life.
This DIY guide will teach you exactly how to make one yourself.
So, without further ado, let’s get mossy.

Terrarium Tribe is reader-supported. When you purchase through links on our site, we may earn an affiliate commission (at no further cost to you). 💜
Types of Moss Bowl
Live moss or preserved moss? That is the question.
Honestly, making a moss bowl is a relatively simple exercise, but the type of moss you use has a huge impact. Both on how you make it and how you look after it.
And when we fully recommend one and not the other, it’s worth a closer look.
Preserved Moss Bowl
This is where it’s at, people.
Preserved moss is formerly live moss, that’s been chemically treated to look as if it’s still alive.
All the vibrancy (often more, due to the dye) and fluffiness, with none of the care requirements. It’s the ultimate way to get your natural moss fix with the longevity of fake moss.
That’s right – you can have your cake and eat it, too!
You could pick one kind of moss for a more uniform look or combine different types for more texture. Both look great.

👉 Shop preserved moss options on Etsy.
If you have live moss and want to preserve it yourself, you can check out my how to preserve moss guide.
Live Moss Bowl
Like any terrarium enthusiast worth their salt, I love live moss (we have a whole collection of live terrarium moss for sale on our store).
Naturally, its high moisture and humidity requirements make it an ideal fit for closed terrariums. But it creates a real challenge when exposed to open air, as it would be in a moss bowl.
Live moss rapidly dries and perishes without constant moisture.

You might think then, what if I mist it regularly?
Misting is fairly useless – or at least it is in the context of humidity – because the water will begin to evaporate in minutes.
Unless you want to be a full-time stay-at-home moss bowl mister (I wouldn’t blame you if you did – that’s the dream…), live moss is a no-no.
So, let’s get on with the (preserved moss) build guide!
Moss Bowl DIY Guide
Grab Your Moss
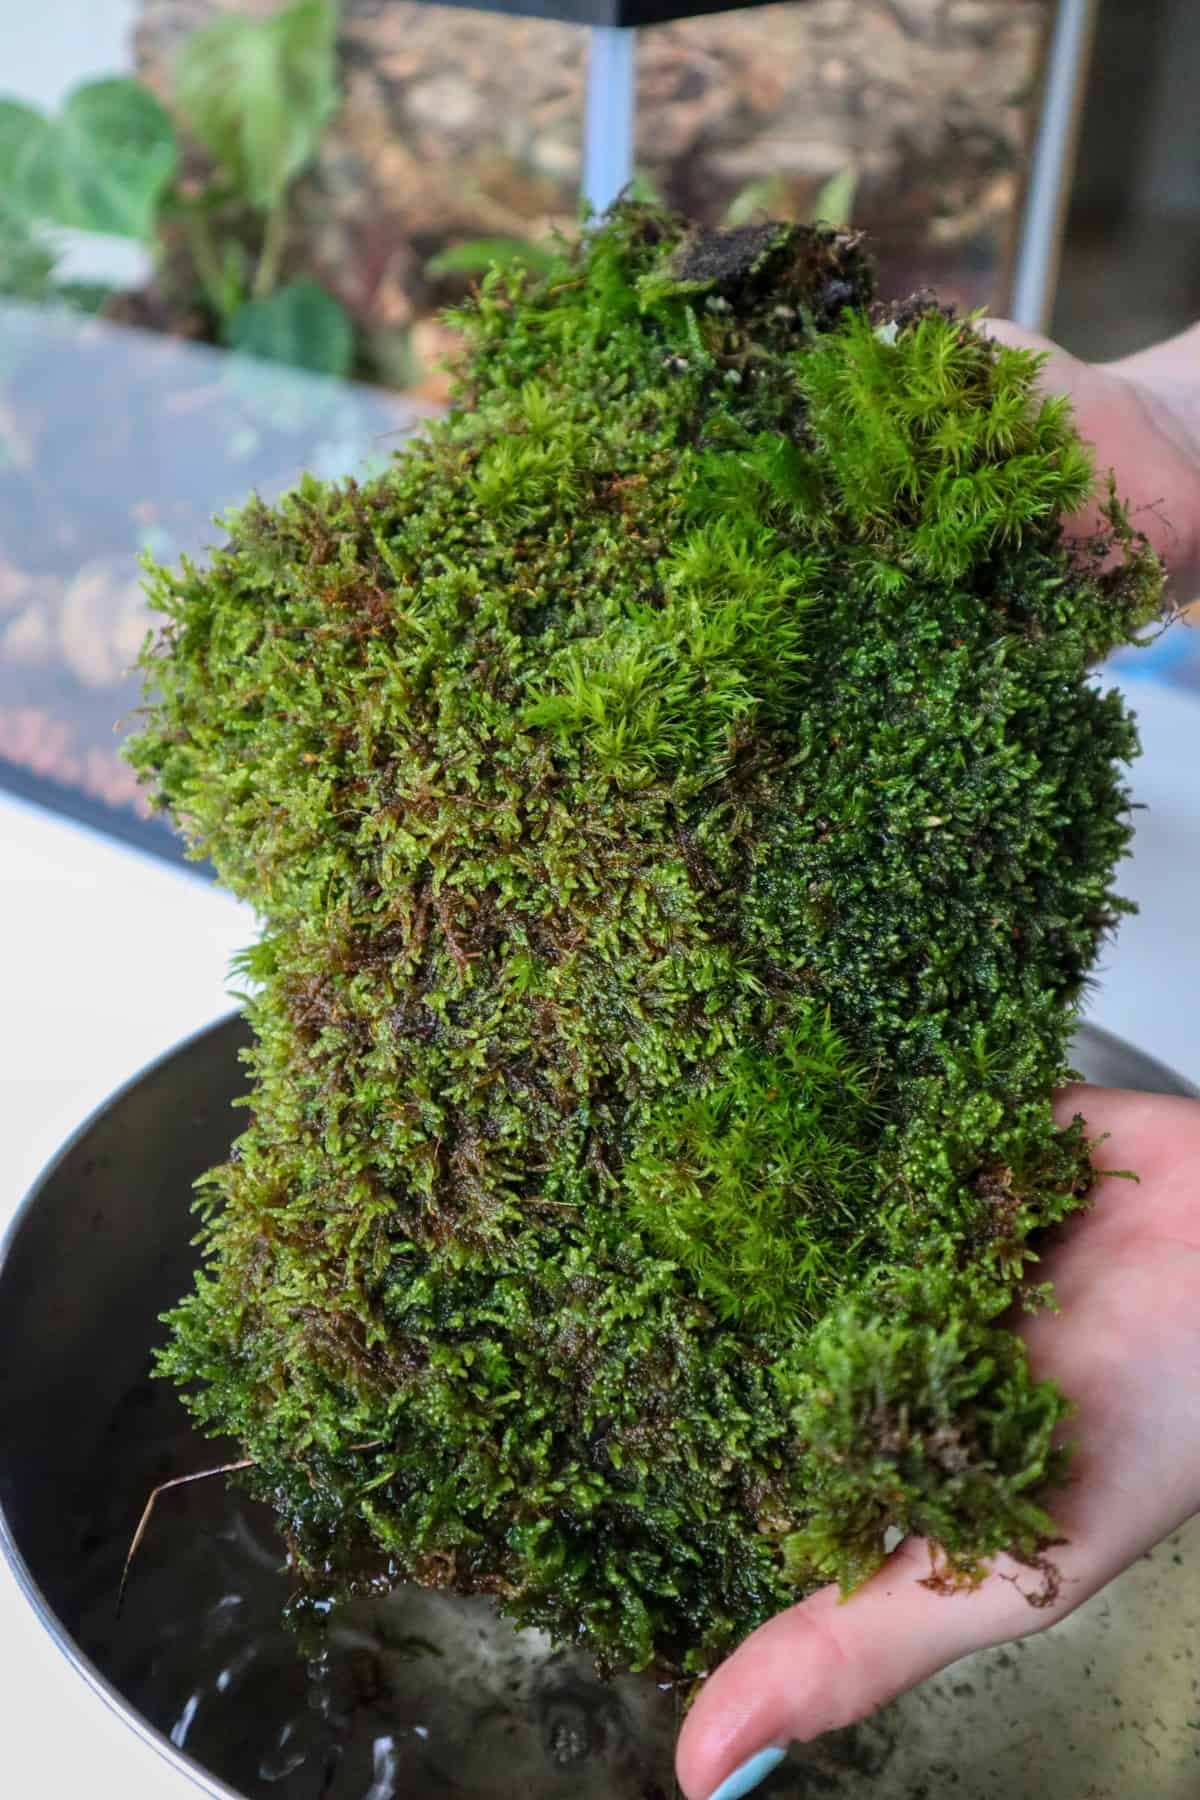
In theory, any moss can be preserved, but the common terrarium mosses are still the best picks for moss bowls too.
You’ll want some with a bit of height, though. Flat mosses aren’t going to give you much shape to work with.
Some great moss options are:
- Fluffy, clumpy mosses like Cushion Moss or Mood Moss. These are our go-to picks for these projects.
- Reindeer Moss (which is actually a lichen).
- Some sheet Mosses like Fern Moss are thicker and more textured.

There’s no prep required for preserved moss, it should be ready to go out of the box.
So, just set it aside for now, and we’ll start with the bowl.
Prepare Your Bowl
Process-wise, you can simply fill your bowl right up with moss from the bottom.
But you might want to pop something in to lift it instead.

Preserved moss is expensive, y’all… doesn’t make sense to waste it where it can’t be seen.
You can add some newspaper or cloth to pad it out, or we decided to cut out a cardboard circle to place just below the top of the bowl.

Honestly, we ended up using less than half the moss that we would of trying to fill this deep bowl.
Sculpt Your Moss
Now, you can begin to place your preserved moss pieces where you like.
And I highly recommend wearing gloves for this part. The dye can temporarily stain your hands and surfaces.

Starting from the outside in, we added moss chunks in on their side, and pressed them into the side of the bowl.

We found it helpful to start with the larger moss pieces. They serve as a foundation, allowing you to build a stable moss structure.
Continue round the edges till you have the outside edges filled.

In theory, you could use glue for this part (especially if there are some unruly bits that won’t stay put), but we didn’t feel the need to.
Finally, you can start to fill the gap in the middle.
We tried to fill every space to give the illusion of density and fullness and to ensure you couldn’t see any of the cardboard base.

(Reminder: You can tear or cut moss chunks into smaller pieces as you please).
Once you’ve finished, you can gently press the moss inwards to reduce the air spaces and in a way, “set it.”

Feel free to add any extra details to spice things up. Small hardscape pieces (rocks or wood) can look great.
And finally, you just need to find a place to put your new masterpiece!

Were You Bowled Over?
I hope you’ve enjoyed yourself and have a luscious bowl you’re all too proud of!
If you’re looking for your next moss project, why not check out how to make a moss wall?
See you next time.

Thank you for the information. I have 2 closed terrariums and 4 open ones. I would like to do a moss bowl at some point. My 13 aquariums keep me busy!!