Moss is an organic fabric of sorts, full of vibrant color and texture.
Which makes a moss wall the latest and greatest way to craft a truly natural piece of art to hang in the home.
As well as being relatively affordable and easy to construct (even for someone without a craft background) moss walls are eye-catching and zero-maintenance.
Come with me as I walk you carefully through all 8 steps to creating your first mossy masterpiece.

Terrarium Tribe is reader-supported. When you purchase through links on our site, we may earn an affiliate commission (at no further cost to you). 💜
Preserved Moss Wall Art – An Overview
First, let’s just clear something up.
I did indeed write that moss walls are zero maintenance.
How can this be, you ask?
Well, moss walls typically are made using preserved moss rather than live moss (I’ve written a whole article about preserved moss if you’d like to know more).
Preserved moss was once living and has since had its water content replaced with a non-toxic preservative like glycerol so that it may retain its fluffy consistency – food-grade dye is then used to enhance color.
What About a Living Moss Wall?
Whereas preserved moss requires zero upkeep, live moss requires constant misting in an interior environment to remain healthy.
While this task is tedious at best, the excess water is also likely to stimulate molding on your walls, potentially damaging the property and creating an unhealthy environment.
It’s not that living moss walls aren’t possible – but we recommend keeping them outside.
Plus, large quantities of preserved moss are much easier to come by and are 100% pest-free! (You can even do it yourself – here’s how to preserve moss at home).
Now that the caveats are out of the way, let’s get into the good stuff.
What Do You Need to Make a DIY Moss Wall?
1 | Frame or Panel
To begin, you’ll need to source some sort of backing on which you’ll create your moss art.
I use wooden frames, though other types of frames would work also, so long as the glue you use can bond with it.
I choose wood partly because of its aesthetic, durability, and relationship with the glues I use.
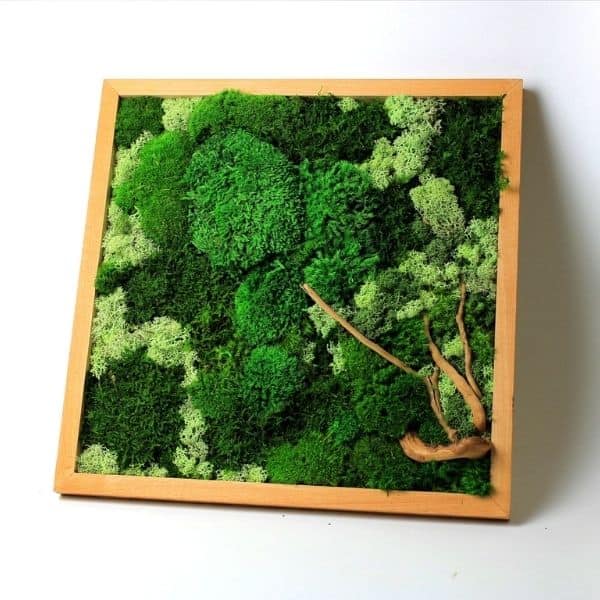
You could also use a flat wooden panel/plywood piece instead of a frame.
Again, I like to work with frames as they neatly contain the glue that I choose to use.
Your frame can be any shape and any size.
Squares, rectangles, circles, hexagons, dodecahedrons, rhombicosidodecahedrons, tesseracts – whatever!
Diversity FTW.
2 | Wood Glue + Super Glue
One of the central components of a solid moss mount is a reliable glue with a good bond.
Though there is a myriad of glues out there, I prefer to use Gorilla’s wood glue. It spreads easily, has a strong grip, and is quite affordable in large quantities.
The only downside to Gorilla’s wood glue is that it will take 24 hours to set, but this isn’t uncommon and so long as you’re not in a rush shouldn’t be too much of an issue.
I also make sure to have some superglue on hand (also Gorilla) to help reinforce hardscape elements and fill in gaps at the end of the build.
3 | Preserved Moss
Now, as mentioned, I have written an article all about preserved moss, including common types and applications, so I’ll keep this section brief.
You need to find a supply of preserved moss that will provide you with enough to fit in your frame or onto your panel.
So, make sure you measure up the surface area you’re working with and then buy your moss rather than the other way around.
The second criteria to consider is the type of moss you wish to use. Generally, you’ll be choosing between some assortment of cushion/mood moss, sheet moss, and reindeer moss.
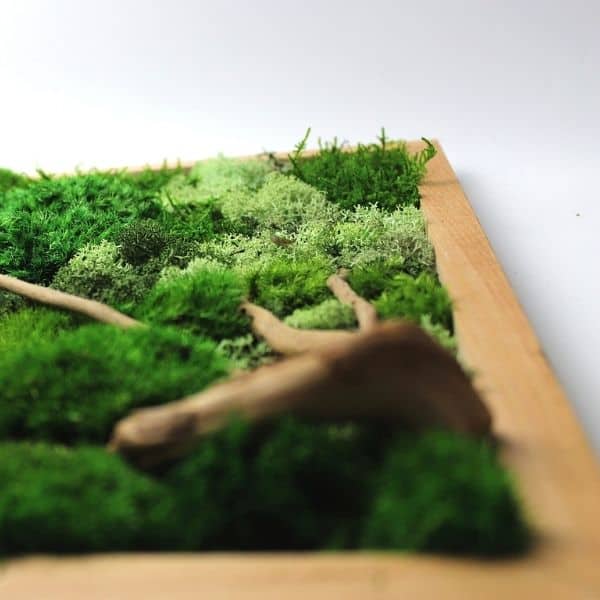
I have seen, however, many incredible moss frames made with only 1 type of moss, it’s up to you what you would like.
Just be careful when using preserved moss, as it can quite often leak a little dye onto the users’ hands or surfaces – so make sure to wear gloves.
👉 Shop Preserved Moss on Etsy.
4 | Artificial/Preserved Plants
I don’t use many preserved plants on my moss mounts – I prefer to let the bryophytes do the talking.
However, I’ve seen some classy moss frames that have incorporated preserved ferns and various other flora into their design.
Choosing plants that would hang down rather than stick out is key.
You want to make sure that the use of plants complements your design and makes sense aesthetically.
5 | Hardscape Elements
Just as in a terrarium, you can select an assortment of stones and/or woods to create an even more natural design for your frame.
Again, this décor is optional.
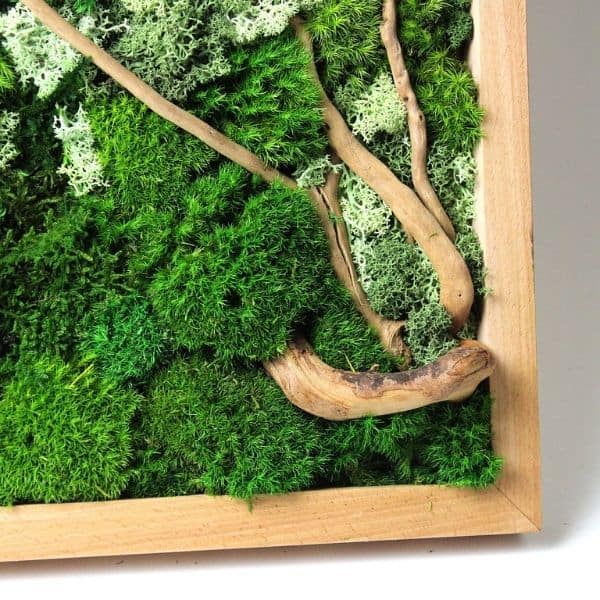
Just make sure not to select excessively heavy elements or ones that might injure/snag on someone if they’re walking past.
Nothing ruins a good moss frame like impaling your roommate.
How to Make a Moss Wall (Step-by-Step)
1 | Visualise Your Design
Trying to make edits once your moss has already met the glue can get quite messy.
Therefore, to minimize re-dos, I suggest visualizing and physically planning out your piece ahead of time.
Simply get a piece of paper (or several pieces of paper if you opted for a larger frame) and measure out the same dimensions of your backing panel.
Now, just have a go laying out your moss and hardscape until you find something that clicks.
Make sure to take a picture on your phone so you have a point of reference to check back to you when moving your bits over to the main stage.
Design Tips:
- Allow your mosses to be raised and lowered in the depth dimension. Beauty, as ever, comes from contrast – and nothing achieves contrast like light and shadow.
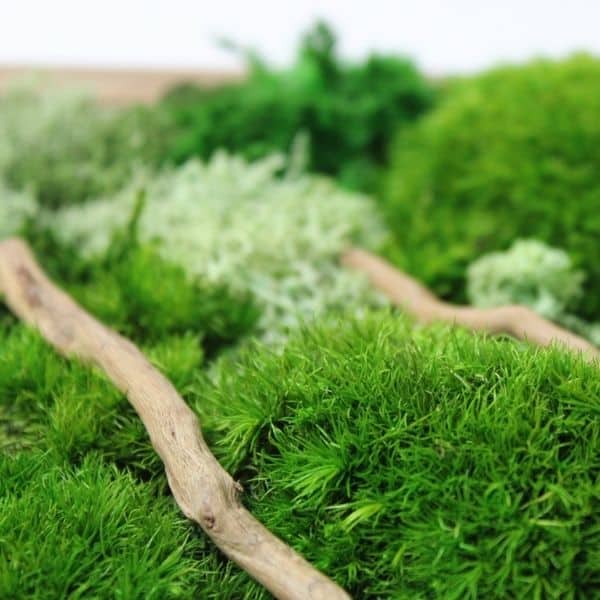
If you’ve got a lot of space to work with, or you’re using only one type of moss, you can consider sticking foam cutouts to your backing to create a raised platform on which to stick further moss. This helps accentuate hillsides and grooves.
- Consider nature and how growths of species tend to form in an area.
If you were to take a snapshot of a forest floor, you’d likely see a few types of mosses, plants, and twigs lying around.
Although it may look random, you’ll notice that certain species of moss aren’t just growing in one patch of the area; they’re growing in several.
So, when placing your moss, try to find the appropriate marriage between randomness and connection as you try to emulate the blooming nature of flora.
- Similarly, for your hardscape elements, consider directionality. Coastal winds would shape trees to contour all in the same direction, while steady water flows erode rock formations also in a pattern-like, geometric fashion.
It sounds complicated, but this is why you planned and visualized your design.
If you’re a little lost, just google some nature pics
Or, just look out of your window if you’re one of the lucky ones who still lives in the real world.
2 | Spread the Glue Across Your Frame or Panel
It’s time to pen up that glue and get a’spreadin’.
Simply open the valve (or remove the lid entirely if you’ve got a large surface area to work with), pour on some glue, and spread it out evenly across your backing panel.
If you’re working on a flat panel, make sure to use some masking tape around your border to contain the glue.
Alternatively, you could experiment with less runny glue, such as silicone.
Once you’ve evenly covered your frame, move on to step 3!
3 | Place Down Your Hardscape Elements
Now, just like the simulations, place in your hardscape elements.
You can either place everything down right away or leave some room for highlight pieces towards the end.
I, for example, like to add in my spiderwood after my moss. Otherwise, it can be a little fiddly to make sure all of the surface under the wood is covered in moss.
Here’s a quick tip to ensure your hardscape sticks properly:
Use a glue spreader to push the wood glue up to the edges of the rocks and wood so that you have a 360-degree application holding down the hard stuff.
4 | Arrange Your Moss
Now, in with the moss!
After each piece is placed, make sure to give it a little push to ensure the entirety of its base has made contact with the glue down below.
I like to place my largest elements first and fill in the smaller spaces with secondary pieces.
You may find your finished piece doesn’t look exactly like your planned piece, but that’s ok!
Nothing in nature follows a set plan; chalk it up to evolution.
Oh, and if you’ve selected to also use preserved plants – get them in. Get them all in.
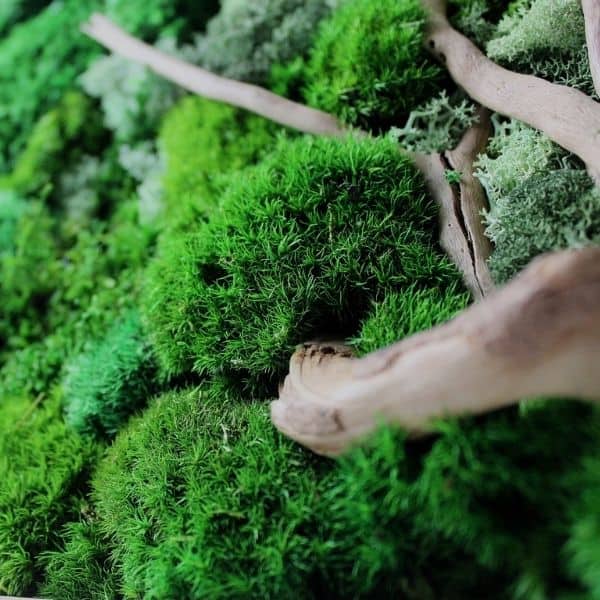
5 | Add Finishing Hardscape and Filler Mosses
Now, you’ve placed everything down, right?
Okay, so I want you to get your head real close to that bad boy and do your best Robocop impression; scan that mother from all angles to make sure no gaps remain.
They should be easy to spot if you spread your glue evenly, the bright white should shine through and let you know where to plug extra moss.
6 | Now, We Wait
Get something flat and heavy and lay it GENTLY on top of your frame. All you want to do is compress the work into the glue while it dries to make sure everything sticks.
Examples of something flat and heavy:
- A baking tray with a bible on top
- An even bigger moss frame
- Fresh roadkill
Now, simply let that bad boy sit for 24 hours.
7 | The Check Back
Now that everything should have dried, remove your weight and have a look at your beautiful build.
Before you get too excited, just perform one more check over to make sure everything has stuck and that there are no gaps.
If spaces remain, take some giblets of moss, apply a little super glue to the underside, and place into said gap.
If you’ve had to fill in any gaps, give the superglue 4-6 hours to properly dry.
7 | Hang Up and Hang Out
You made it!
Both literally and figuratively.
Find somewhere to hang up your frame, sit down, and marvel at your masterpiece.
How to Care for Moss Wall Décor
Remember when I said your moss frames are zero-maintenance?
Well, that’s still true.
There’s nothing you must do to keep your frames looking top-notch.
There are, however, two important things that you must NOT do.
So, to leave you on a negative note:
- DON’T allow your moss frame to be constantly exposed to strong sunlight. Excessive direct light can dry out the preservative and bleach the dye.
- DON’T mist or water your moss frame, ever. They should be able to withstand regular levels of humidity, but excessive moisture will cause the dye to leak/run.
Over to You
Thank you so much for reading. I would truly love to marvel at your creations if you’d like to share them.
Thinking about making your first hanging moss frame? Let us know below!
Check out the Terrarium Wall 101 guide for more inspo, or our guide to Moss Wall Kits if you need some practical help.
Until next time, folks.

Great tips! I plan on making my first moss tray this weekend. I will be using your advices through out the process.
Thank you so much for your article! I am renovating my parent’s upstairs and I was considering putting a preserved moss wall above the sinks in the bathroom. They would get little to no sunlight and the piece would be high enough to not get direct water on it. But am I curious if the humidity from the shower would be enough to cause the dyes to run?
Thanks again! I am excited to make a moss piece whether for my parents or not 🙂
Good question! I’d imagine as long as the moss isn’t getting wet directly it should be fine (don’t quote me on this 😅).
Thank you so much for sharing this and simplifying the process. I’m going to be creating a huge moss wall piece for my niece’s new restaurant and I want it to be perfect! Some other tutorials I read were so complicated. Yours is easy to understand and makes me feel confident that I can create a beautiful piece. Again, many thanks!
What do you do about dust? Is there a way to clean it that won’t destroy the work? I’m thinking a vacuum attachment would be too strong whereas a feather duster might be too light…
Hi Keri, carefully wiping and dusting is the way to go – vacuums are for sure too strong.
What do you use for backing panel?
Plywood is a great material but you can use a whole host of things really.
What could I spray over the preserved moss to keep it from shedding.
Hi Kristine, it shouldn’t really shed. My best idea is to check that the moss you’re using is properly preserved and check your home environment, is it getting too wet or dry where it is? Maybe over a radiator? That said I’m keen to hear if any sprays help stop shedding in its tracks 🙂
This is both informative and hilarious! Thank you so much!
fantastic tutorial – thank you and can’t wait to give this a try!