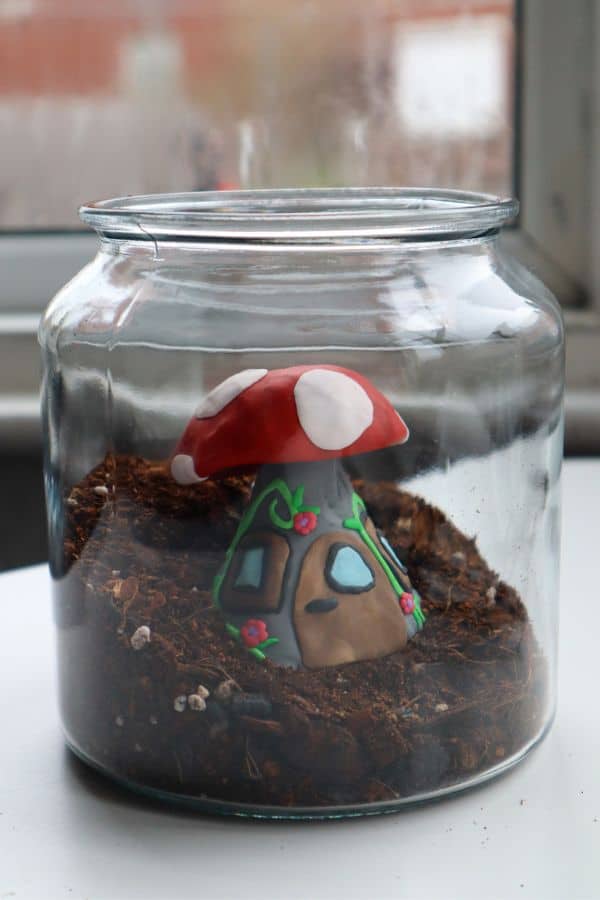
DIY doesn’t get more playful than a fairy garden terrarium – a perfect blend of horticulture and magic.
Magic alone won’t make this project a success; you’ll need to bring your green thumb too. After all, by definition, a terrarium is an enclosed ecosystem (which brings its own challenges).
And if you’re doing this project with kids, not only will it keep them busy, but it’s a great way to incorporate a science lesson. Hello, water cycle.
This article will take you from start to finish, from ideas and inspiration to the technical necessities, and an over-the-shoulder step-by-step guide.

Fairy Garden Ideas
In an enchanting world of endless imaginative possibilities, it can be challenging to narrow down just what kind of scene you want to create and what accessories you’ll need to achieve that.
Perhaps you want to incorporate fairy figurines, or you might want to build a tiny home to attract real nearby fairies.
There are no hard and fast rules here; essentially, it’s yours to construct as you wish. And it doesn’t need to be fairy specific if you don’t want it to be – you can stick your dinosaur figures and Lego people in if you desire!
Here are some ideas to get the creative juices flowing:
- A cute fairy house. Even just a tiny door built into a mound of earth.
- Use gravel to create a pathway or pebbles to make stepping stones.
- Fairy garden furniture – I’ve seen some beautiful miniature picnic benches.
- Little signs, fences, and lamps (not electrical!).
- How about a wheelbarrow, a fishpond, or even a tiny water well?
- Miniature woodland animal figurines.
- And lastly, take inspiration from your favorite books and films. These days, I can’t scroll on Instagram for two minutes without seeing a Hobbit terrarium.
You can find all sorts of fairy garden miniatures available for purchase. Just be sure to check that they’re waterproof
How to Make a Cheap Fairy Garden – DIY Accessories
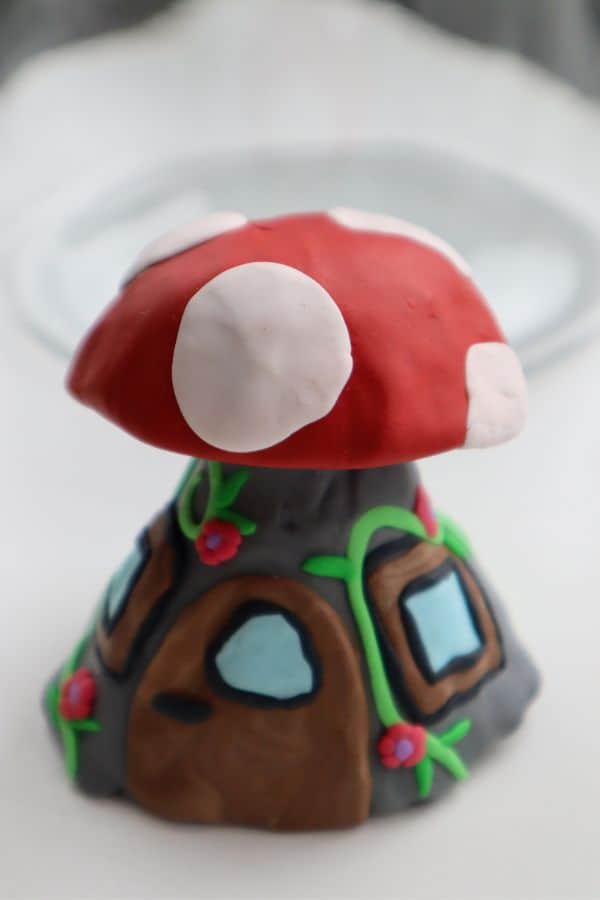
If you can’t quite find what you’re looking for, don’t have the budget for a figurine set, or can’t resist a thrifty project, you might want to create the accessories yourself.
Enter my newfound love: oven-hardening modeling clay.
A genius substance with infinite options that makes it possible for you to create your dream fairy garden accessories exactly how you want them for a fraction of the price.
Win-win.
I’ll admit that fairy-sized projects can be a little fiddly, but it was worth it for me. And if you’re doing this project with your kids, it’ll keep them entertained a little longer, right?
I found this YouTube video extremely helpful in nailing the basics.
DIY Fairy Garden Supplies
Ultimately, there’s a lot of scope for you to put your personality into your project, but some things will be the same for every project.
Here’s what you’ll need:
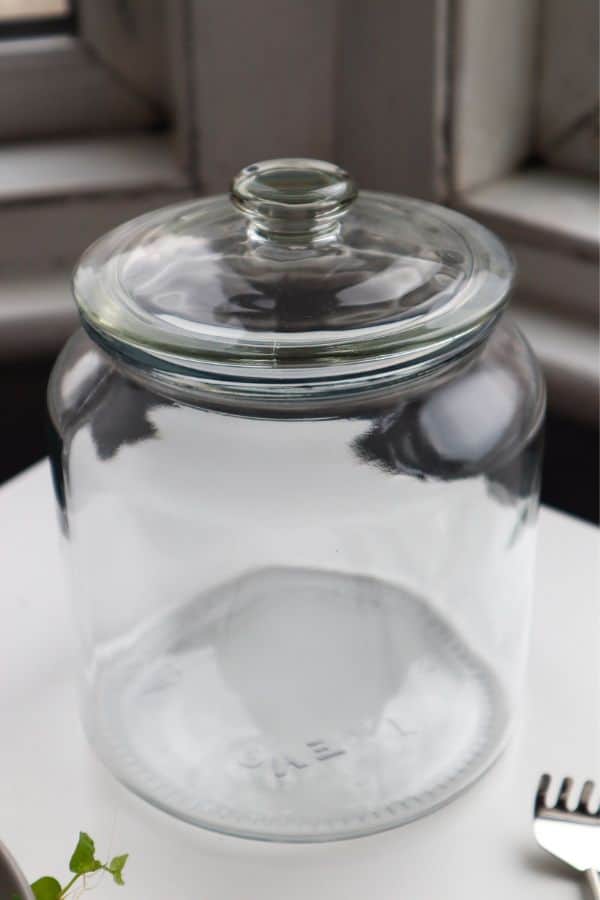
- A glass container with a lid. It could be something as simple as a glass jar or a thrifted vase. If your container doesn’t have a lid, you can easily get inexpensive custom perspex lids online.
- Your plants. More on this in a moment.
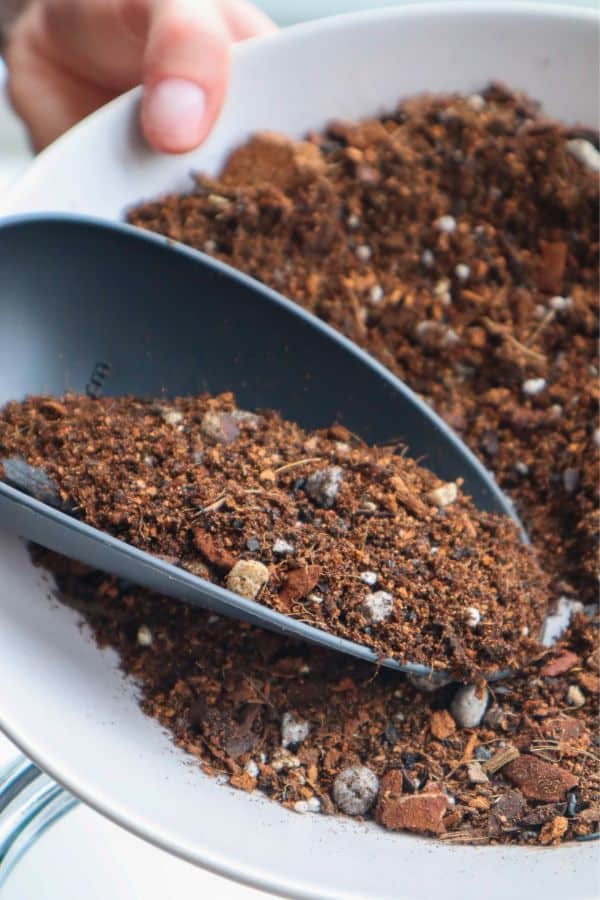
- Substrate. Any fluffy, chunky tropical plant mix should do the trick nicely. Unfortunately, potting soil is too dense for most terrarium plants and wouldn’t drain well enough or allow the roots to breathe. Our signature tropical substrate mix is a great fit here.
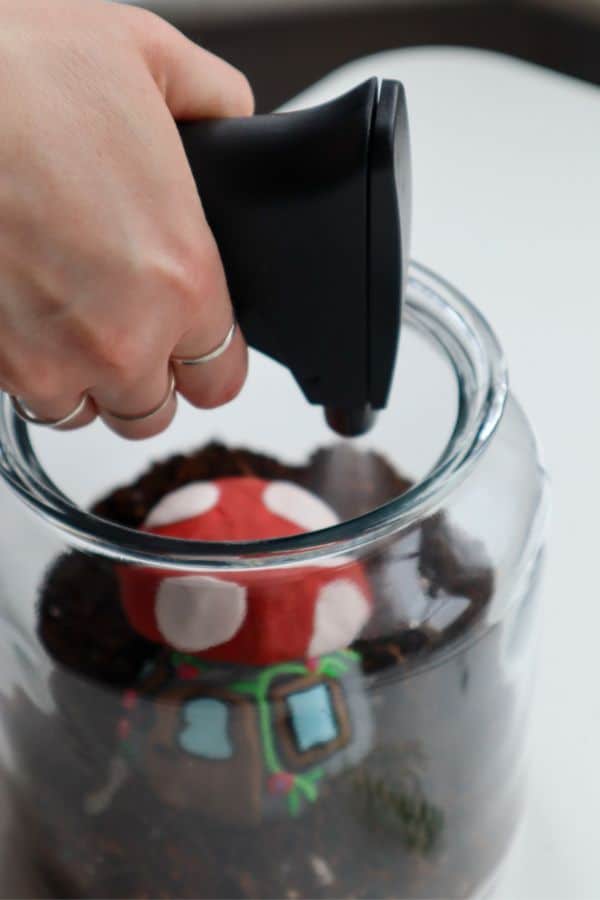
- A spray bottle for watering. Pouring water into a closed system is a quick way to drench the whole thing and water-log your plants’ roots; a spray bottle makes it much more manageable.
- Your fairy ornaments. Obvs.
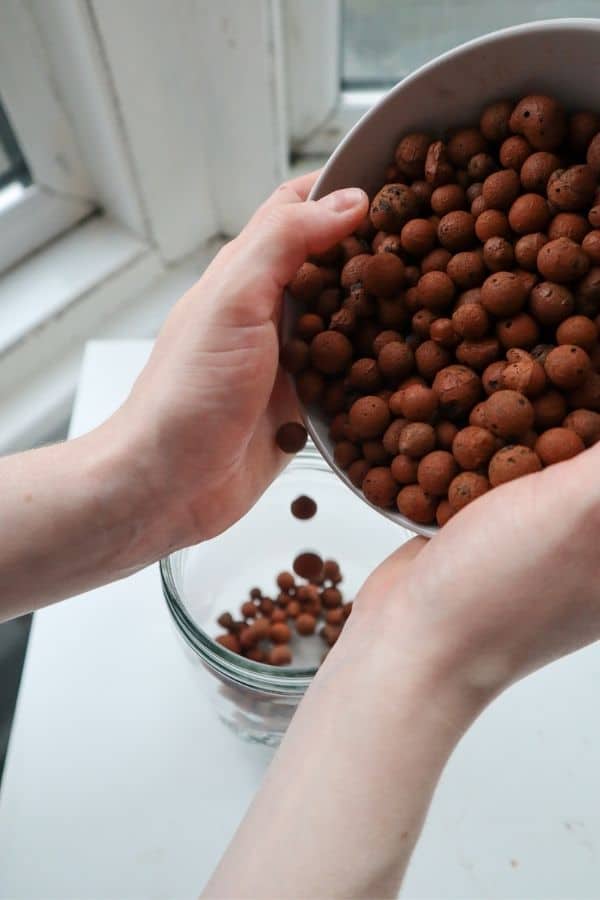
- Optional: drainage material. While I haven’t opted for a drainage layer in this specific project, it can be a useful failsafe to protect your plants from overwatering. A simple layer of aquarium pebbles or leca clay balls is all you need; it can be very beneficial if you can be a little heavy-handed with the hydration!
Fairy Garden Terrarium Plants
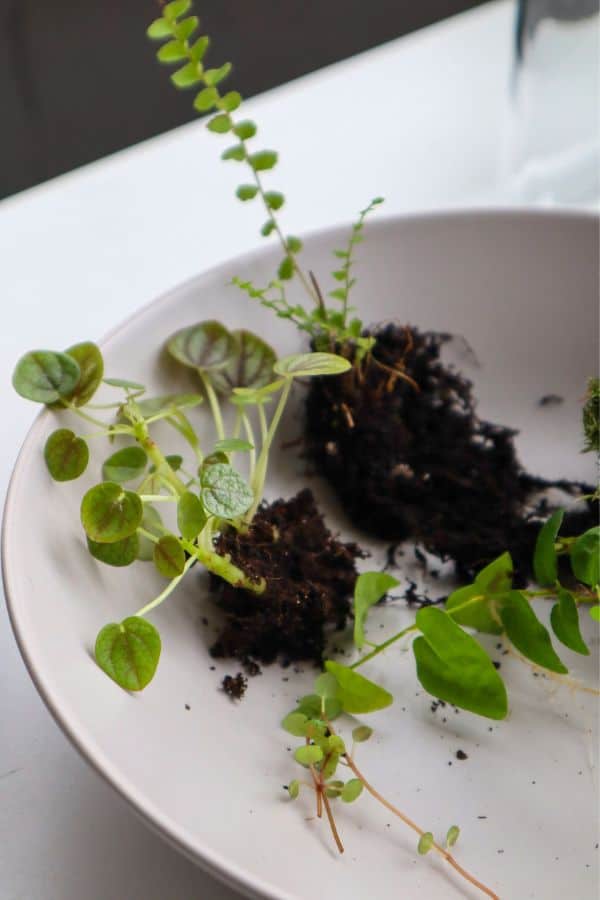
Now it’s time for the exciting stuff… Choosing your plants.
For a closed fairy terrarium, you’ll need plants that enjoy high humidity. Also, depending on the size of your container, it’s easier to stick to miniature varieties and cuttings.
I like to make sure I have something from all four categories: ferns, foliage, vines, and moss.
By the way, moss is what makes any terrarium project really pop and I use it Every. Single. Time. I recommend using a clumpy moss like Cushion Moss or Mood Moss. They grow in tufts, so they are much easier to work with and look fluffy and full.
You can peruse our Tiny Terrarium Plants Guide at your leisure for help with this.
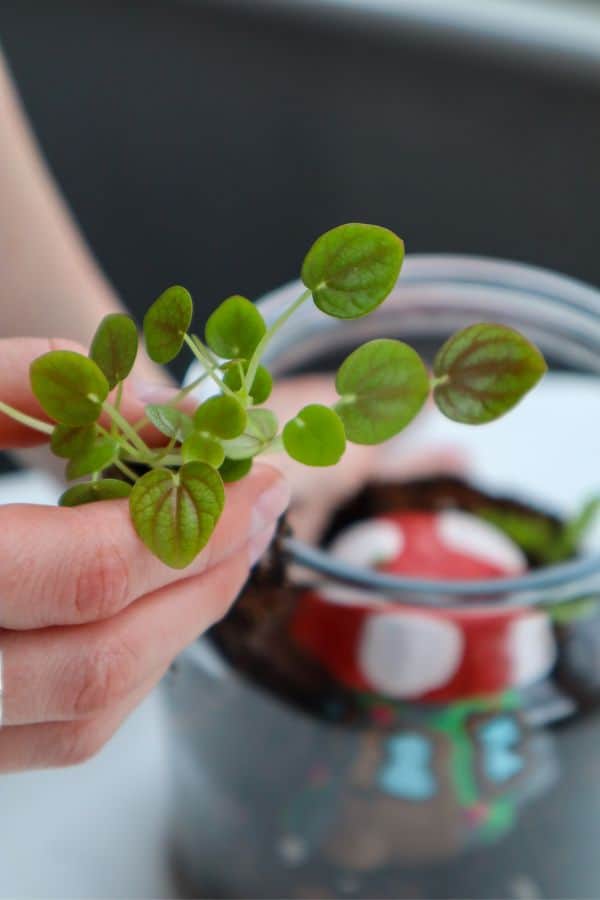
In the end, I went with a Lemon Button Fern, a Peperomia albovittata ‘Piccolo Banda’, Ficus pumila and some Cushion Moss for my project.
How to Make a Fairy Garden – Step by Step
1 | Create Your Base (Optional Drainage Layer & Substrate)
Just like constructing a house, with terrariums, you need to begin with the foundation and build from the ground up.
If you’ve chosen to use a drainage layer, pour the material in first. Around an inch in height is enough to collect any excess water.
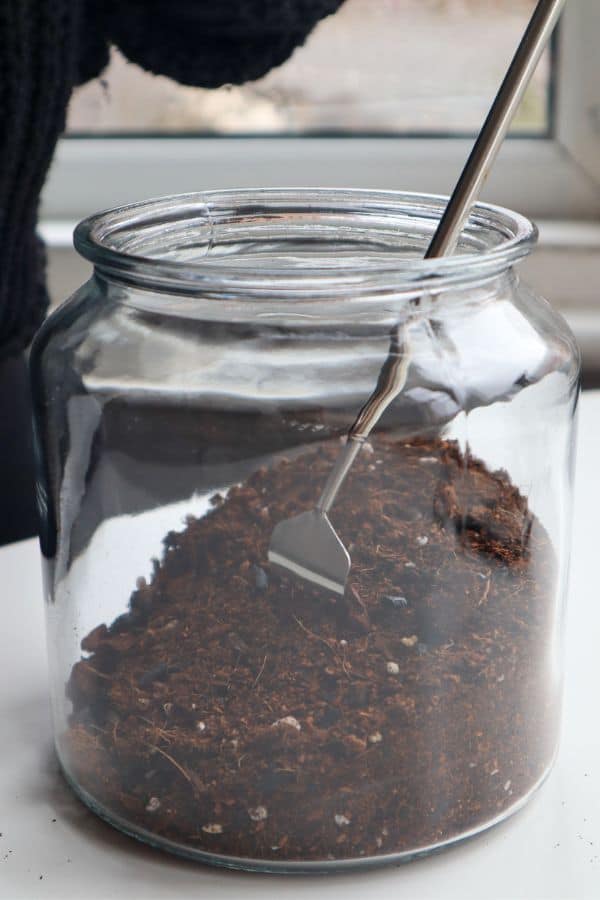
Now, grab your substrate and pour that in, too.
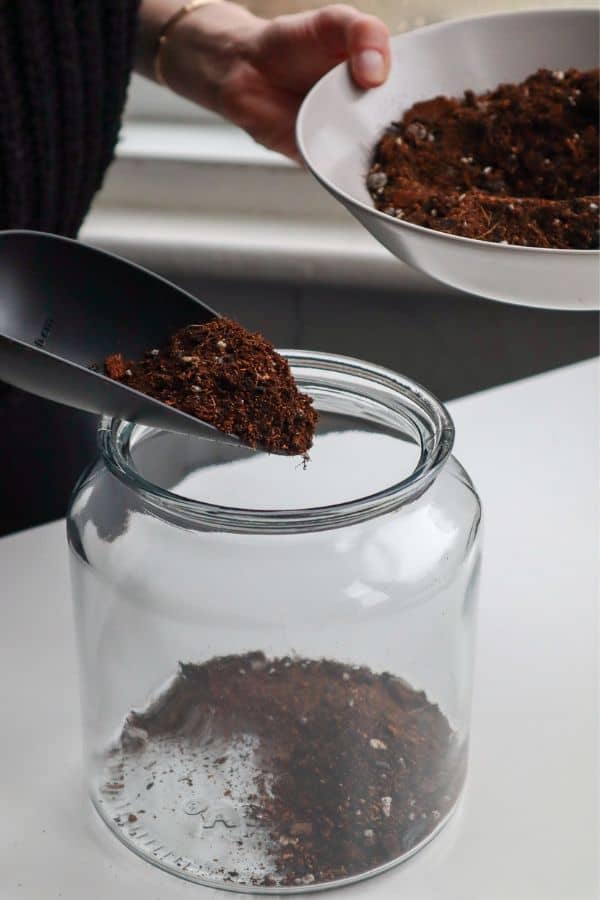
How deep you create the layer depends on how big your plant’s roots are.
I almost always sculpt my substrate to create a slope – it’s far more interesting visually and creates a dynamic sense of scale.
2 | Place Any Larger Fairy Accessories
Any larger pieces (or any wood or rocks you might be using) will anchor your substrate, so it’s best to place it in sooner rather than later and plant around it.
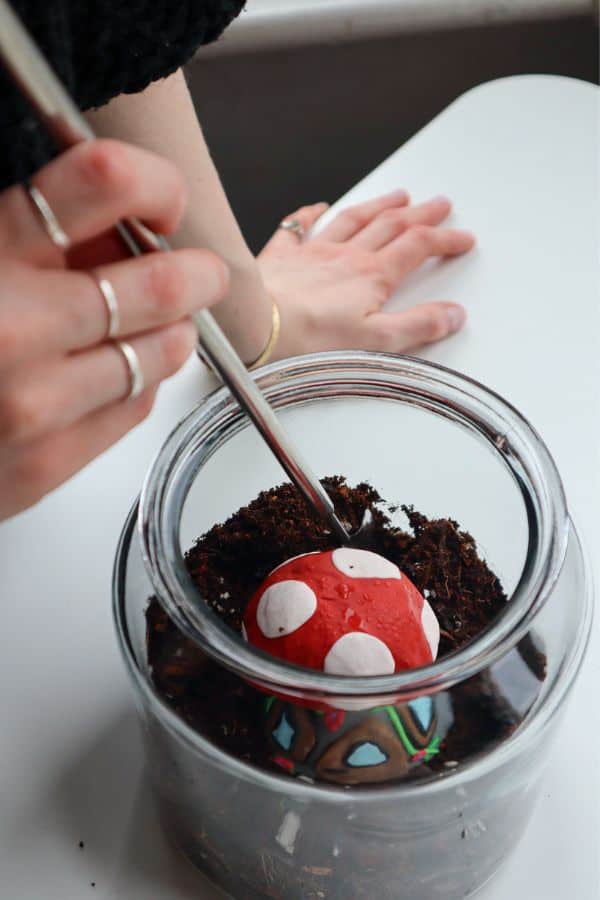
Doing it in this order will make your terrarium more stable and help you get an idea of the scale early on.
3 | Plant Your Terrarium Plants
At long last, it’s time to get your green thumb out.
First things first, grab your spray bottle and give the substrate a little spray.
Then it’s time to plant.
I recommend going in with the largest plants first; it’s much easier in the long run.
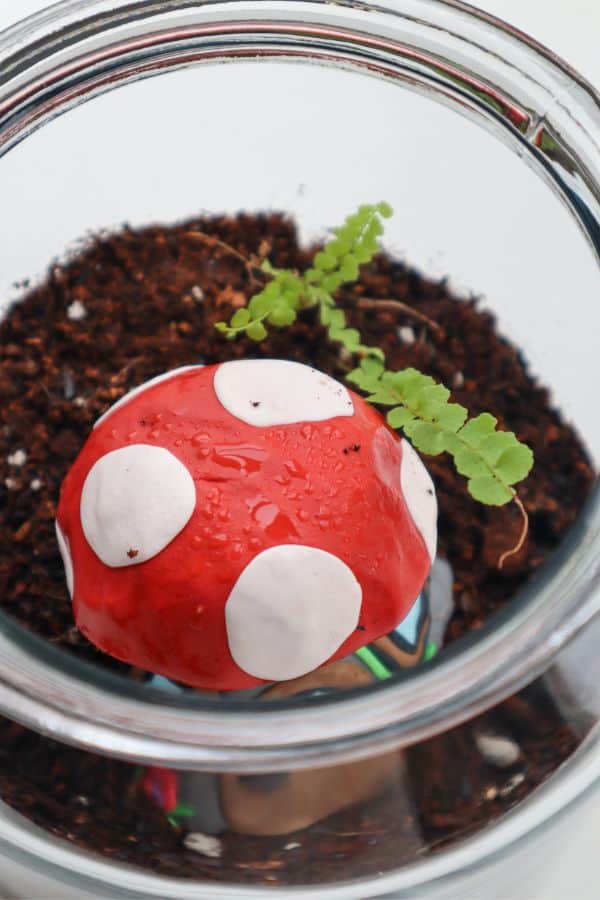
Create a little depression with your finger or a terrarium tool and pop your plant’s roots in.
Then, smooth the substrate around the roots to nestle it in nicely.
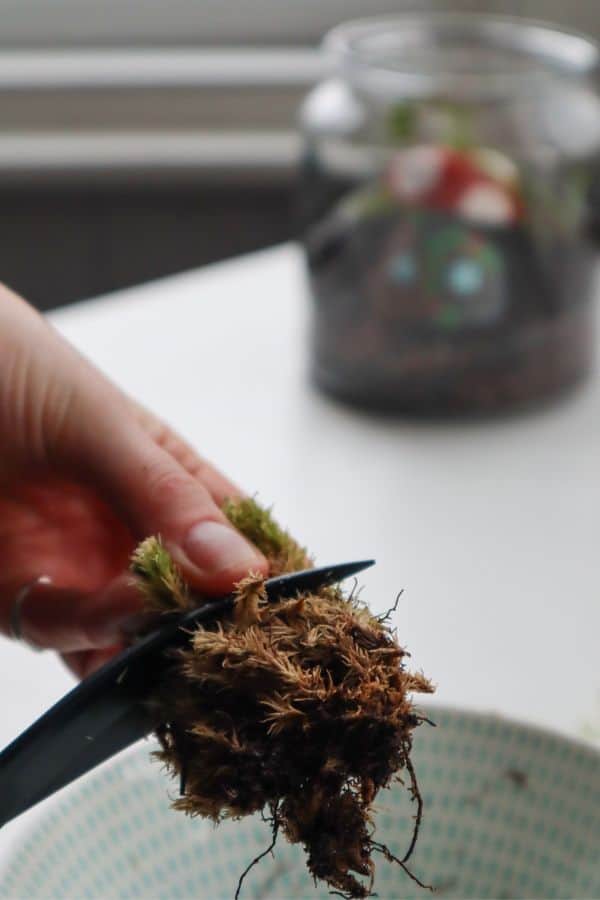
4 | Add Moss
Eyeball what size space you’d like to cover and break off an appropriate clump. Trim off the brown excess with scissors, holding the green part together tightly with your fingers.
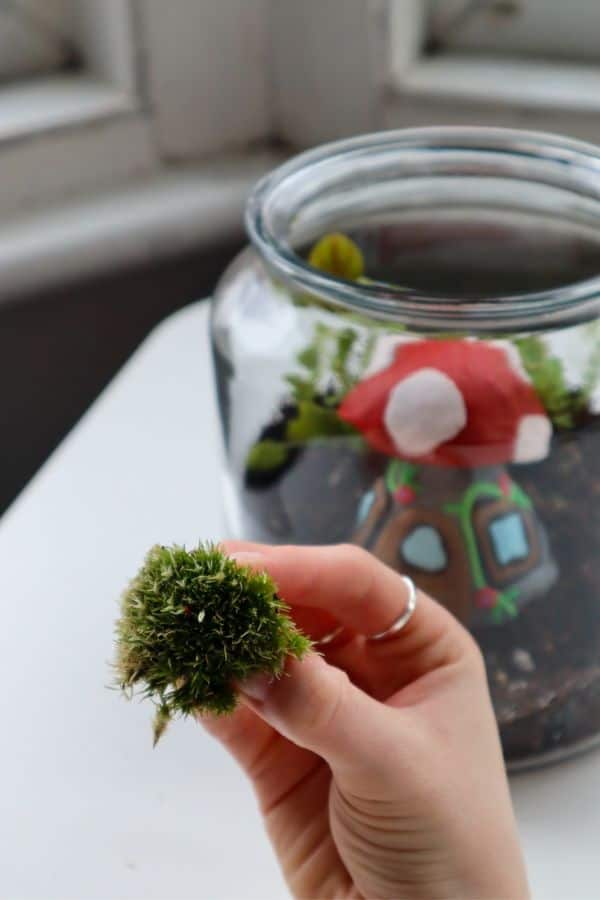
Place your moss where you’d like. If you have them, aquascaping tweezers can really help to make the process more precise.
You can cover the whole of the exposed substrate or just stick to a few mounds.
5 | Finishing Touches
Let’s complete the look.
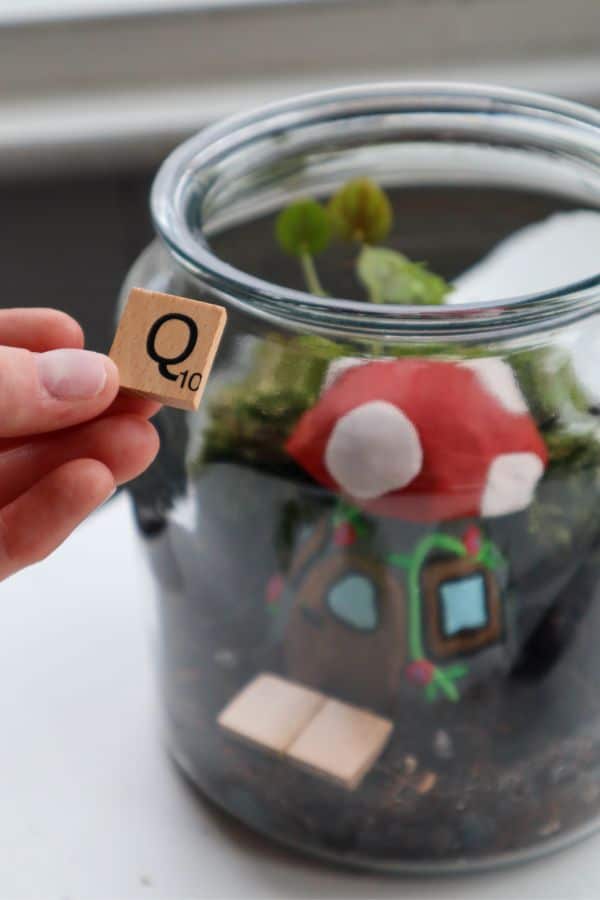
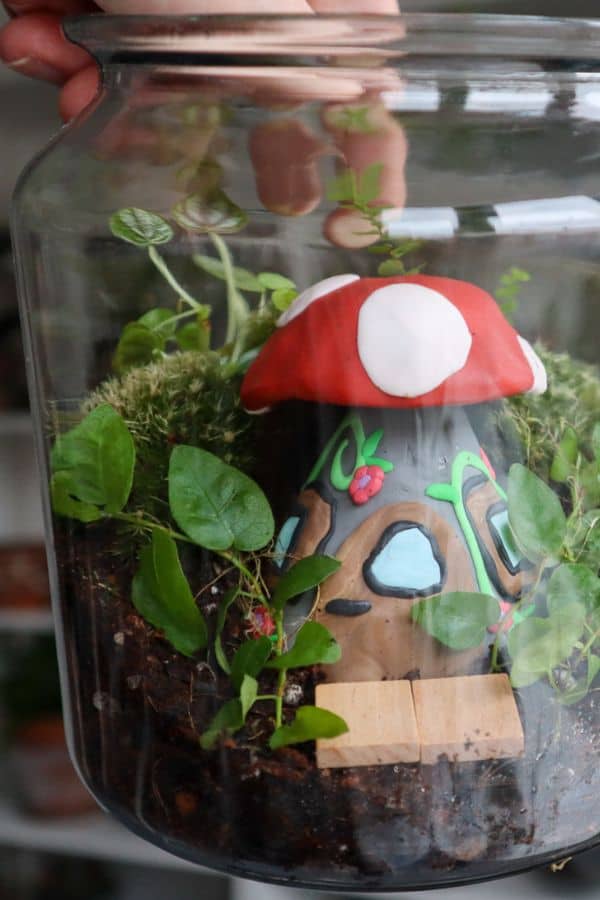
Now is the time to add any smaller fairy ornaments you might be using. I used a couple of Scrabble pieces to create a step to the house (seemingly a great way to make use of the dodgy letters).
They ended up molding over, so I’m not sure I’d recommend this exact approach, but terrariums are always an experiment!
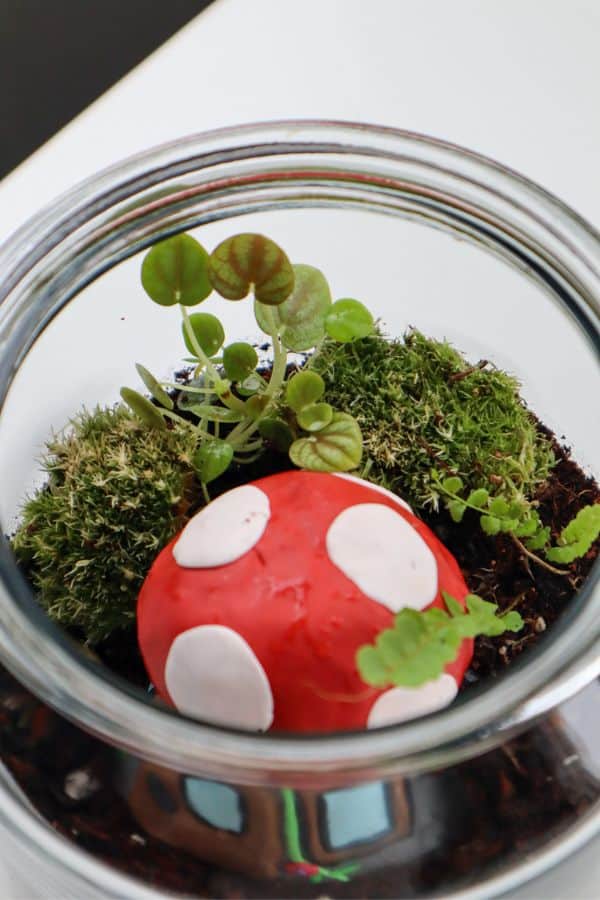
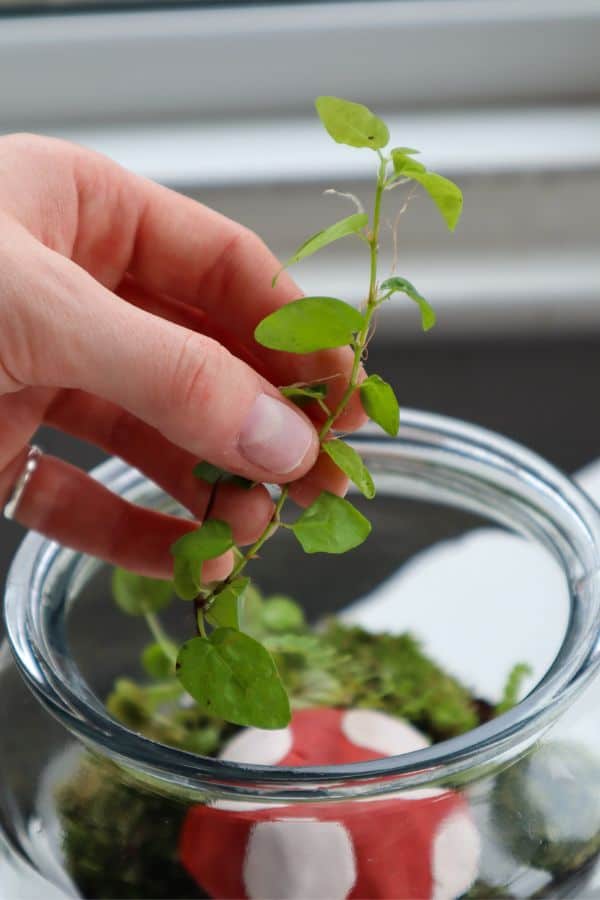
Finally, I added my Ficus pumila. It roots up readily in humid conditions, so it doesn’t need to be planted. I just lay a cutting on top of the substrate and leave it alone to work its magic over the coming weeks.
And there you have it – a cute fairy garden to be proud of.
Give it a little spritz with water and pop the lid on. It’s much easier to add water than it is to remove, so go easy! The substrate should never look wet. You can always add a few sprays in a week or so when it has settled.
Put it in a spot that gets plenty of bright indirect light, and enjoy your new magical statement piece.
Voila!
I hope you’re happy with your fairytale creation. Did you do this project with kids or by yourself?
Let me know in the comments. I don’t have children, but this playful project brought out the big kid in me.
For more, check out my full guide to creating a terrarium for kids. Or how about a woodland-themed terrarium next?
Or for more build styles, see our broader guide to practical terrarium ideas.
Till next time! x
Sweet! You gave me a great idea 💡 for something cool with just a little twist! I am planning to make a ‘theme ‘ terrarium for a friend, and they love the show ‘The Walking Dead ‘. If I were to make my own figures from bakable clay,I could make a ‘Walking Dead ‘ garden for my friend! What a challenge to think about! Better get busy!