It’s time to combine your favorite summer things: sun, sand, and horticulture.
That’s right, we’re creating a beach terrarium!
I can honestly say this has been one of the most fun themes I’ve explored. That said, as exciting as it is, we’re still working with live plants, so there are some technicalities to get right.
This guide will provide everything from ideas and inspiration to step-by-step instructions.

Beach Terrarium DIY Guide
Key Beach Terrarium Ideas
- Get inspired – Whether you like to have a plan from the beginning or let your design unravel as you go, it’s a good idea to have a favorite beach in mind. Ultimately, this will dictate what kind of climate you’ll be creating, so in my opinion, it’s the best place to start.
- Consider tonality – Think about what kind of color palette you want your beach to have. Are you working with a turquoise delight or earthy, neutral tones?
- Closed or open terrarium? – While I’m a traditional closed terrarium girl at heart, I chose to go with an open terrarium for this project, and that’s what I’m detailing in this article.
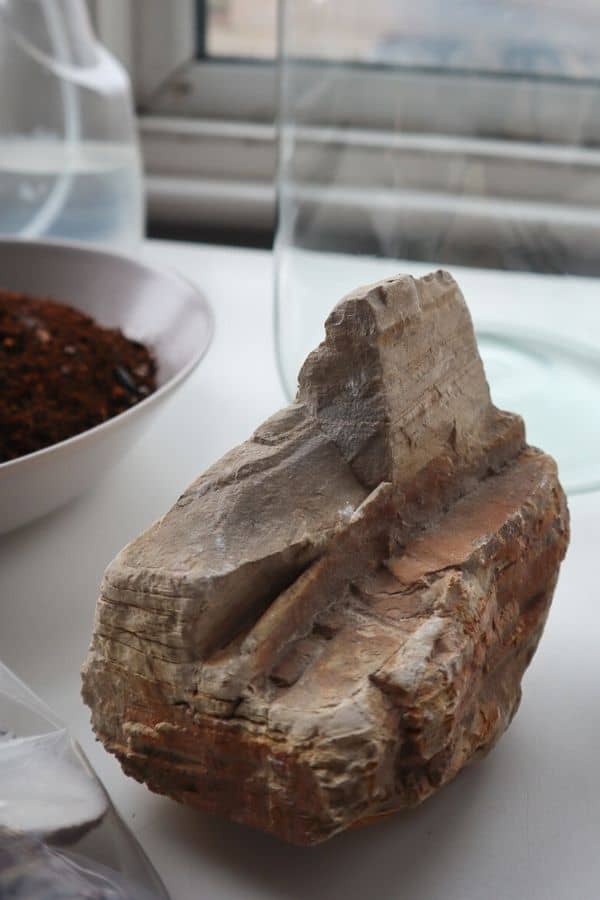
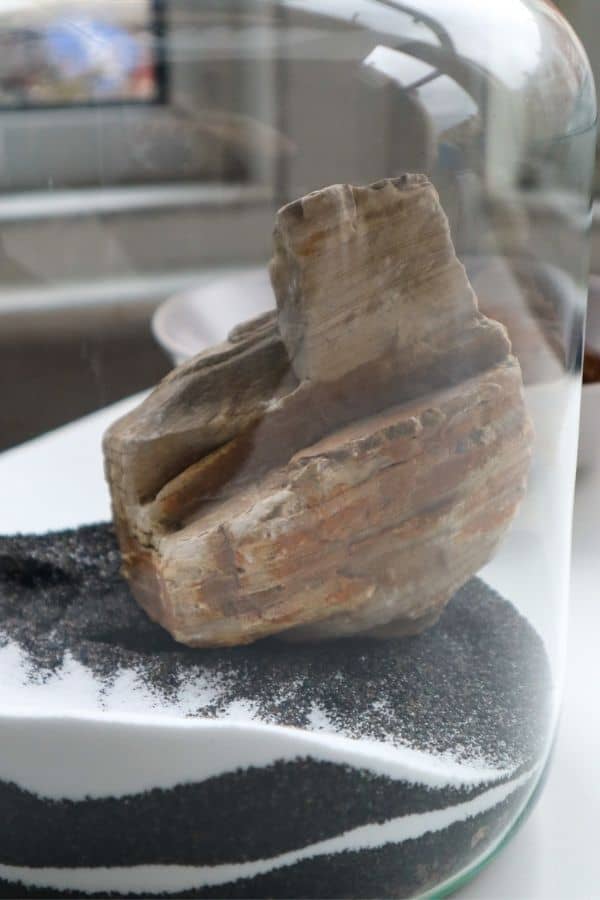
- Hardscape – Hardscape (rocks/stones and wood/branches) is essential for creating scale in a terrarium, and for the theme of this project, you can really lean into it. After all, what beach doesn’t have an interesting piece of driftwood? You could create dunes, towering cliffs, or rocky outcrops.
- Shells – While I advise against actually collecting anything specific for this project (taking shells can have a devastating effect on the environment), if you already have some around the house, use them.
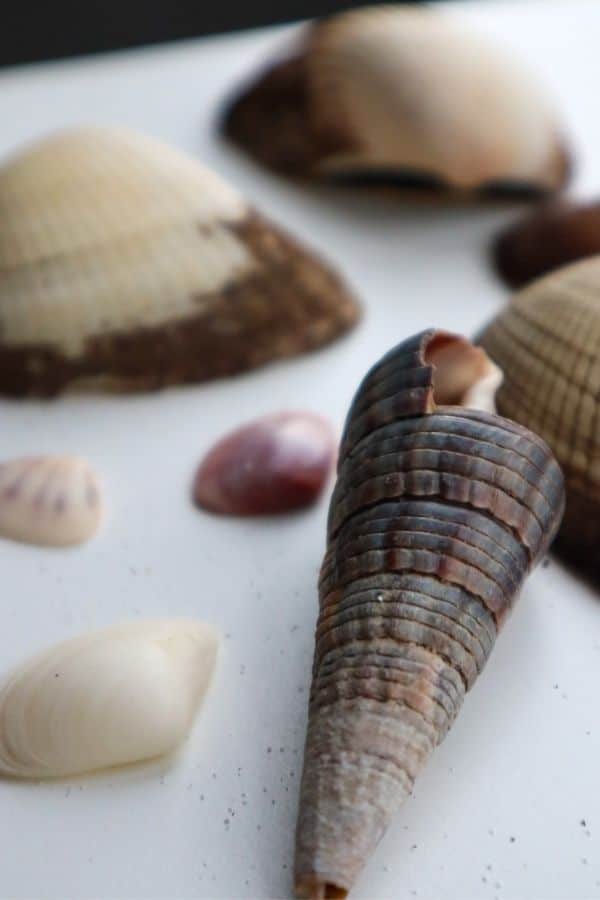
- Other beach decor highlights? – There are all kinds of beach treasures you can use. How about sea glass or a dried starfish?
- Sand art – While not a particularly natural visual effect, sand art is a really creative way to play with a medium you’re likely already incorporating in your design. You only need two colors to pull it off, but you can use as many as you like.
- Resin water effect – If you’re an absolute DIY champion, you might consider adding a faux ocean or sea to your project with resin.
- Figurines & miniatures – Why stop at sea and sand? You can create a full-on scene with whatever you fancy. A little beach bar would be fun, or sunbathers lying on towels. If you’re doing this project with kids, you could go all-out on a pirate theme.
Prepping Plants and Materials
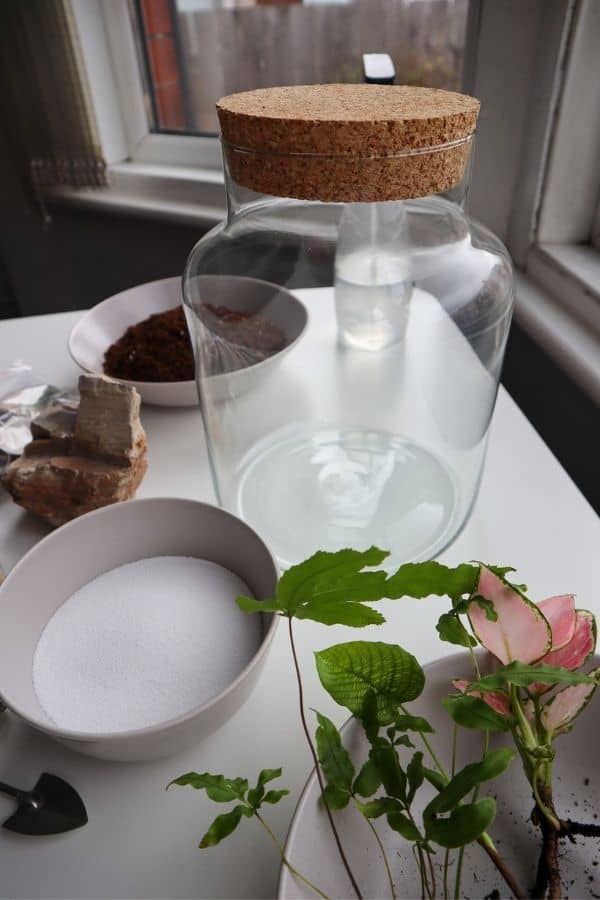
Hopefully, you now have more of an idea of what you’d like to create, so let’s dig into the good stuff.
Before any build, cleaning your materials (such as the glass container and any hardscape) is a good practice to eliminate impurities. And it seems especially necessary for a beach theme; I can only imagine the unwanted substances shells could have on them.
So, to make sure everything was ready to go, I gathered my materials and cleaned and dried the lot.
I also spent far too much time scrubbing at stubborn residue from bar codes – life’s not always a beach, is it?
Laying the Foundation
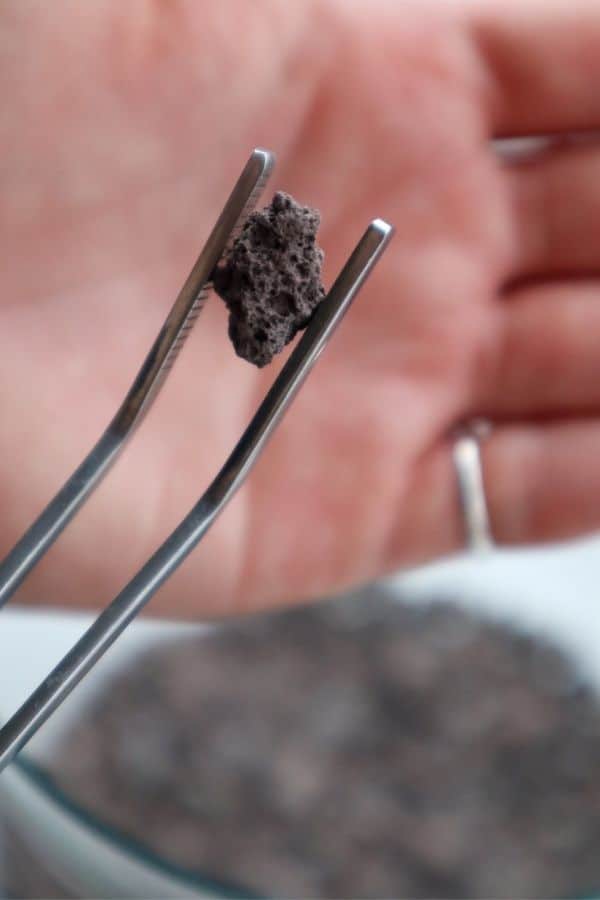
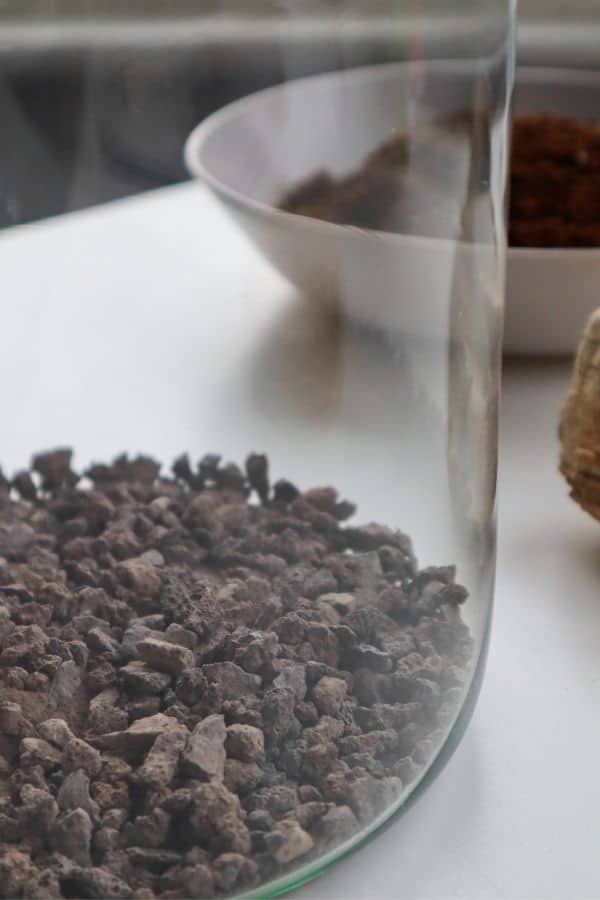
Unlike their relatively set-and-forget closed counterparts, open terrariums need regular watering, just like any old houseplant. So, as with houseplants, it’s important to have drainage.
Fear not; you don’t need to get creative with your drill; a drainage hole isn’t in order, just a drainage layer.
You can use anything from aquarium gravel to leca clay balls. I’d love to see someone use sea glass; honestly, what could be more perfect for a beach terrarium! You’d need to spend quite a lot of time at the beach to collect enough, though – oh no?
Whatever material you go for – it’s a lifesaver for your plants’ roots.
Creating the Beach
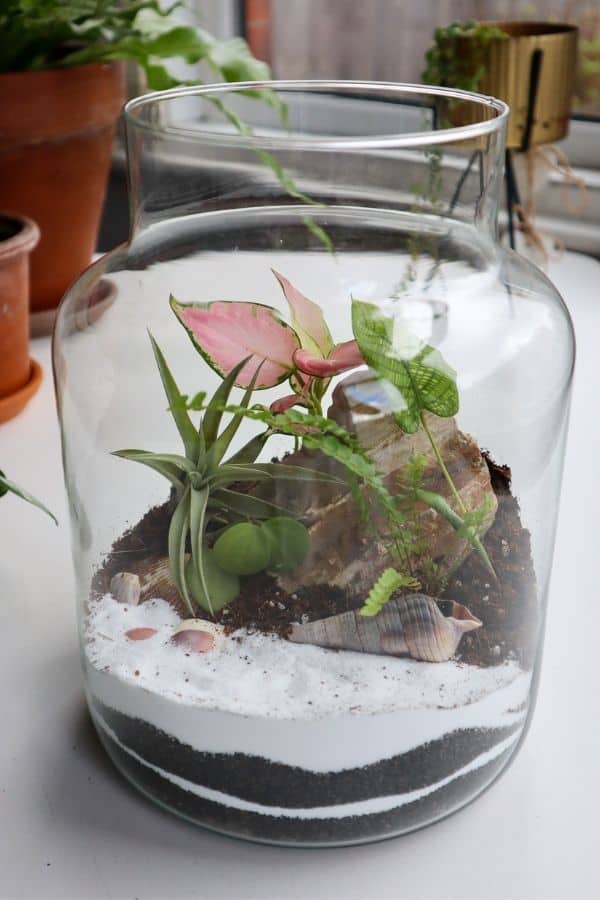
Next, building the scene. I wanted to create a sandy beach section and a dune-inspired planted section, so I used some simple sand art to spice up the beach.
I simply layered black and white aquarium sand until I was happy with it. You can always add more later when everything else is in place.
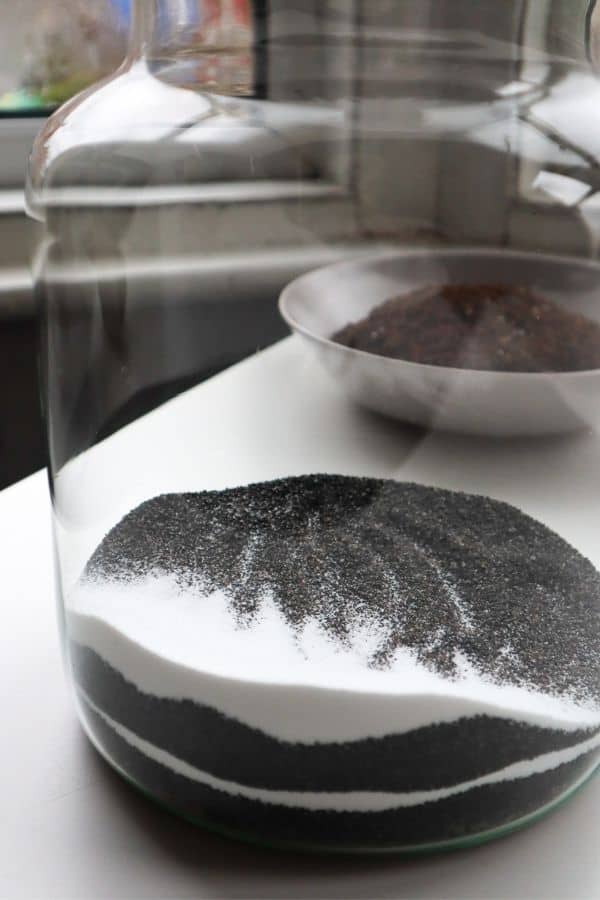
If you don’t want to play with layering, you can just add one block color to create a little raised bay.
I’m not going to go into too much detail about sand art here, but you can read about it in my air plant terrarium guide and our terrarium sand breakdown.
There are SO many exciting colors to try this with. I want to go even further with it on my next build.
Soil/ Substrate Layer (& Hardscape)
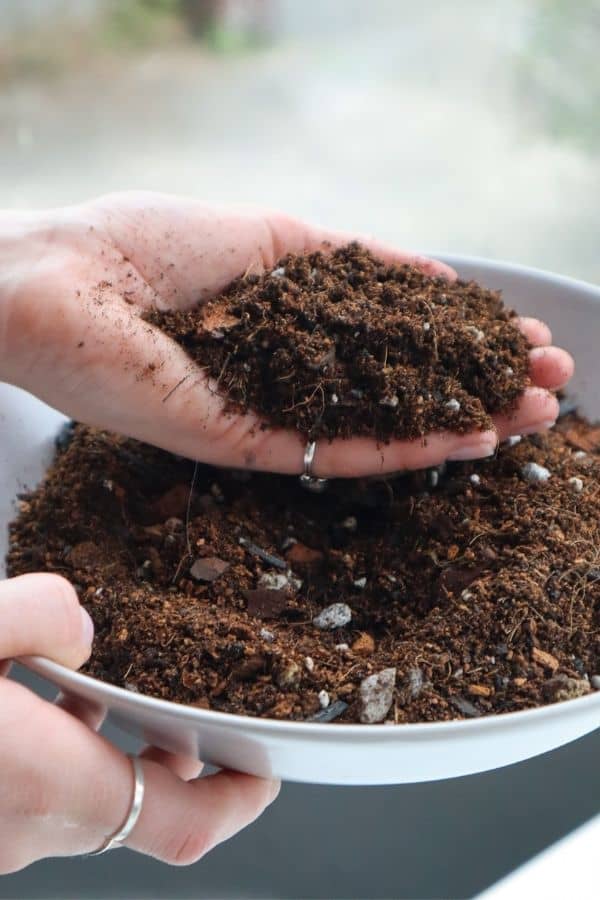
Now, it’s time to add the substrate for our plants.
Your choice of substrate will depend on what kind of plants you’re using in your build. If you’re using succulents and cacti, for example, you’ll need a gritty mix.
I’ve chosen mostly tropical houseplants for my build, so I’m using a light and chunky mix to ensure root aeration, good drainage, and moisture retention. It also contains some earthworm castings to provide a natural fertilizer.
If you feel overwhelmed by the choices, you can check out our article on DIY substrates, opt for a classic (like the ABG mix), or check out our signature terrarium mix.
👉 Shop our terrarium substrate mix.
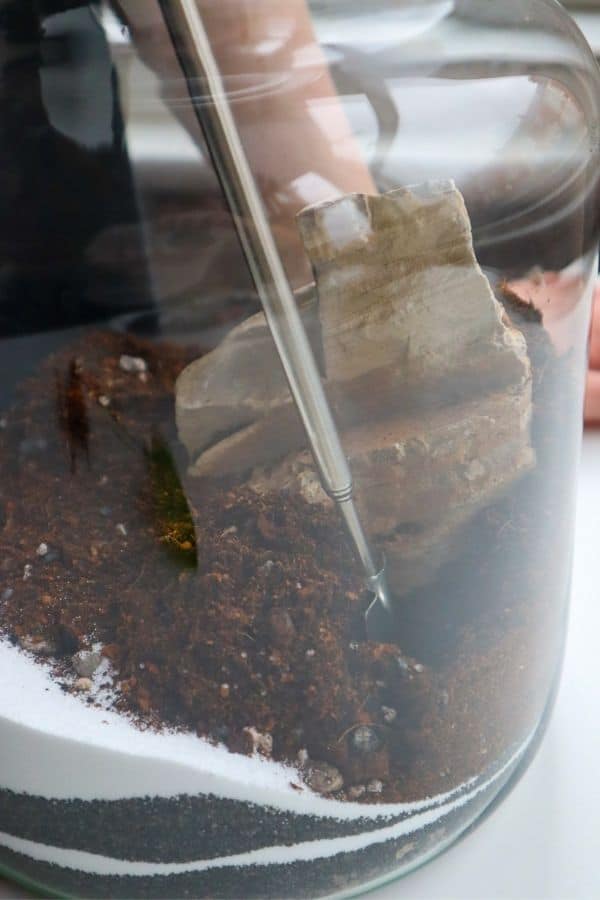
In most terrarium builds, I find it easier to place any larger hardscape elements at the same time as my substrate. That way, you can anchor it into the substrate, making it much more secure.
I tried all manner of ways of keeping the substrate and the sand separate, but without much success. In the end, I found that going slowly and just using my hands to place it delicately was the best option.
Just ensure your substrate is deep enough for your plant’s roots, and you’re good to go.
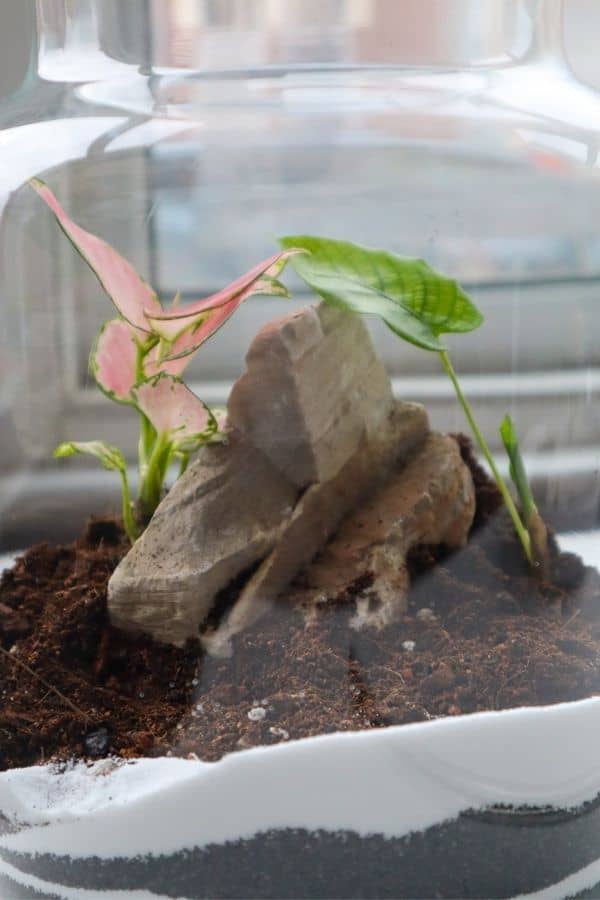
Planting
Take your jar of dirt and turn it into a terrarium!
Make a little hole for the plants’ roots, either with your finger or a tool, and get planting. Pro tip – starting with the larger plants is much easier in most cases.
The plants I’m using for this project are:
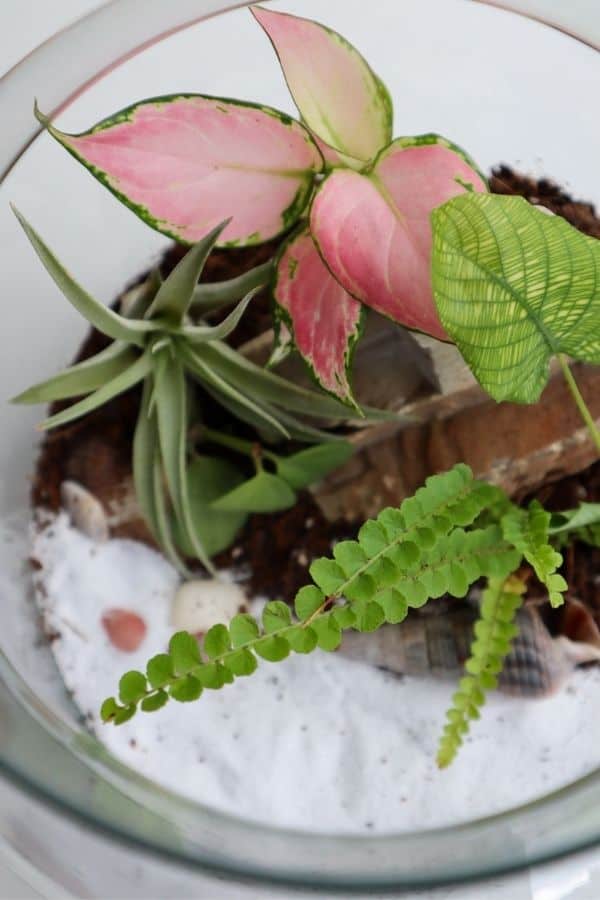
- Pink Aglaonema – I wanted something pink to highlight the pink hues of my shells.
- Calathea musaica – Something a little taller to give some height to the piece.
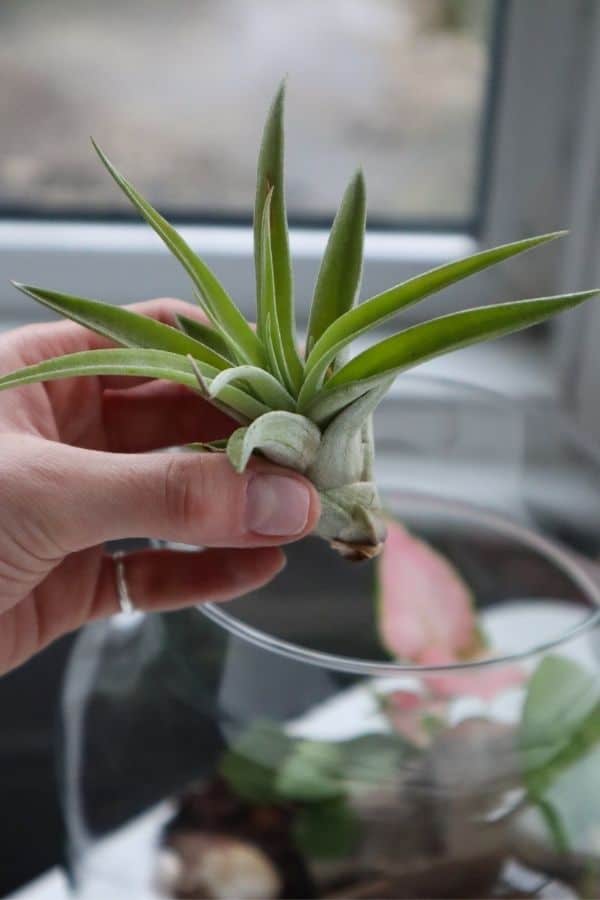
- Tillandsia capitata – A lovely chunky air plant that reminded me of seagrass.
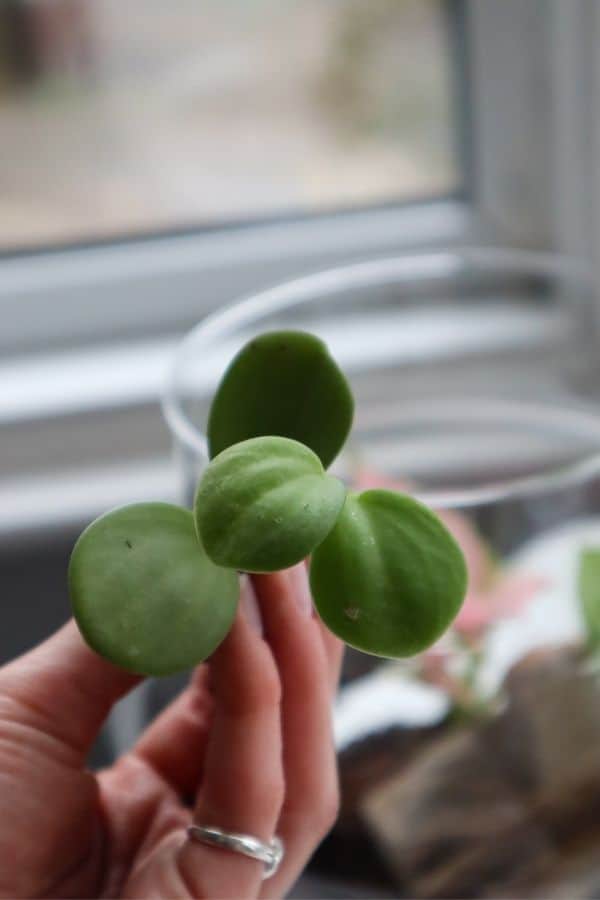
- Peperomia ‘Hope‘ – Because what terrarium doesn’t need a Peperomia?
Beach Decor & Finishing Details
If you have any beach decor pieces to add, go ahead and place them where you’d like them. I just had the shells and air plant left to go for my build, but you can put whatever you want in.
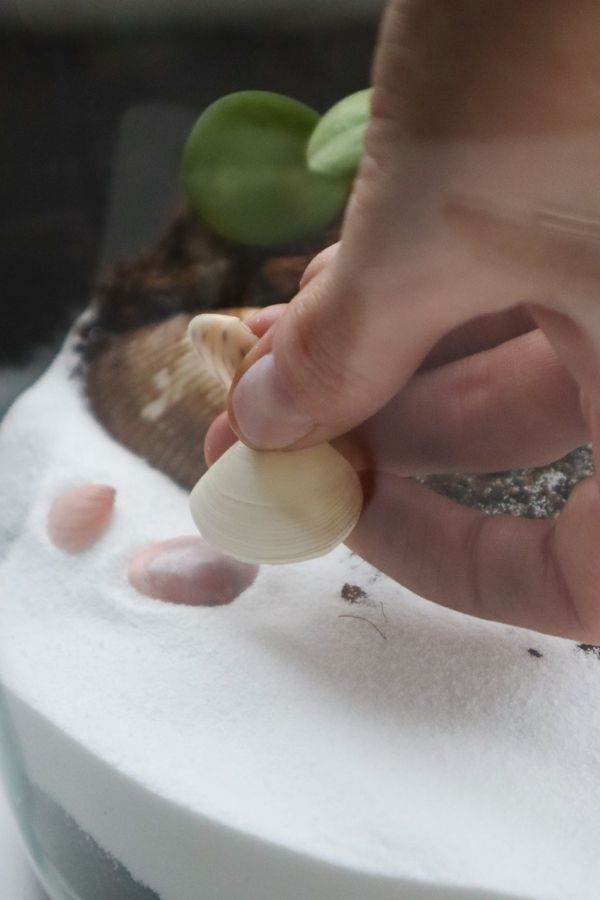
Before you spray down your terrarium, it’s a good time to check the overall look.
Simply place your new terrarium in a nice sunny spot out of any direct light, give it a good watering down with a spray bottle, and repeat when the soil is a little dry to the touch (probably as frequently as with your other houseplants).
Use a spray bottle instead of pouring it in – that way, you can be more precise with volume and keep any finer details, such as sand art, undisturbed.
Shell-ebrate Good Times. C’mon!
Out of all the terrariums I’ve built, this theme has got my creative juices flowing the most. There are just so many directions you can go with it. So if this has opened the floodgates, our terrarium ideas guide is a good place to find your next theme.