Sand is one of the most versatile substrate components one can use inside a terrarium.
It serves both form and function.
Sand can be used to promote drainage and aeration. It can also create mesmerizing and colorful layers that ripple underneath the surface of your ecosystem.
In this article, I will take you through:
- What type of sand you should use
- How sand can benefit your terrarium’s health
- How to master using sand decoratively
Let’s dive in.

Types of Terrarium Sand
There are a few different general types of sand that could be used inside a terrarium.
Each has a different composition, both physically and chemically, and one must make sure to select the right sand for their environment.
Let the search for the holy grain begin!
Horticultural Sand
Horticultural sand is specifically prepared to accommodate a vast array of plant life.
It’s composed of various crushed rocks such as limestone or granite. Different rocks will produce different colors of sand and PH balance.
Horticultural sand has several benefits particular to a terrarium setup:
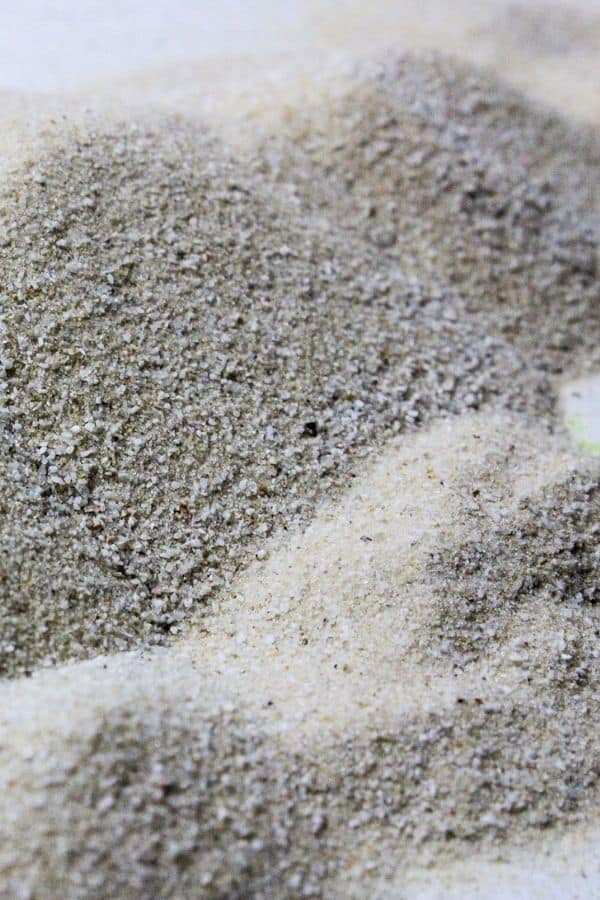
1. It is Coarse
Horticultural sand is coarser sand, meaning it has larger-sized particles.
This means the sand particles will be able to create pockets of air and allow water to pass through, thus facilitating root oxygenation and proper drainage.
Oxygen is vital for the healthy development of a plant. Similarly, drainage protects roots from rotting. If finer sand is chosen, water may struggle to pass through, and roots will not be oxygenated.
Within a terrarium setup, proper drainage and aeration can also prevent mold.
The grain sizes within horticultural sands range from less than 1mm up to 5mm, it really depends on which brand you’re purchasing.
Typically, one would expect horticultural sand to lie within the latter end of the size spectrum.
2. It is Free from Harmful Chemicals
True horticultural sand, if made from crushed quartz, will be free from salts, lime, and other compounds that may affect the PH balance or chemical composition of your terrarium substrate.
The typical neutrality of horticultural sand adds to its versatility.
Often, horticultural sand contains high quantities of silica. It is, therefore, recommended to wear a mask if pouring in large quantities.
*It’s worth noting that sharp sand and quartz sand generally fall within the horticultural sand bracket, though there may be differences in coloration, coarseness, or chemical content. Always check your packaging!
Builders Sand
While other types of sand may fetch a higher price tag, builder’s sand is generally more common and purchasable in bulk.
If you’re carrying out larger projects (or just more projects in general) and you’re on a budget – builders’ sand is a viable alternative.
It is typically grittier than play sand, thus retaining the advantages of drainage and aeration.
Builder’s sand tends to come in more reddish, earthy hues than its horticultural cousin, which may help or hinder your design depending on what you’re going for.
That all being said, builder’s sand can also have a high silica content, so please be careful when using it.
Depending on your source, builder’s sand may have a higher content of salts or other compounds. Make sure to check the details before your purchase.
Aquarium Sand
I’m personally a big fan of aquarium-grade sands. This is for a few reasons.
Mainly, the information tends to be presented in greater detail (i.e. you know what you’re getting).
Within the aquarium hobby, it is vital that the PH balance and water composition are known and handled appropriately. Therefore, you usually find a succinct description of both the make-up of the sand in question and how it has been prepared.
Aquarium sands are usually aragonite or silica-based.
They also tend to come in a variety of colors, which makes them an excellent choice for terrarium sand art. You need to make sure you’re choosing sand that has been treated properly and not simply dyed with food coloring.
If you have improperly treated sand, it is not unlikely that the colors may run or fade within your layering.
Aquarium shops are a good stop to find proper colored sand.
I will say before we continue that aquarium sand is always a more expensive option. Though, you get what you pay for.
Play Sand
Play sand is another more commonly available sand.
However, it is almost always advisable that you do not use play sand.
Play sand tends to consist of much finer grains. If used for drainage purposes, the sand will fill up gaps in the substrate rather than creating them.
This will discourage water from passing through and create an anaerobic environment that will certainly be detrimental to the health of your plants.
There are play sands that are coarser, but if you’re looking for a cheap and readily available alternative, I would recommend you stick to builders’ sand.
River, Wild, and Beach Sand
There’s certainly something alluring and satisfying about using wild-taken sand for your own terrarium – especially if you’re trying to make it native.
However, I would strongly advise you not to do so. There are various reasons why:
- It is illegal in most countries to take sand from public beaches. You must always seek permission before removing materials from public land.
- Wild sand is far more likely to contain harmful chemicals, an excess of salt, and dissolved organic substances.
- Wild sand may also contain creatures or bacteria. You’ll be damaging a micro-ecosystem and then quite possibly damage your own.
Using Sand for Terrarium Drainage
You now understand exactly what you’re looking for when choosing sand for your terrarium.
As mentioned, one of the primary criteria you need to consider is whether the sand is coarse and whether it is clean. These factors are important as they allow sand to actually perform a function within your ecosystem.
Coarse sand, like other drainage materials, creates gaps within a substrate that is resistant to breaking down over time.
These gaps:
- Allow oxygen to pass through which facilitates an aerobic environment, which stimulates healthy plant growth and hinders mycelial development.
- Allow for water to pass through, enabling roots to be hydrated but not drowned.
So, when using a sand element for drainage, the rule is to select coarser sand.
Placement
A common question for drainage materials is exactly where to place them within the terrarium.
- Should drainage be right at the base, as a false bottom?
- Should drainage be in between substrate layers?
- Can drainage be simply mixed in with a larger substrate mix?
The answer to all three: Yes.
As long as the sand is within or below your substrate layer it will perform the same function of draining excess water. There are, however, two things to note:
1. A ‘false bottom’ provides insurance-style protection for your terrarium. If you have accidentally overwatered your terrarium, there is an entire bottom layer dedicated to housing that water to protect your roots. Drainage incorporated within a substrate may be less able to deal with overwatering.
2. If you do opt for a false bottom, you should still include aerating/draining components to amend your soil mix – such as orchid bark or gravel.
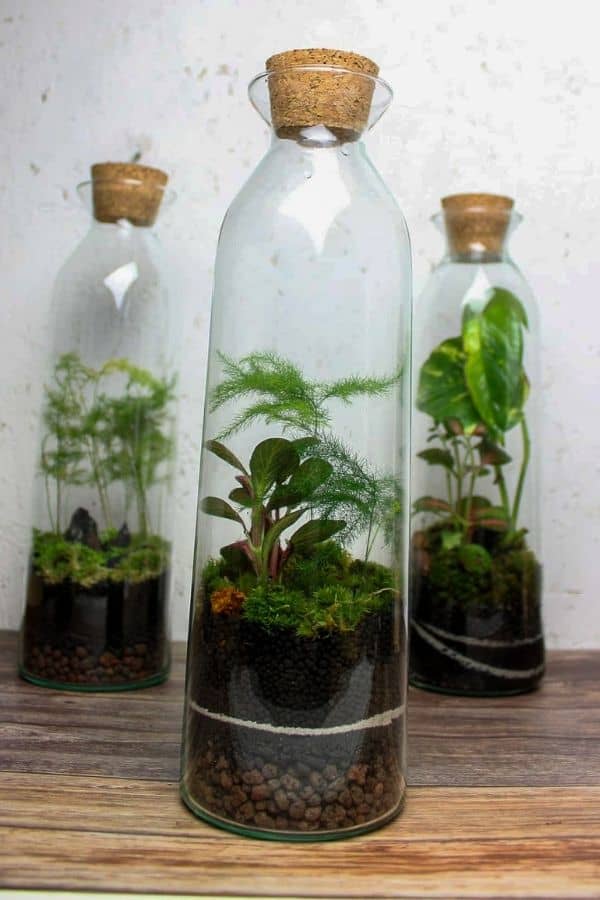
Sand Art in Terrarium Layers
Layering is a signature feature of the terrarium craft.
Although some creators may overstate the necessity to individually layer components rather than combine them, there is something uniquely beautiful about well-assembled terrarium tiers.
Although I’ve described it as coarse numerous times throughout this article, sand is still a much finer component than most other substrate materials you may use within your terrarium.
This fine quality gives you the power to create crisp, curvaceous waves that billow up and down underneath the surface of your ecosystem.
Sand art is an entirely separate skill set that requires time, patience, and practice. I do, however, have some handy tips to help you get started.
1 | Use Finer Grade Sand
Although you still should avoid completely fine sand so as not to jeopardize your ecosystem, it’s important to select sand fine enough to give the appearance of a solid layer.
When using multiple colors, you need to make sure all the sands you use are of the same or similar grade fineness.
If not, the sands will fall into one another, and you’ll lose that crispy edge.
2 | Visualise an Idea First
Before you start, take some time to imagine exactly what effect you would like.
Would you want flat, straight layers? Rippling hills? Bumps that seamlessly intertwine?
There are a variety of styles out there.
Don’t be afraid to draw some inspiration from others.
3 | Practice
Rather than jumping headfirst into the sandbox, practice your layering skills in a small, clear container that is not set to be your actual terrarium.
A small container will allow you to restart without wasting too much sand, and if it’s not going to be your actual terrarium the pressure is somewhat relieved.
4 | Use Contrasting Colours
The essence of beauty in sand layering is the contrasting yet complementary colors.
There is an array of colored sands available if you’d like to venture beyond your classic whites, blacks, and greys.
However, as mentioned previously, do make sure you’re getting properly treated sand and not simply craft sand.
Remember that these layers will be exposed to water.
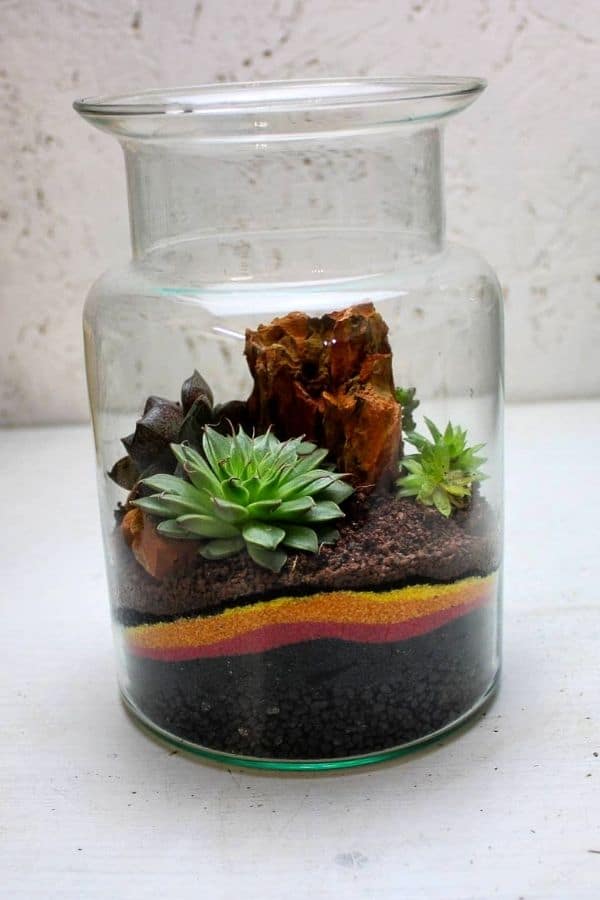
My final point is more of a personal preference. When choosing to use vibrant colors, there’s a fine line between classy and tacky – sometimes literally.
You can consider using colored sands that will actually complement the aesthetic of your terrarium itself.
Take my desert terrarium example below. I’m using red, orange and yellow sands that match the desert visual and complement the earthy tones.
Bright green and blue would probably have not looked so great in this circumstance.
5 | Make Sure Sand is Dry when Layering
There’s nothing worse than wet sand. Unless you’re making a sandcastle, of course.
Wet sand is going to make a layering job nearly impossible.
Grains will stick to the glass, each other, and indeed, you.
Good quality sand will always arrive dry, so please don’t wet your sand.
6 | Create Buffer Layers Between Other Substrates
Other materials within your substrate will be far less fine than your sand.
Therefore, if your sand is above one of these layers when it goes in, it’s liable to fall through the gaps and create a messy look that is hard to rectify without a hard reset.
I have a little trick to avoid this issue.
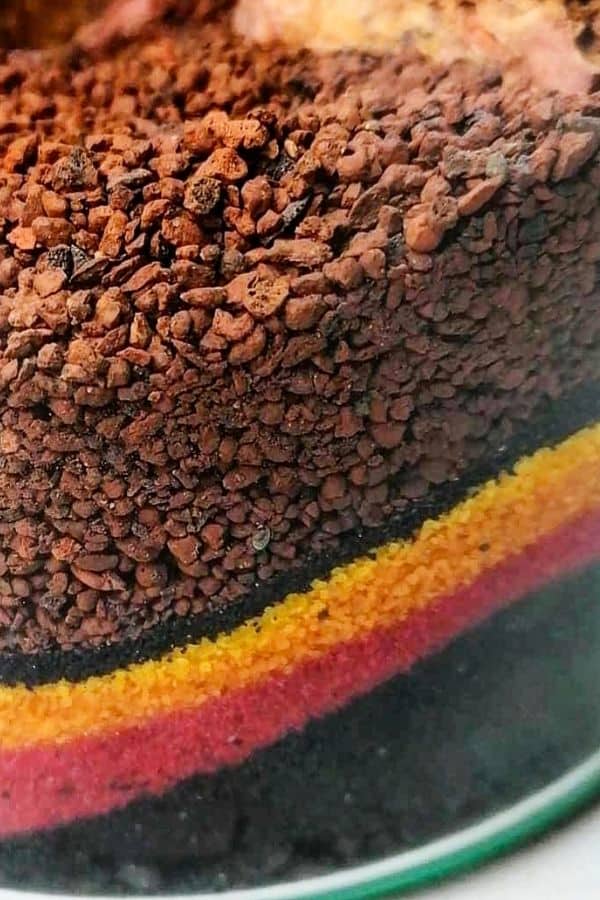
My typical layering pattern will first include Leca as primary drainage. On top, I’ll place activated charcoal.
But, on top of that charcoal and just around the edges of the glassware, I’ll sprinkle in finer black gravel to create a dark buffer zone that blends the lower substrates with the upper.
An extra step, which I often take, is to use black sand as my first sand layer so as to match the dark gravel used and create a sharp and smooth entry point for subsequent colors.
7 | Layer Just on the Edges
So as not to waste sand, you can create your layers just on the outside perimeter of your vessel. This is especially useful if you have a larger vessel.
Additionally, this method ensures you are not disrupting your substrate mix with incredible volumes of inorganic matter that will take up a lot of space.
Finally, this technique avoids making your terrarium too heavy.
8 | Use a paintbrush
There are a few tools at your disposal to smooth out your sand layers, but without a doubt, the paintbrush is king.
Just make sure you have one long enough to reach the areas you need it to.
Decorative Uses for Sand
There is indeed a third use for sand within your terrarium: as a decorative top layer.
I quite often use dashes of white sand within my 3D terrariums to create the effect of a beachfront or ravine.
As well as making your scene more dynamic, the bright quartz sand reflects a lot of light and will help to illuminate the darker areas of your terrarium.
Though this application of sand will have little functional benefit, it can transform your design in an instant.
But, again, be careful.
If you’ve placed your sand atop a loose soil area, it will seep through over time, and you could end up with a messy look.
To avoid this, consider setting your top-layer sand slightly back from the foreground, allowing any seepage to happen out of sight (out of-sight seepage for the win).
See our beach terrarium guide for more!
Wrapping Up
Whew. Well, we’ve certainly covered a lot within the sand scheme of things (sorry).
As with every component we explore, one learns that there’s always much more to know than meets the eye.
Terrarium sand is definitely the king when it comes to function within a terrarium.
But, for eye-catching layering, opt for finer-grade horticultural sand or aquarium-grade sand to get that sweet crispiness.
Have you learned something today? I would love to know!
Please let me know down in the comments.
Thank you for this article. It is very informative for a newbie like myself.