Fittonia are a truly classic terrarium plant.
Loving warmth, moisture, and humidity; they thrive in a closed terrarium environment.
With characteristic bold colors and deeply veined leaves (hence, Nerve Plants) they draw the eye and demand your attention.
Much like the Polka Dot Plant, I think of the Nerve Plant species as more of an ornamental plant. Though stunning, they don’t look particularly natural in a terrarium – they can often contrast a little too harshly with other plants for my liking.
Which is why I think for terrariums, Fittonia work well as the main – and often sole – feature plant. They shine when given center stage and plenty of room to show their foliage.
In this guide, we’re going to be making a very simple and elegant Fittonia terrarium to really show them off and light up a part of your home.
Let’s get started!

Terrarium Tribe is reader-supported. When you purchase through links on our site, we may earn an affiliate commission (at no further cost to you). 💜
Step 1: Terrarium Materials
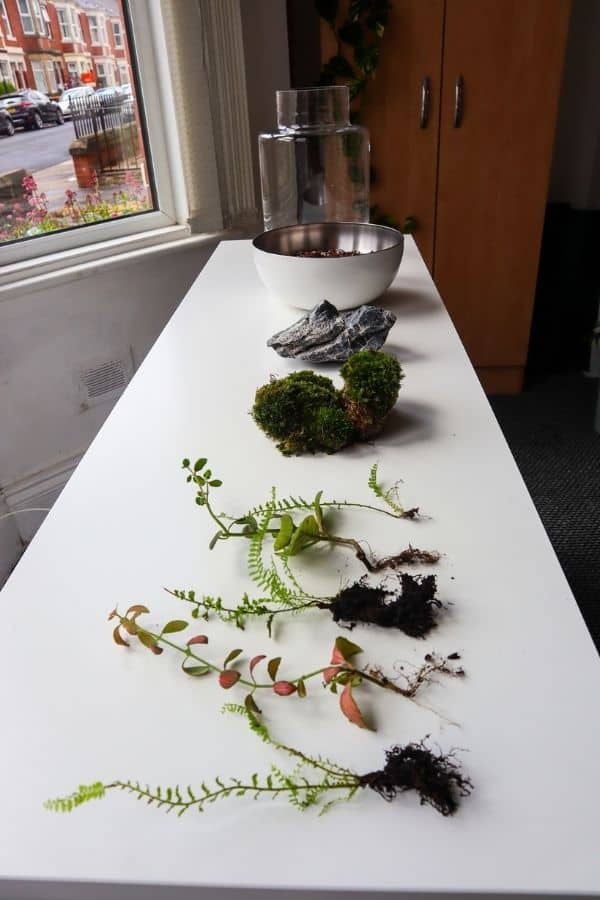
Let’s gather all the supplies and materials we’ll be needing. This terrarium is nice and straightforward, so it won’t require much beyond the bare necessities.
The Container
For this project, I chose a terrarium container with a nice big cylindrical drum and a slightly narrower opening.
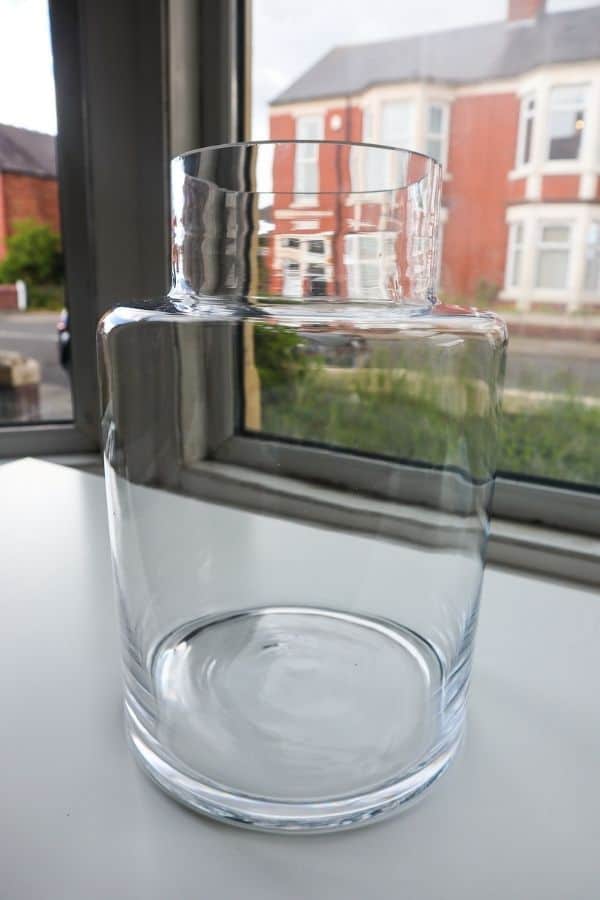
Vessels shaped like this can be more challenging to plant – not only because it’s harder to get your hands in, but because the outside edges have less headroom.
Anything placed too close to the edges is quickly going to grow right into the glass (which plants really don’t like).
That’s why these kinds of terrariums are best planted like you would a vase rather than in a truly natural environment. Use a central feature plant or hardscape element and plenty of space around the edges. It’s more artistic than organic, but hey, Nerve Plants aren’t exactly natural-looking in the first place.
You’ll also need to source a lid for your container if it’s currently a lidless number.
Your moss would really struggle in an open environment. And, while Fittonia are typically comfortable living life as a houseplant, they’ll gladly take all the humidity they can get.
No lid? No problem – you can pop some cling film (saran wrap for Americans) on your terrarium as a great temporary solution, and custom acrylic lids are fairly cheap to source online (grab one here from Etsy).
For more help, check out our DIY Terrarium Container Guide.
Substrate
Fittonia are (literally) prone to dramatically fainting at the slightest sign of dry soil, so be sure to pick a substrate with good water retention.
We’re using a tropical mix substrate in this build, containing coco coir, sphagnum moss, orchid fir bark, and earthworm castings.
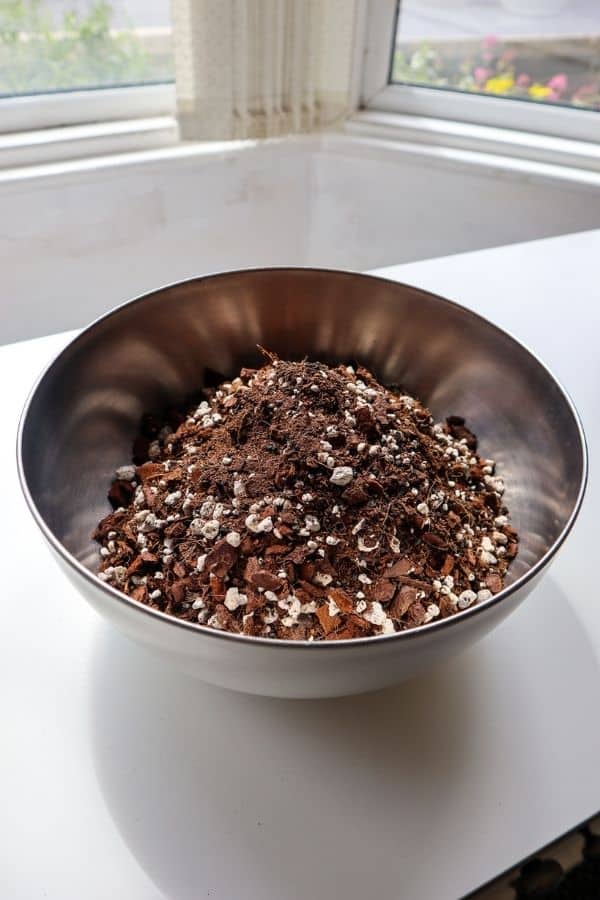
There are a lot of good options here, from standard tropical ABG mixes to heavier sphagnum moss blends. Just make sure it drains well, too; Fittonia will rot if left in soggy substrate.
Our custom terrarium substrate blend is a well-rounded mix that’s designed for versatility and easy plantability.

Premium Terrarium Substrate Mix
Our carefully crafted blend that balances all of your plants’ needs.
Available on the Terrarium Tribe Store.
You can read everything there is to know about substrate mixes here.
Drainage Layer?
In this particular build, I’ve chosen to go without a false bottom layer.
Though they can often be useful to help with drainage (duh), in this case, I find that Fittonia are so easy to recognize when they need watering that you’re unlikely to ever overwater them.
In this simple terrarium, maintaining a suitable water balance is fairly straightforward. However, if you want to be extra safe, you can always use a layer of gravel, stone, or LECA clay pebbles to provide a drainage space for water to collect at the bottom of the terrarium.
It’s a good fail-safe to prevent root rot if there’s too much water in the system.
Hardscape
Hardscape is like perfume; just one bit will go a long way.
Whether you’re going for terrarium stones or specialized wood for terrariums, adding a hardscape element can really give a terrarium character and contrast the plants.
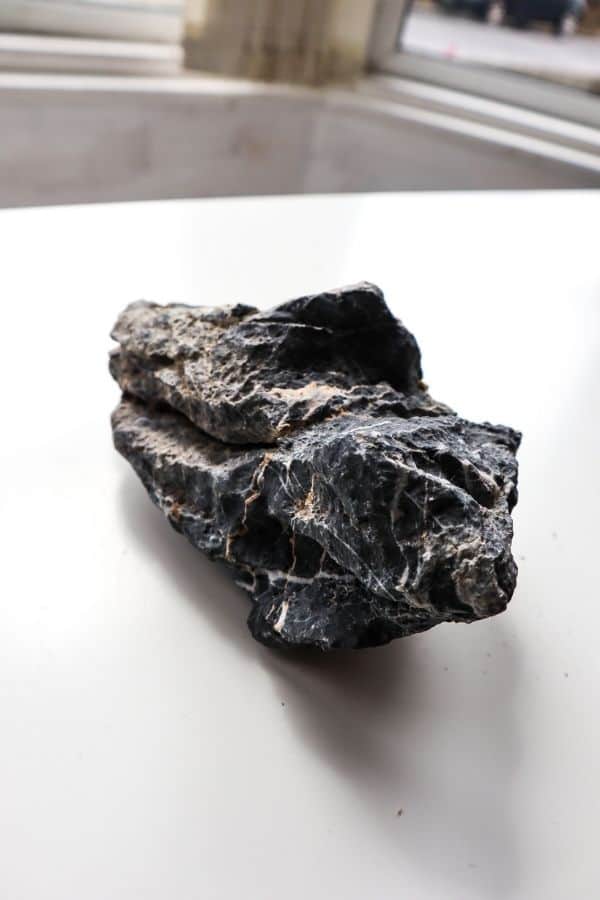
Because Fittonia can look quite leggy, I decided to incorporate a gorgeous seiryu rock centerpiece. I find more delicate plants really pop next to the textured grey gorgeousness of seiryu – see seiryu on Etsy.
Or, the warm hues of dragon stone complement Fittonia well too.
Step 2: Fittonia Terrarium Plants
Sourcing the plants for this terrarium should be very easy indeed. All that’s required is a handful of Fittonia plants, any desirable extras and enough moss to cover the soil. Simple!
Fittonia
Don’t worry about getting any specific type of Fittonia. There are a couple of main varieties, but it’s not critical to get any one in particular.
You’re much more likely to find one of the verschaffeltii or albivenis varieties. They’re identified by their smaller leaves when compared with the broad-leaved superb.
All Fittonia are beautiful, though!
There are SO many different colors and vibrant options on Etsy.
I’d try to get at least two colors here. Enough to provide lots of vibrancy and a nice degree of contrast.
I was planning to go with a dark green and a pink Nerve Plant, but when I got started, I swapped out the dark green Fittonia for a larger, lighter-colored one as it fits the space much better.
All three looked too much together, in my opinion.
Ferns
While Fittonia likes to be center-stage, they live up to their full potential when supported by a backing dancer or two.
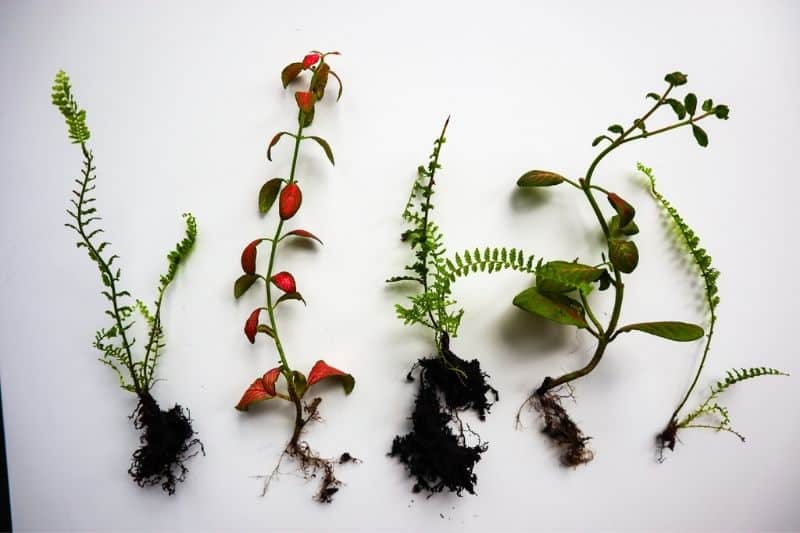
And let’s be honest, who doesn’t love a stowaway Sword Fern?
I think in this particular build, a couple of fluffy fronds will really help the veiny Nerve Plants stand out, but if you’re a plant purist, feel free to skip the ferns and keep the Fittonia as the main event.
I came across a couple of Nephrolepis exaltata I had left over from a previous build, and I felt the need to invite them to the party.
Sourcing tiny ferns is tricky, so I recommend getting a Sword Fern on the smaller side and separating it out. You can find out how to go about that in the terrarium fern guide.
Moss
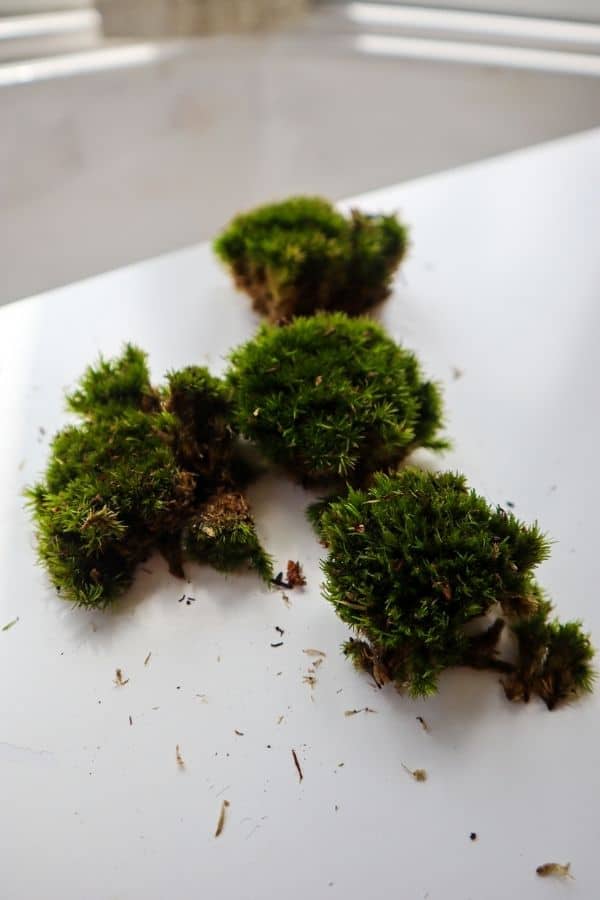
You need enough moss to cover the entirety of the soil. I’m using Pincushion Moss, but any lush, clumpy moss will look great.
👉 You can buy Live Pincushion Moss directly on our store.
Mood Moss would also be an excellent choice here if you want a more dynamic texture (we sell live Mood Moss too!). Check out our terrarium moss guide for more help on moss selection.
If in doubt, I’d always recommend sourcing a little more than you think you’ll need – I’m always surprised with how much I use.
However, if you end up a little short on moss, you can gently tease your clumpy moss apart with your fingers to help it cover more ground. It works a treat in a pinch, but it can make your moss look a bit more sparse.
Step 3: Fittonia Terrarium Build
Now, we build our elegant Fittonia Terrarium! It’s probably the easiest terrarium you’ll ever put together, but the devil is in the details.
The Foundation
If you’re opting for a drainage layer, naturally, you’ll need to add that first. About an inch in thickness will do just fine.
Now, it’s time for the substrate.
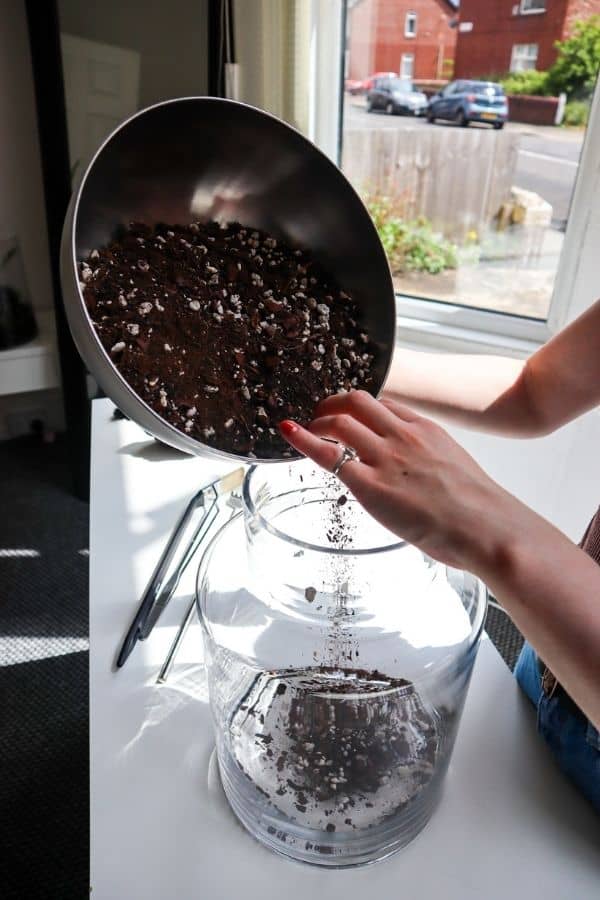
As this is a minimalist build, I’ve decided to pull out my favorite party trick and sculpt my substrate into a slope. This easy variation can make an otherwise simple piece look like a million dollars.
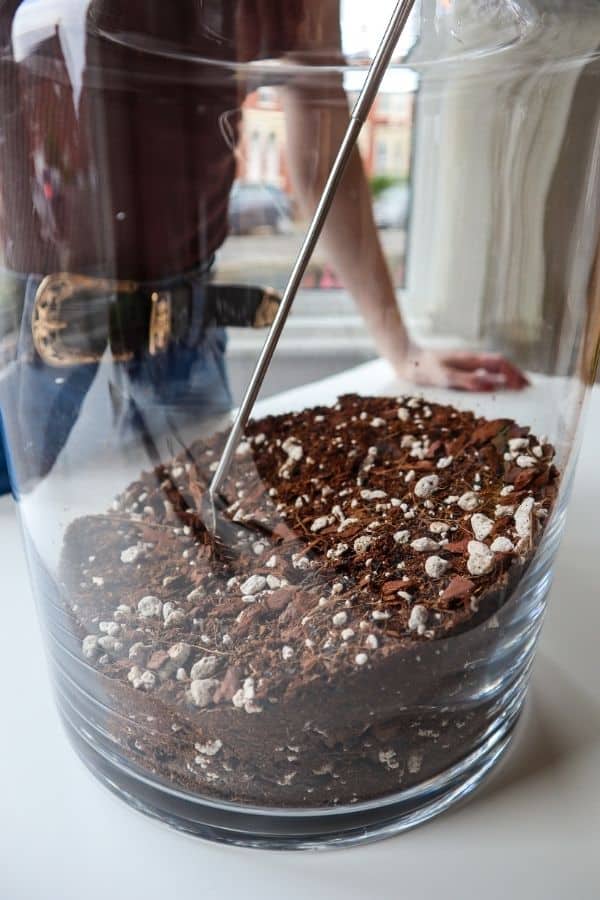
It measures up at 1.5 inches at its shallowest and 3 inches at its deepest. Although Fittonia doesn’t have particularly deep roots, I’ll reserve the most shallow substrate for moss just to be on the safe side.
I use a telescopic rake to smooth out the substrate as best I can.
Hardscape can really change the landscape of your terrarium, so I always recommend adding any rock or wood before you add any plants.
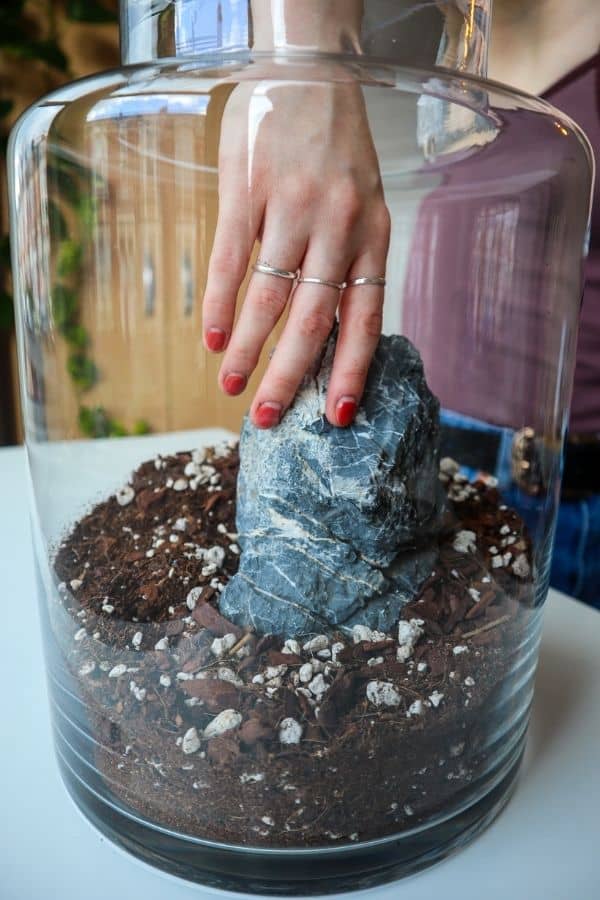
I put my seiryu rock bang in the middle of the terrarium, turning it a few times to find the perfect viewing angle, and then pushed it into the substrate.
Doing this before I add my plants will also help anchor the substrate so it stays in the sloped position – exactly where I want it.
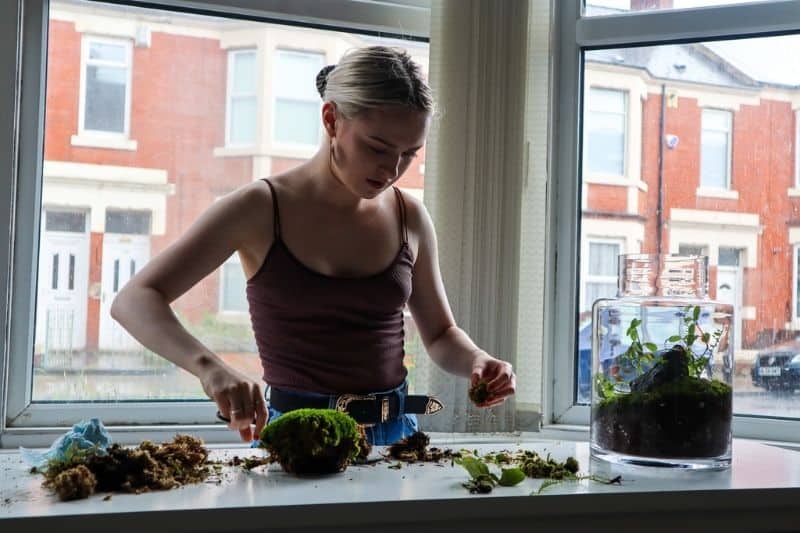
Planting the Fittonia
Planting the Nerve Plants themselves is straightforward.
To account for their shallow roots, you only need to dig a small depression for them. Generally, the roots will spread horizontally rather than down. So, try to gauge it according to the size of the plant and its existing root system.
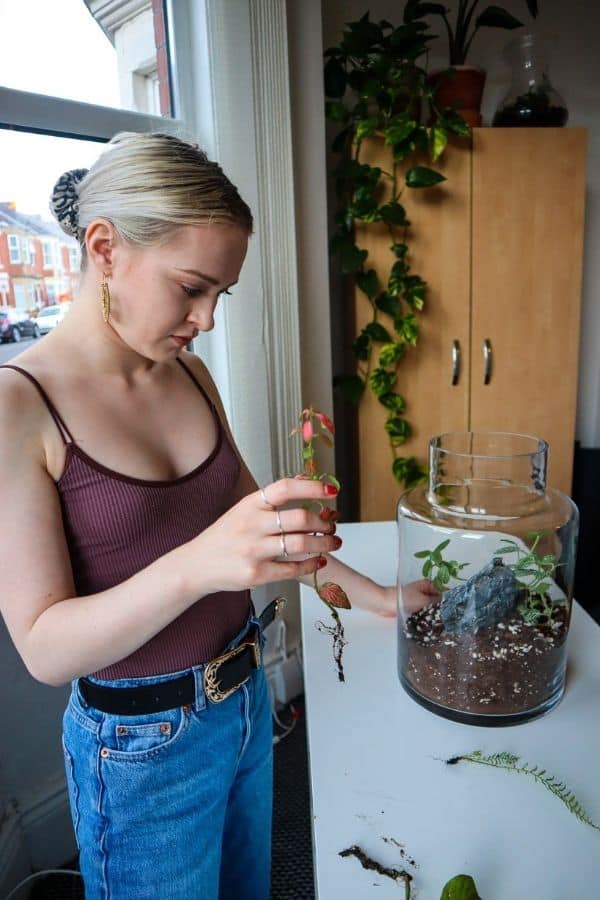
Fittonia can have a real bushy growth pattern, so a plant that looks lovely outside a terrarium might look a bit messy once it’s inside. You can snip off any excess once they’re in position if this is the case.
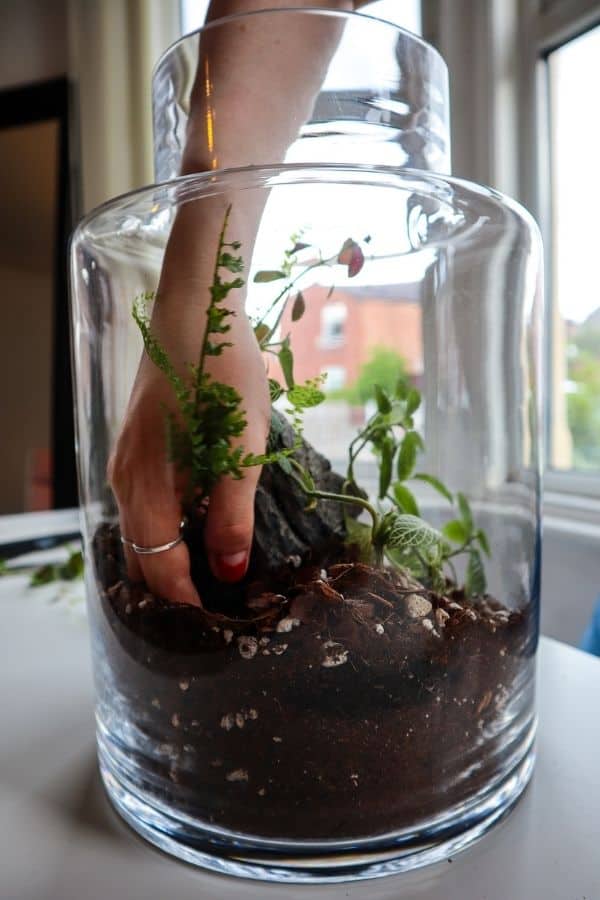
I also went ahead and planted up the sword ferns here too. You know the drill.
Adding the Moss
Finally, the step that pulls the look together.
Grab your clumpy moss and pull your best excited “oh my god, I love moss” face.
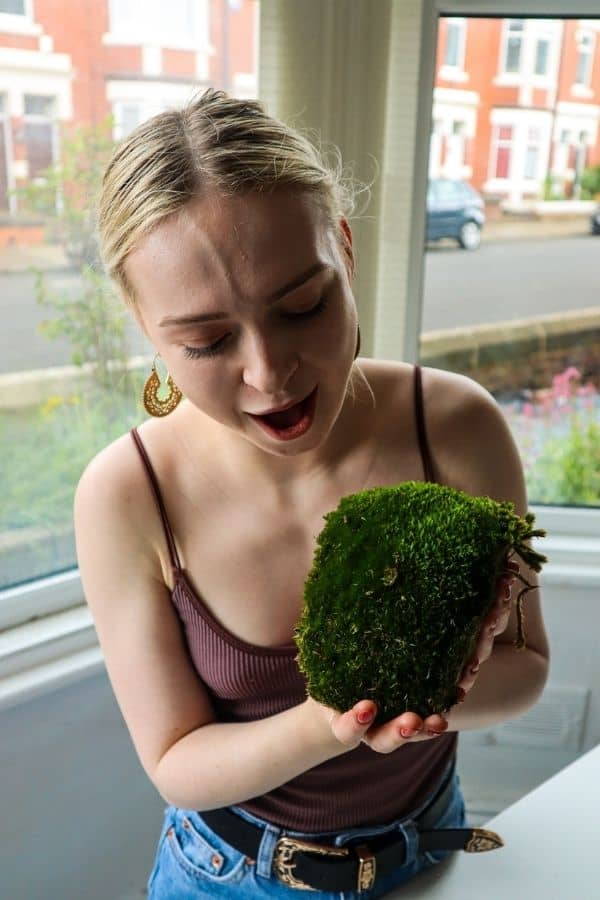
I like to start by breaking it into more manageable chunks and then trimming the brown bottom off. This really helps the finished product look much cleaner.
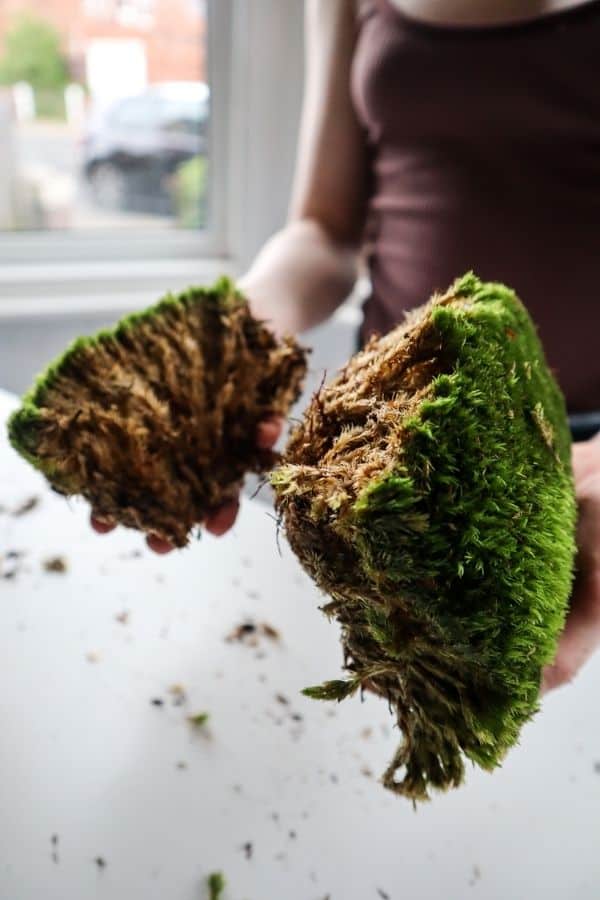
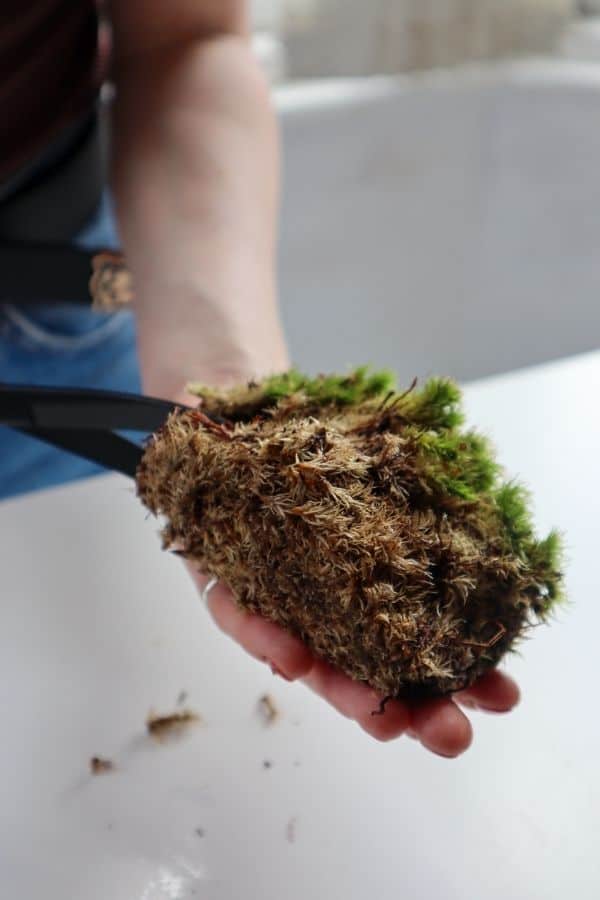
Just bear in mind that the more you trim off, the less the moss likes to hold together, so some long tweezers might come in handy if you find it a bit fiddly.
I then fluff the moss up a little with my fingers and place it on top of the substrate bit by bit, being careful to fill in all of the gaps.
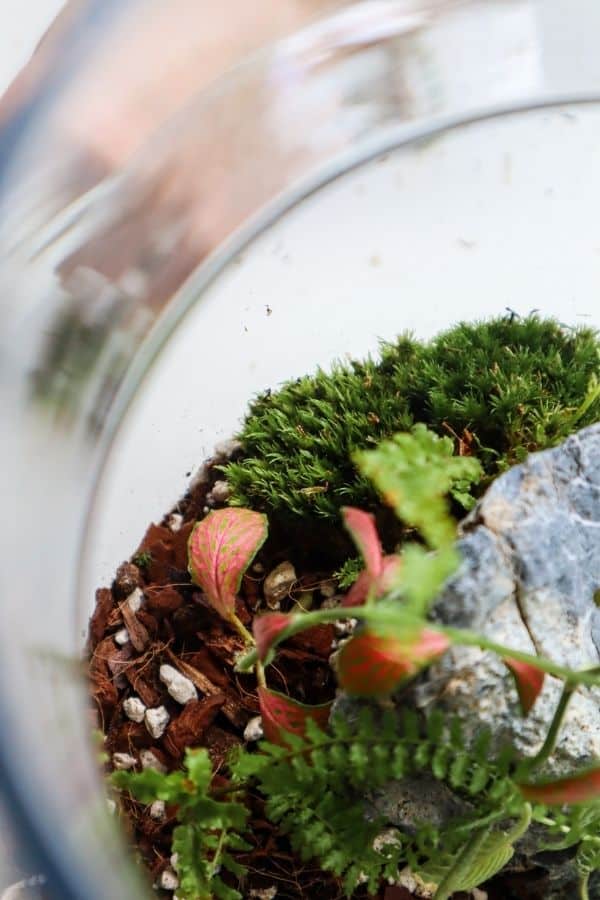
I find that the moss looks best when you press the brown underside down and away from the glass so that the lush green faces the viewer.
And voila!
Give it a Good Watering
To finish, you’ll want to liberally spray down the entire terrarium with suitably purified water.
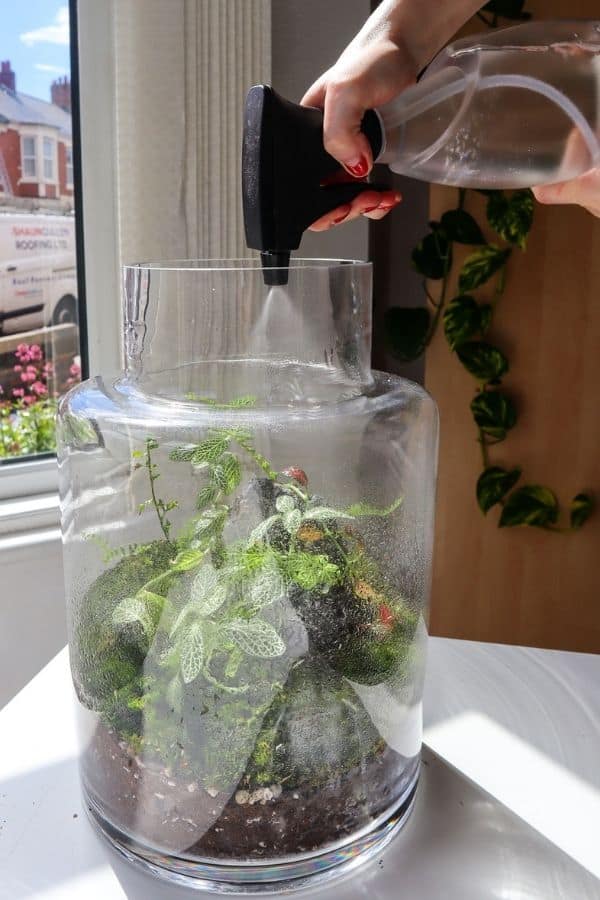
Enough to saturate the moss and the growing medium but not enough to make it soggy – you shouldn’t see any pooled water at the bottom.
Don’t worry about getting the balance perfect the first time. It’s better to add to little at first and top it up later. Fittonia will quickly let you know if they’re dry.
Step 4: Fittonia Terrarium Care
So, how do you look after your wonderful new creation?
Conditions
Light
For best results, Nerve Plants (and moss and ferns) should be placed in an area with bright, indirect sunlight. Fittonia can adapt to lower light placements, but their colors can fade a little.
On the whole, your new terrarium is quite versatile in where it can be positioned. Just keep it out of direct sunlight to avoid scorching.
Water
Your terrarium plants and moss will like consistent moisture. However, if you’ve opted to go without a drainage layer like us, then you’ll need to be careful that there isn’t too much water in the system (see the terrarium watering guide if you’re unsure).
Too little, and your melodramatic Fittonia will faint. Too much, and you’ll risk root rot.
The best way to go about it is to add a little at a time until everything is running smoothly.
Humidity
Generally, the higher, the better. Both your Fittonia and whichever tropical moss species you choose appreciate high humidity.
Maintainance
Fittonia can quickly grow bushy, so you’ll run into some irregular shapes every now and again. They’ll definitely need regular trimming to keep their foliage neat.
They can also bloom with flower “spikes,” which some people prefer to trim. I think they look just fine with the foliage, but if you prefer, you can remove them at their source.
The Sword Fern and Clumpy Moss should be lower maintenance than the Nerve Plants, but of course, trim where necessary.
Over to You
How’d it go?! Are you happy with your elegant new Fittonia terrarium? Let us know in the comments.
Or, if you need inspiration – check out these terrarium design ideas.
Could you make some posts about what plants are best for small bottle terrariums? I got one recently and am looking for advice on what to plant.
Great idea, I will do!
Wonderful inspiration and tips!