A moss terrarium is one of the quickest ways to create a terrarium that feels lush and natural, right from the start.
You really don’t need much space or a long list of materials. A good container, healthy live moss, and a few key hardscape pieces are all that’s needed to make something that feels like a true tiny landscape.
That’s the power of putting moss at the heart of the design.
Instead of using it as a filler around other plants, you’re building the whole scene around its texture, form, and natural character.
In this guide, I’ll show you how to make a moss terrarium step by step, what materials you actually need, which moss works best, and how to keep it looking its best over time.

What You Need to Make a Moss Terrarium
Moss terrariums are refreshingly simple – a few core materials are all it takes to get started.
To build one, you’ll need:
- A glass container with a lid (or narrow opening).
- Live moss (preferably several types).
- Moisture retentive substrate mix.
- Activated charcoal.
- Hardscape feature (a dynamic-looking rock or branch).
- A spray bottle (filled with purified water, ideally).
- Springtails culture.
With the right materials in place, building a moss terrarium is mostly a matter of layering, shaping, and knowing when to stop adding moss…
How to Make a Moss Terrarium (in 9 Steps)
1 | Grab Your Glassware & Give it a Clean
Your choice of container will set the tone for your whole design.
Moss quickly dries out in an open environment, so the first and only rule is that the glass container either needs a lid or a very narrow entry – so that humidity is easily retained.
You want to start with a blank slate, so wash, rinse, and dry your container thoroughly before you begin.
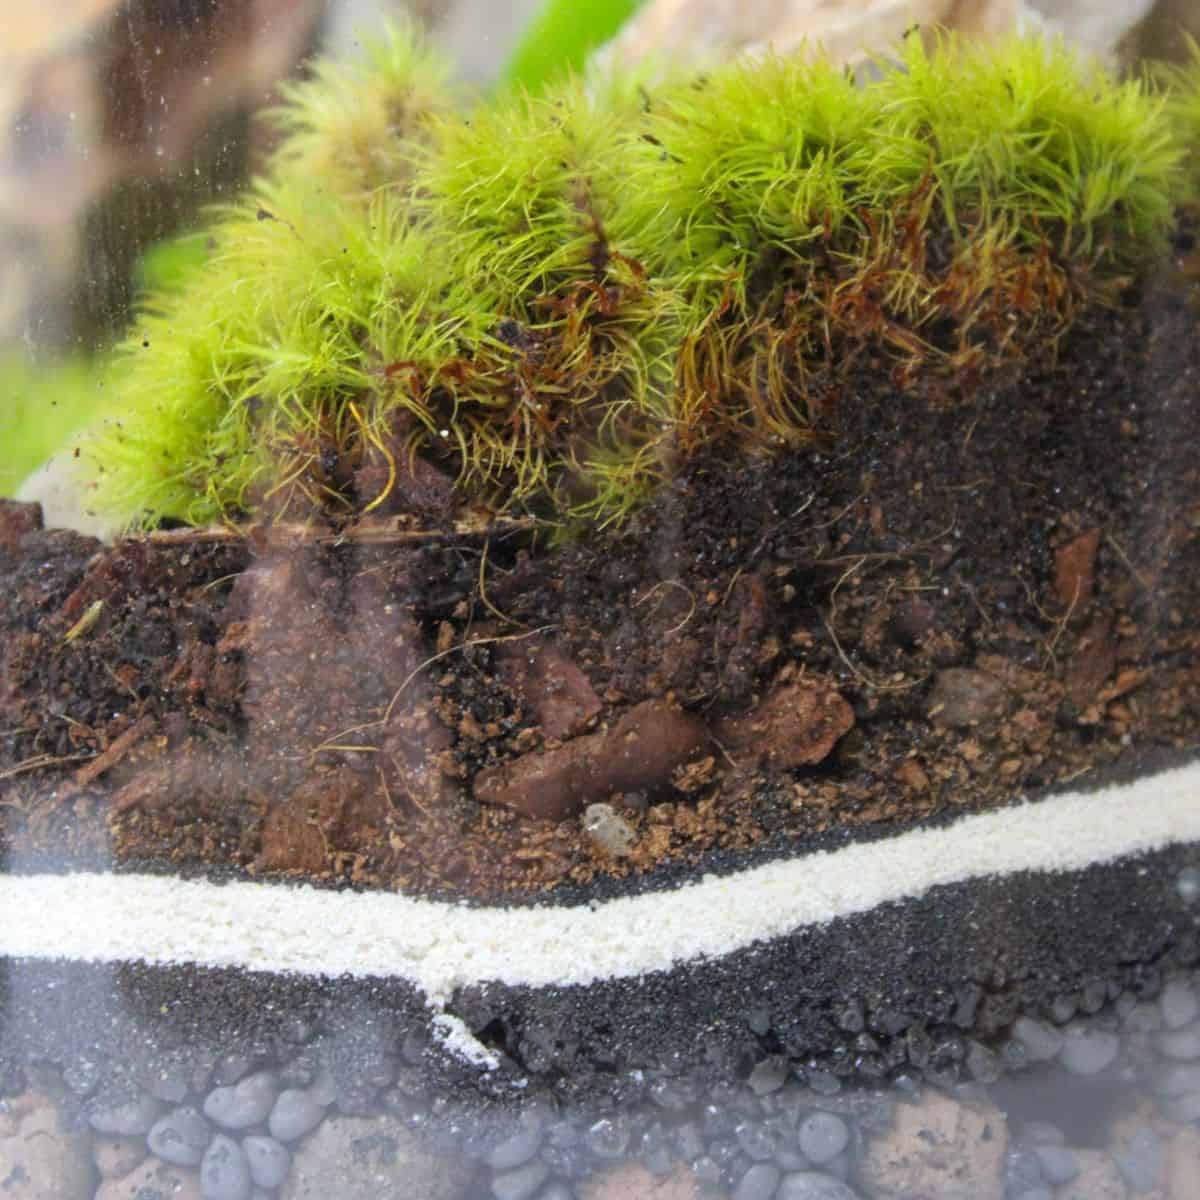
2 | Add Substrate
Getting a good terrarium substrate mix isn’t nearly as important for moss as it is for other closed terrarium plants.
As they enjoy remaining moist, aeration and drainage aren’t as imperative.
(Though if you really want to push the boat out, most mosses prefer acidic and dense, clay-based soil).
I’ve used various substrates, and the moss has never suffered as a result.
I would recommend including some activated charcoal within your substrate to bind any harmful chemicals that may pass through the water.
You don’t need a ton of substrate to provide for your moss – simply enough to attach to.
3 | Hardscape
Now, hardscape is technically optional, but aesthetically, I’d say it’s essential.
A visually complex piece of stone or driftwood can add some serious flavor to a mossarium scene.
From a design perspective, I like to place the largest elements at the back of the terrarium, with smaller pieces cascading into the foreground, allowing for maximum visibility within your design.
But it’s up to you.
*For a more advanced mossarium setup, why not consider using Lava Rock in tandem with an aquatic moss, like Java Moss? The incredibly porous nature of Lava Rock can, over time, allow such mosses to grow all over the stone itself.

4 | Building the Scene
After you’re happy with your hardscape placement, sculpt your substrate into desired areas.
Then, gently mist the substrate to dampen it adequately. It’s important not to do this before you’re happy with the landscape – otherwise, it’ll get stuck to the glass and make more clean-up work afterward.
5 | Prepare Your Moss
The star of the show!
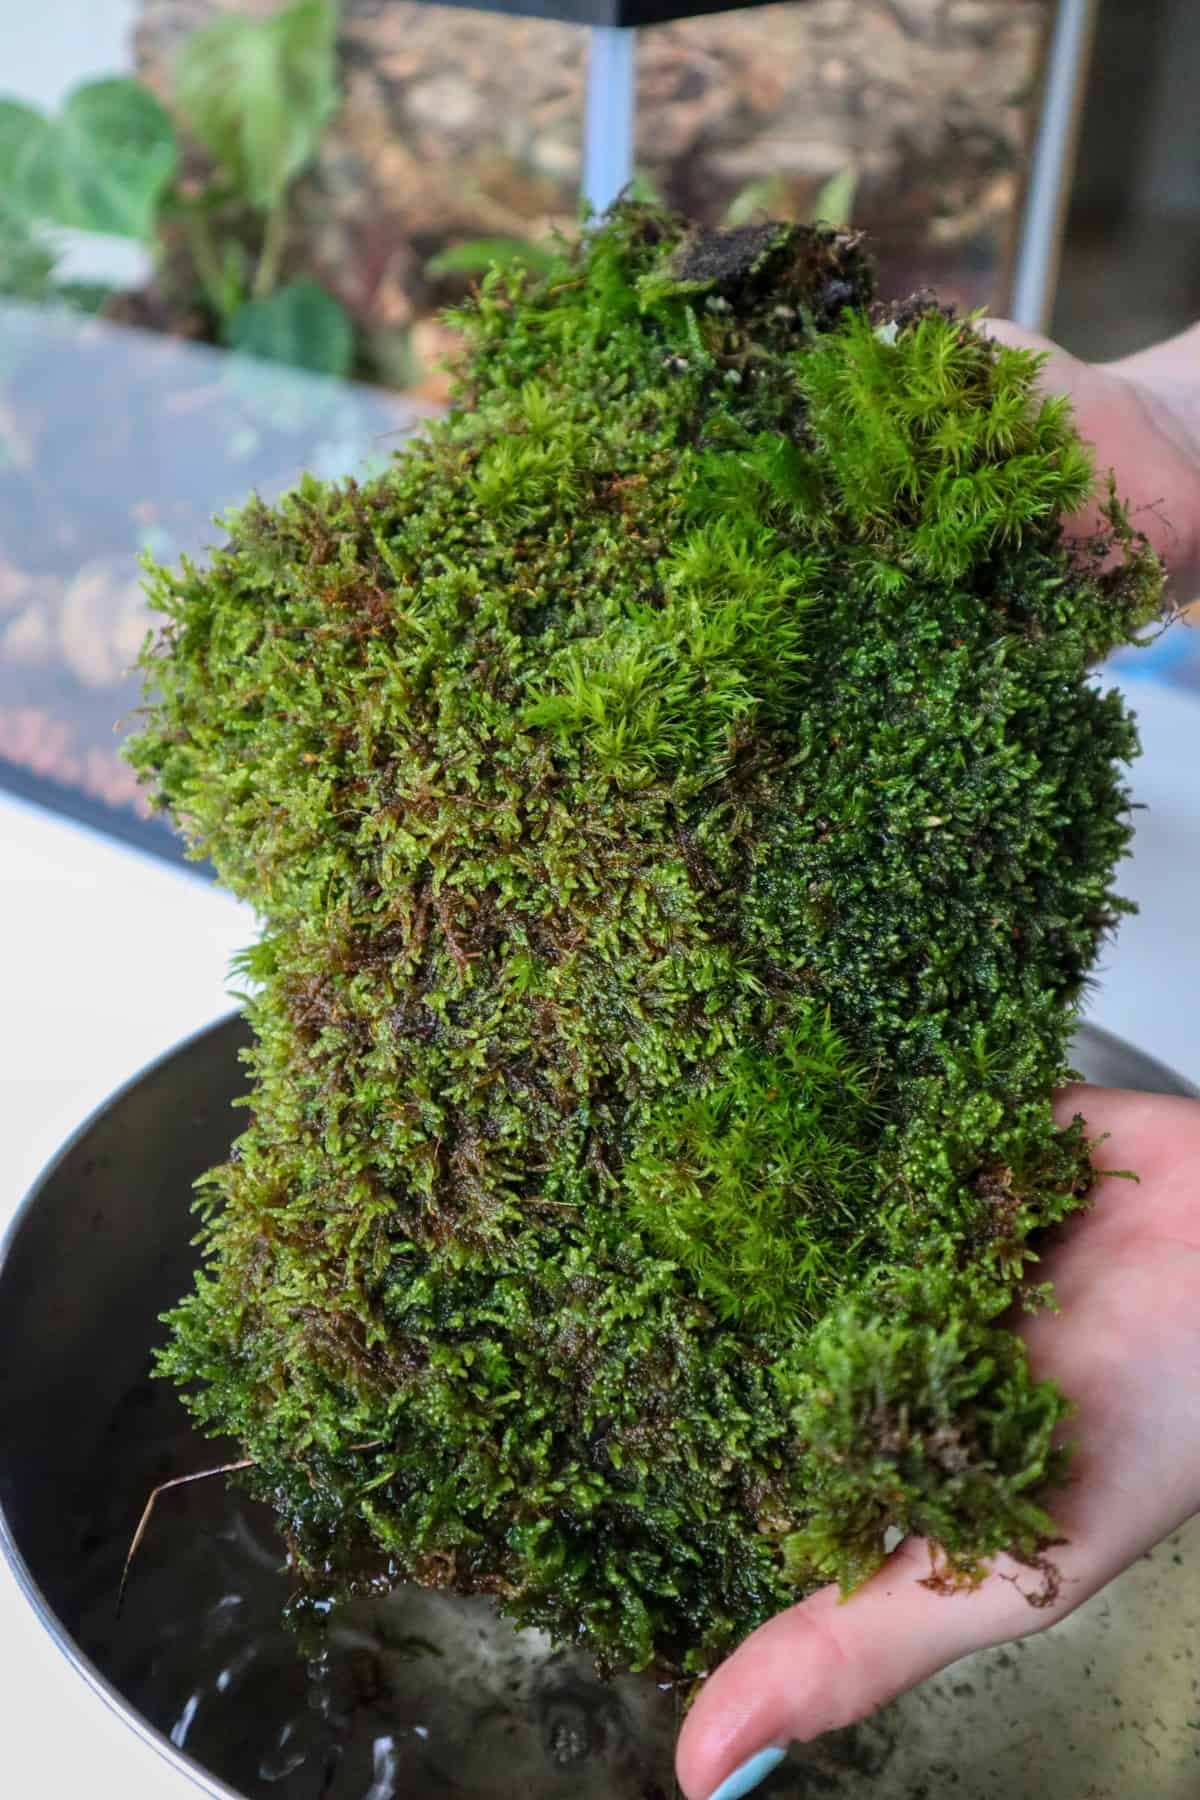
Before you use your moss, make sure it’s been hydrated and/or cleaned.
To do this, place it in a bowl of water and soak for 10 minutes until any stowaway critters have come to the surface (if fresh) or for 30 minutes until thoroughly moist (if dried).
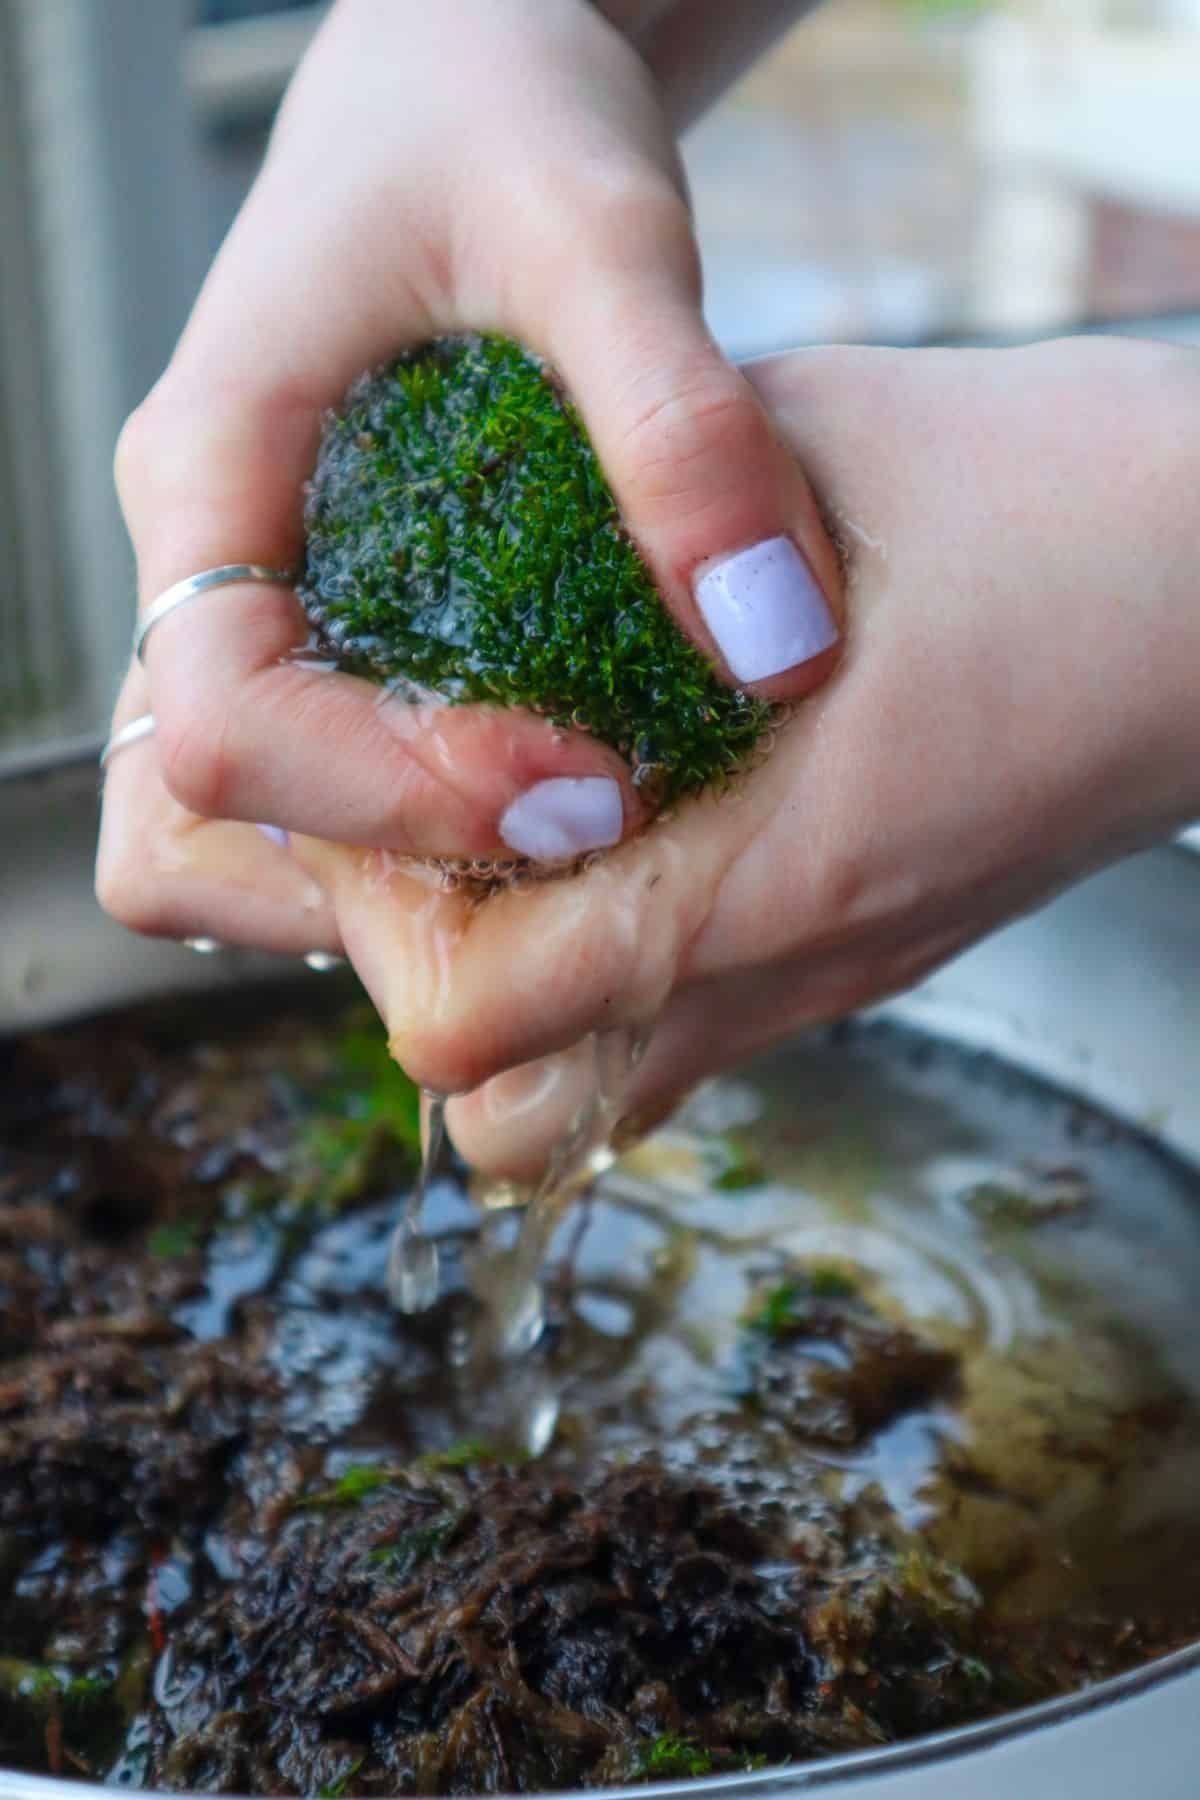
A final point is that the rhizoids may be present with some kinds of moss.
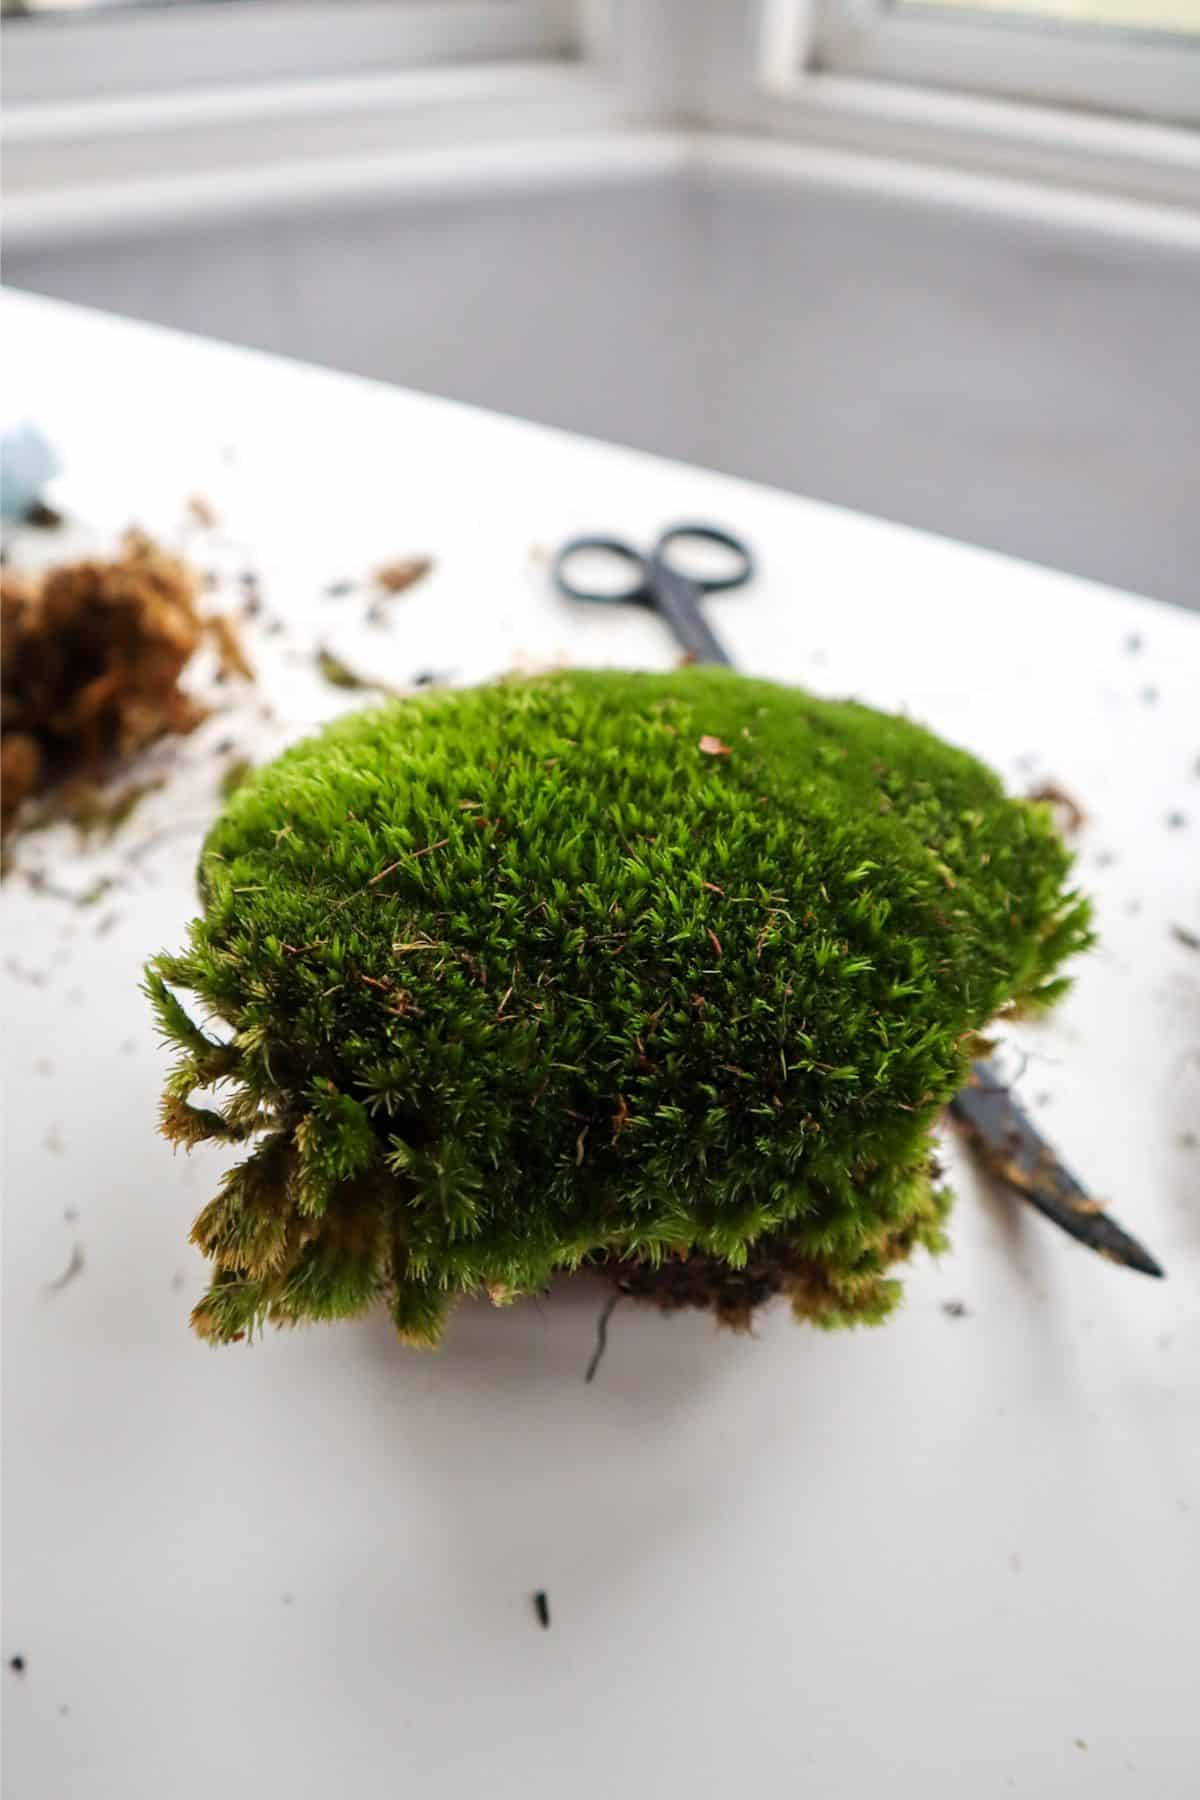
With Cushion or Mood Moss, for example, there’s a thick layer of brown rhizoid underneath the vivid green tufts.
You can trim this away before placement.

6 | Place Your Moss
Now it’s time for the good bit!
You don’t need anything fancy, but for any mossarium or terrarium build, having some terrarium tools to hand can be useful.
When placing your moss, gently push it into the soil or hardscape. Moss doesn’t have roots, so you needn’t worry so much about the depth of placement.

If you’re placing pieces of moss with rhizomes near the outside of your mossarium, I’d recommend trying to ‘tuck’ the brown bit inwards so that you’re not left with a dull layer permeating around the circumference of your wonderful design.
7 | Finishing Touches
Now, the fundamental design of your mossarium is complete; a paintbrush can help you clean down the interior sides of your glassware.
Now is also the time to choose whether there are any other elements you’d like to include.
I have the habit of over-adding finer details, but a few good highlights rarely go amiss.
This may be a few branches of spiderwood twisting throughout the rock face or some bright pebbles or seashells at the shoreline of a sandy beach.

8 | Adding Microfauna
Custodial critters like springtails can be a wonderful way to turn your mossarium bioactive.
These bioactive terrarium insects are detritivores that consume decaying organic matter or mycelial growth and convert it back into nutrients within your substrate.
Once all other elements are added, you can add in your springtails and turn your mossarium bioactive.
They will arrive in a container, but a good extraction method is to pour a little water inside their container, gently swish it around to gather springtails into a pool, and then pour them into your mossarium design.

9 | Spray it Down with Water
Even though moss is partial to a fair quantity of H20, you must still be conscious of overwatering.

What kind of water you use can matter, though.
Some, but not all, tap waters contain high levels of chemicals such as chlorine. Such chemicals can be detrimental to the development of your fluffy friends and turn them brown.
Because of this, it’s recommended to use filtered or purified water.
I’ve found tap water to suit a variety of mosses I’ve used, but some certainly are a tad more on the sensitive side.
Best Moss Species for a Mossarium
There are thousands of species of moss in the world, and many of them can work nicely in terrariums.
In practice, though, only a handful are both well-suited to terrarium life and readily available in the hobby.
We’ll cover the top picks here and how to use them below, but for a broader look at the most popular options, see this guide to the best terrarium mosses.

*Also, avoid preserved moss for your mossarium. It will likely contain dyes and chemicals that can leech and damage any living material.
Either go all in on the live moss or all in on the preserved.
1 | Cushion Moss (Leucobryum glaucum)
The term ‘Cushion Moss’ is by far one of the most widely searched mosses on the internet.
Though many types of moss are often conflated within this term, it generally refers to the species Leucobryum glaucum – most commonly found across North America and Europe.
Its green leaves are distinctly formed to create a puffy pillow shape.
This shape makes it an infinitely popular choice for use in terrariums to create the effect of rolling hillsides and dense shrubbery. So for that classic hummocky look, Cushion Moss is hard to beat.
2 | Fern Moss (Thuidium delicatulum)
This is the moss I see in the wild more than any other.
Found in Europe, Japan, and North America – Fern moss enjoys a more neutral PH environment. It typically grows up tree trunks, on rock surfaces, and along the forest floor.
There are a few very similar mosses in the Thuidium classification, and they’re easily mistaken for one another.

It’s a great choice of moss to create a miniature fern-forest aesthetic (hence the common name Fern Moss).
So if you like that soft, feathery look, Fern Moss is a great option for you.
3 | Mood Moss (Dicranum scoparium)
One of my personal favorites, Mood Moss, is another acrocarpous moss (clumpy) and one of the more sought-after variants.
Dicranum scoparium, also known as Rock Cap Moss, produces thick, wavy green tufts of up to 10cm in height.
I enjoy this moss not only for its vibrancy, but for the fact that its fluffy bushiness can carpet a wide area without having to use too much. Which makes Mood Moss especially useful for fuller, more natural-looking scenes.

4 | Hypnum Moss (Hypnum cupressiforme and Hypnum imponens)
Hypnum Moss is incredibly common, though that doesn’t mean it’s not a valuable member of the moss community.
Found in every continent except Antarctica, it grows within a wide variety of conditions. Be it on trees, deadwood, rock faces, or the soil – it’s hard to miss. However, it does tend to prefer acidic soils, as most mosses do.
Its biggest strength is how easy it is to work with. Hypnum Moss tends to hold together in soft sheets, making it ideal for covering larger areas and settling neatly around hardscape.
You can find all these mosses (and hopefully more) on our shop collection of terrarium moss for sale.
Live Moss Terrarium Care
- Watering – a sealed container should be able to maintain a humid environment and water cycle. However, if your moss begins to dry out at any point, you can mist your vessel with a spray bottle from time to time to boost humidity and moisture.
- Lighting – mosses still require light for photosynthesis to produce food, but too much light will dry out your moss. Keep your mossarium in a relatively shaded area that doesn’t get blasted with direct sunlight regularly – bright indirect sunlight is ideal here.

- Heating – much like with light, you must be careful not to overheat your mossarium. Keep it away from artificial heat sources like radiators and electrical appliances, and do not let it ‘cook’ in the sun. Remember, the glass will act like a greenhouse.
- Maintenance – if your moss completely takes off and grows exponentially, hooray! You may wish to simply let it do its thing, or you might want to keep it in check to maintain your special design. A long, thin pair of scissors will allow you to trim any unwanted excess.
And the best part is that you can repurpose these cuttings in another design… Infinite moss, anyone?
Now It’s Your Turn
Whew, so there we go. That was a big ‘un. But I think I’ve covered everything.
What do you think? Is there a particular type of moss you love to use that isn’t mentioned?
Let me know down below – I always love to hear your thoughts.
I’ve made three terrariums using your instructions and all three are thriving beautifully!!! I have a beautiful lake near, used some moss I found there in two of the terrariums…the hunt is on again! Gotta try the Mossaruims. Thanks to you I’m the coolest BiBi (grandma) ever!!!! My grandkids love watching the terrariums grow and have lots of questions…AND BiBi KNOWS ALL THE ANSWERS 🙂 …..I love that!!!
Thank you!!!!
Hi Robin!!
What a lovely comment, I’m so glad to hear of your successful mossariums. I hope the grandkids get involved, it certainly sounds like they have the coolest BiBi, that’s for sure 😉
If you ever need help with anything else, please do let me know.
All the best!
Very valuable instruction. The photos are beautiful as well as helpful! Thank you!
I agree. The photos are beautiful!
Thank you so much for these instructions! I’m ready to put them to good use. Would love to see some info on pixie cup lichen, in a mossarium!
Thanks so much for putting the time into this. I’m a newbie about to start my first attempt and this article was clear and helpful.
I made mini a Mossarium with some moss from my yard, and currently using it to test and see if that moss will work in the closed terrarium i’m working on. if it does, I’m gonna keep it. this article helped me in making it. love the work you guys do.
I bought some spike moss for my beginner’s terrarium. Maybe I watered it too much because it kind of dissolved. How do I know how much to water?
Hi, Spikemoss isn’t moss, it’s a plant called Selaginella. It has roots so unlike moss can be overwatered.
What kind of moss can I use in a open terrarium
I’m afraid you generally can’t – they tend to dry out way too fast.
I’m a newbie on moss terrarium. Made one in a workshop and I plan to make another by myself. I like to ask how much water to spray on at the end ? Should the substrate get fully wet?
The one I made in workshop was sprayed with good amount of water yet Im concerned with over water.
While it’s not an exact science, if the substrate looks wet you’ve gone too far. I recommend starting small and checking over the coming days to see if the moss feels dry and if it does, spraying some more.
I was wondering how much of the brown rhizomes (I think is what you said?) should be trimmed away. As you said if you are placing them at the edge the brown should be tucked in, I assume that means you don’t cut it ALL off.
Thank you for this great resource! I am reading the book Gathering Moss by Robin Wall Kimmerer and really want to make a mossarium.
We tend to cut most of it off to be honest! It’s what holds the moss together though, so retaining a tiny bit helps it from all falling apart.
I planted a successful terrarium 2 1/2 years ago. It is self sustaining. I think I have sprayed it twice.
I love moss and went out in the forest and collected some along with a little rock, and some bark & small pieces of wood with moss on them. Thank you so much for your information.
Thank you so much for the steps!! I’m about to create mossarium number 6 and am super excited! The information you have given me is incredibly helpful! Keep up the good work!!