

Air plant terrariums are as easy as they look. That’s the magic of them.
You don’t need much to make one (not even soil). A glass globe, a twist of driftwood, a little sand or preserved moss, and suddenly you’ve got a sculptural little display that feels far more polished than the effort involved.
That’s why Tillandsia work so well in terrariums. They don’t need to be planted.
In this guide, I’ll show you how to make a simple air plant terrarium, what materials work best, and how to keep the display looking fresh without turning it into a high-maintenance project.

Air Plant Terrarium Supplies
You only need a few things to make a DIY air plant terrarium: the plants, an open glass container, something structural to hold the layout together, and a decorative base.
The container is mostly there to frame the display. The hardscape gives the plants somewhere natural to sit. The sand, gravel, moss, or stones finish the scene.
So, let’s start with the plants.
1 | Air Plant Options
Most air plants used in terrariums are Tillandsia, and they come in a surprising range of shapes, textures, and colors.
Some are soft and silvery, others are chunky and sculptural. Some even flush pink or purple when they’re happy or coming into bloom.
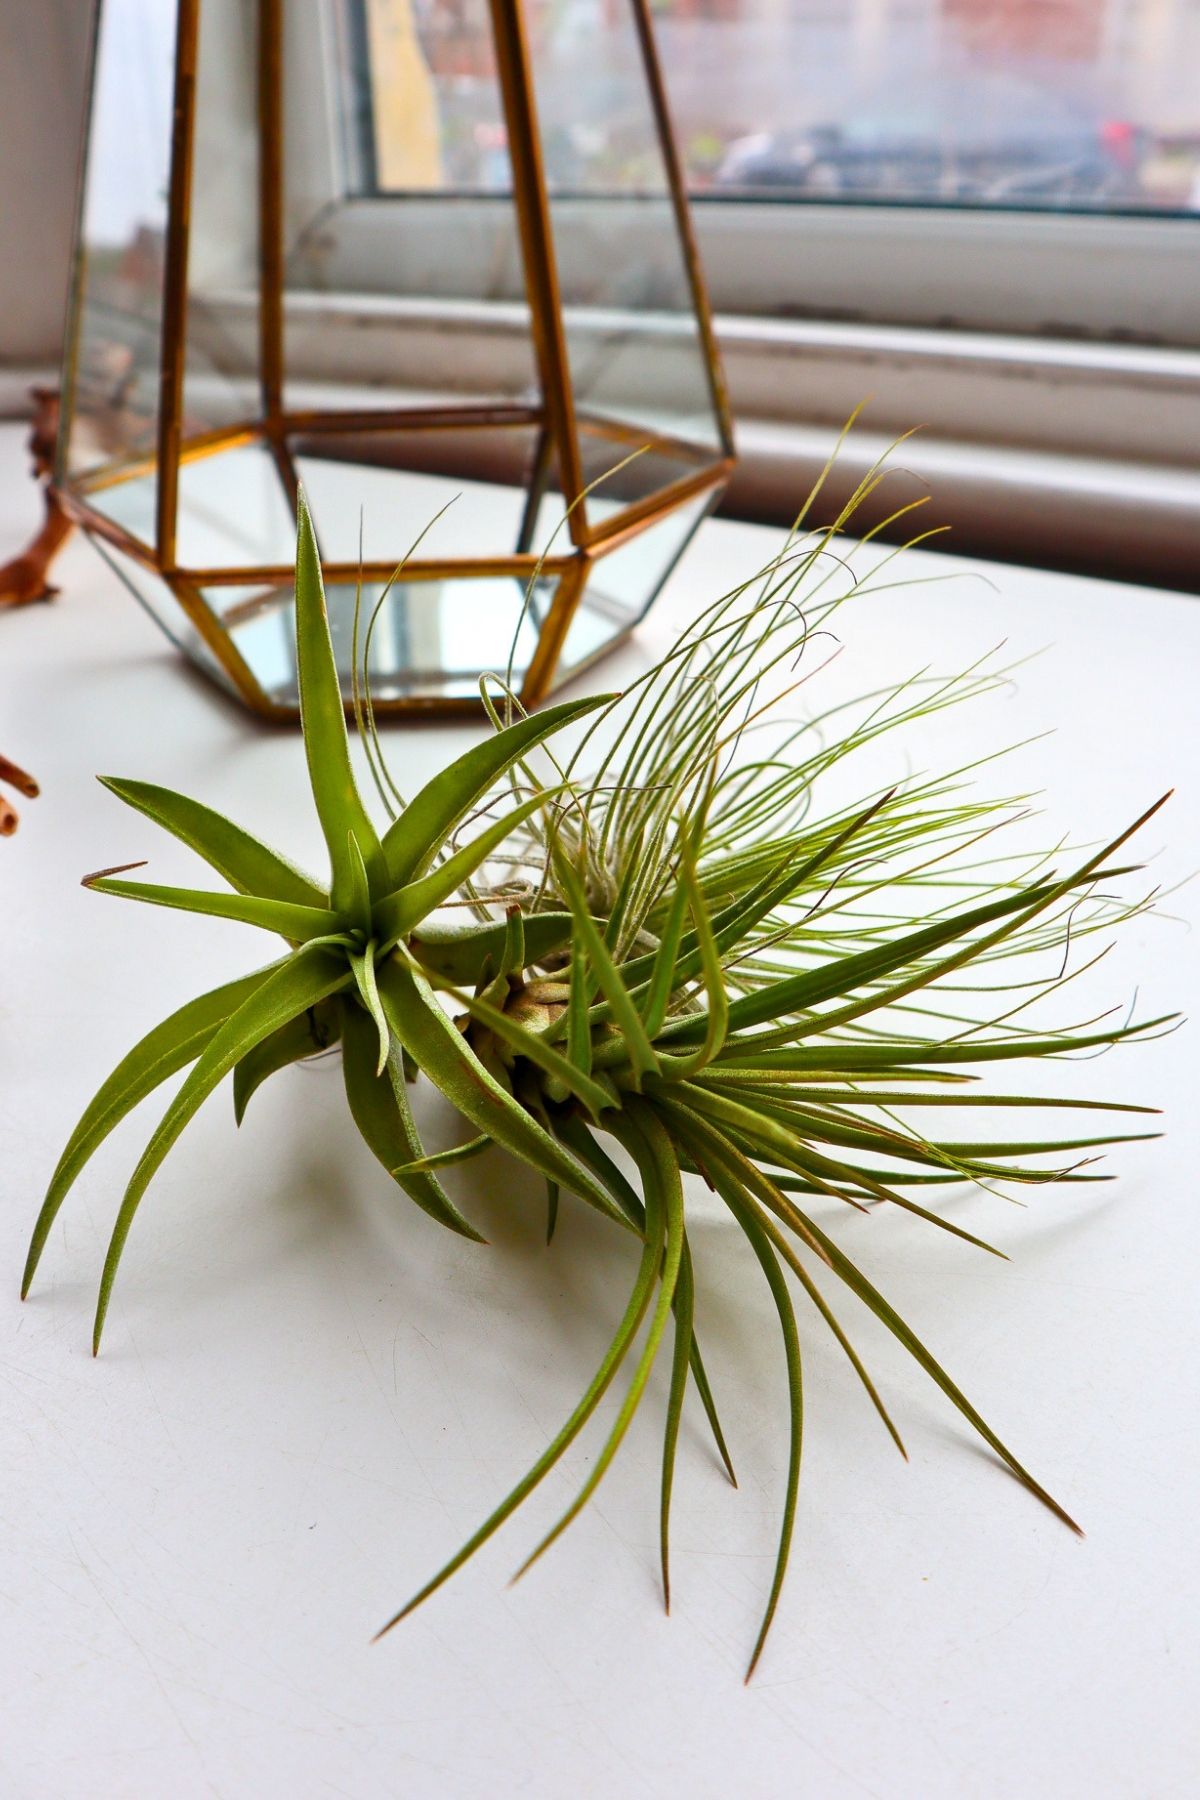
Small varieties like Tillandsia ionantha are easy to tuck into compact displays, while chunkier species such as Tillandsia capitata or Tillandsia xerographica can become the main feature.
Tillandsia bulbosa is another interesting choice. Its bulbous base and twisting, tendril-like leaves give it a slightly alien look.
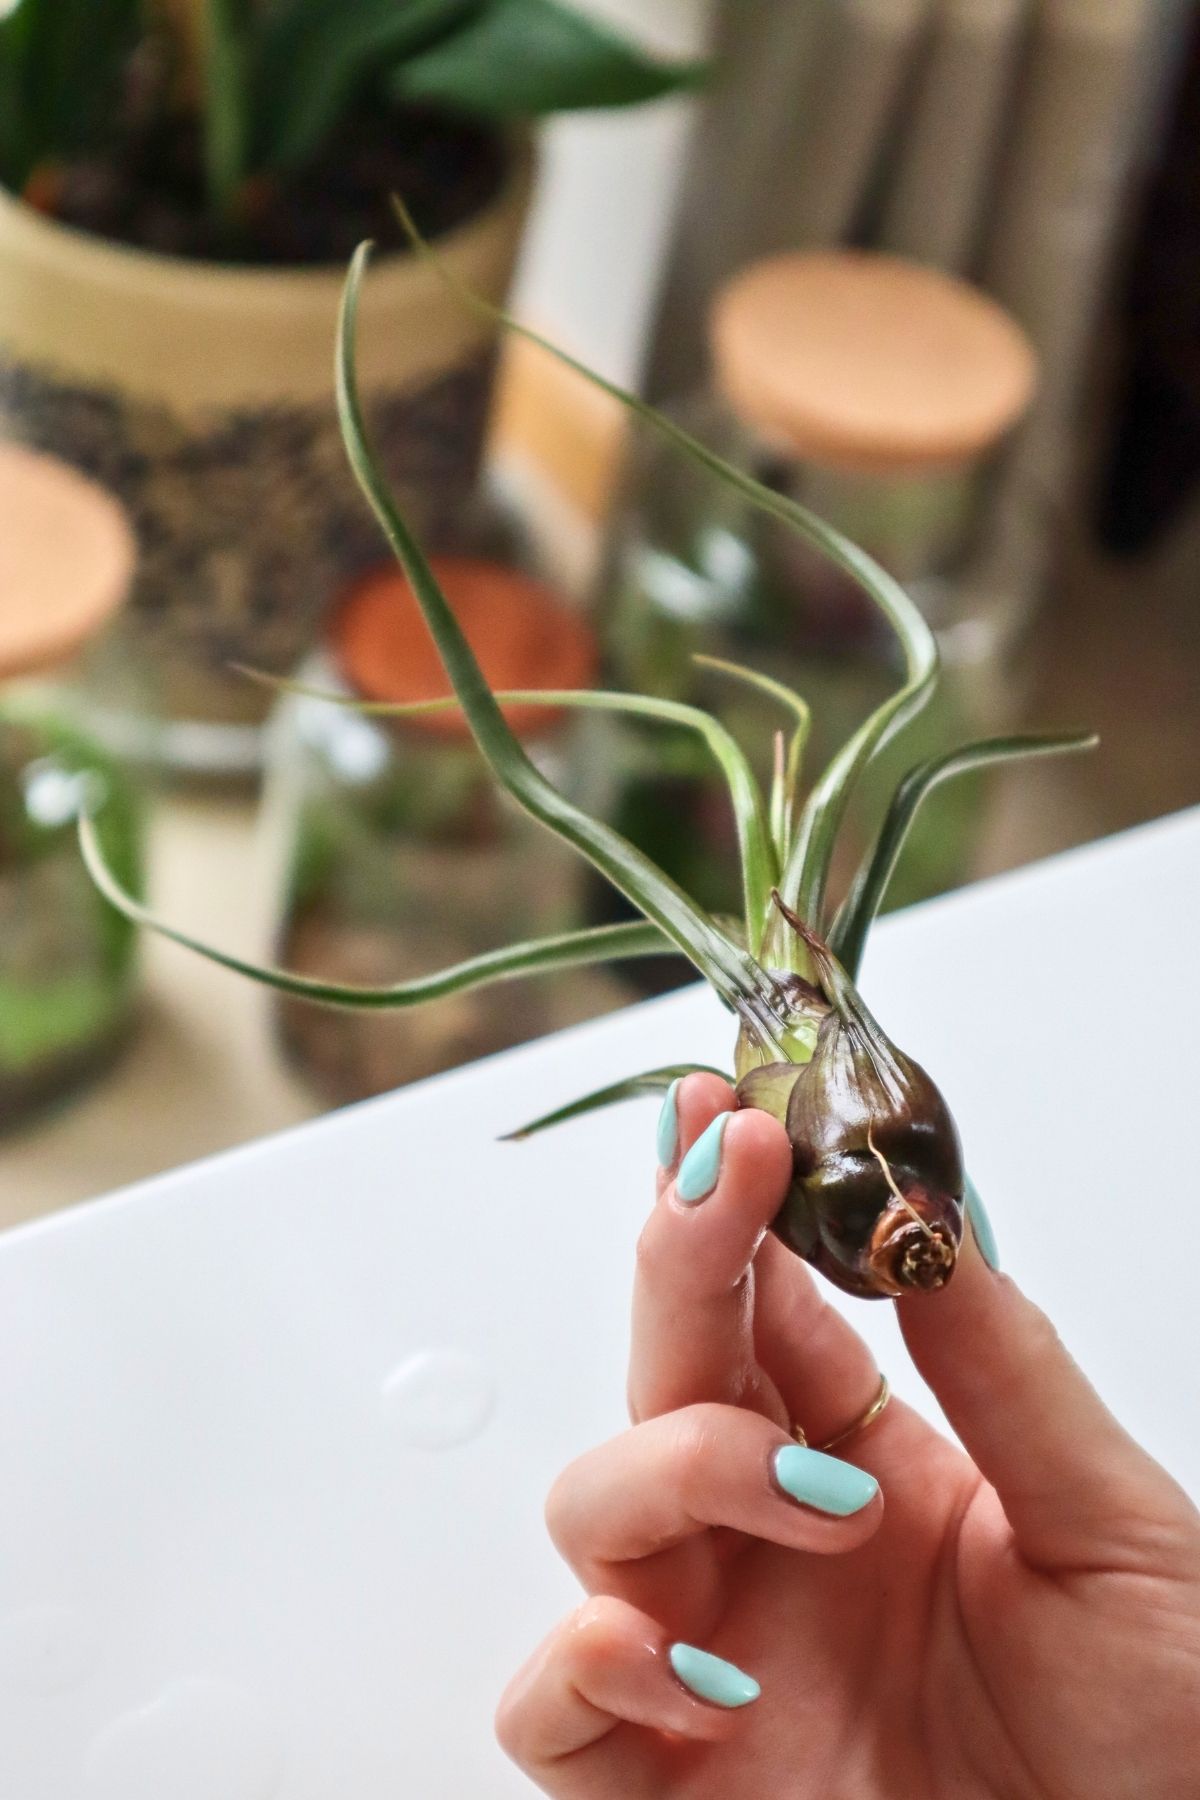
For a stronger design, mix shapes rather than buying several plants that all do the same thing. A spiky plant, a softer plant, and one chunkier focal plant will usually look more intentional than a random handful of similar rosettes.
2 | Container Options
Open glass is usually the easiest choice for an air plant terrarium.
Geometric terrariums, hanging globes, wide bowls, open jars, and Wardian-style cases can all work well because they give the plants airflow and make watering simple.
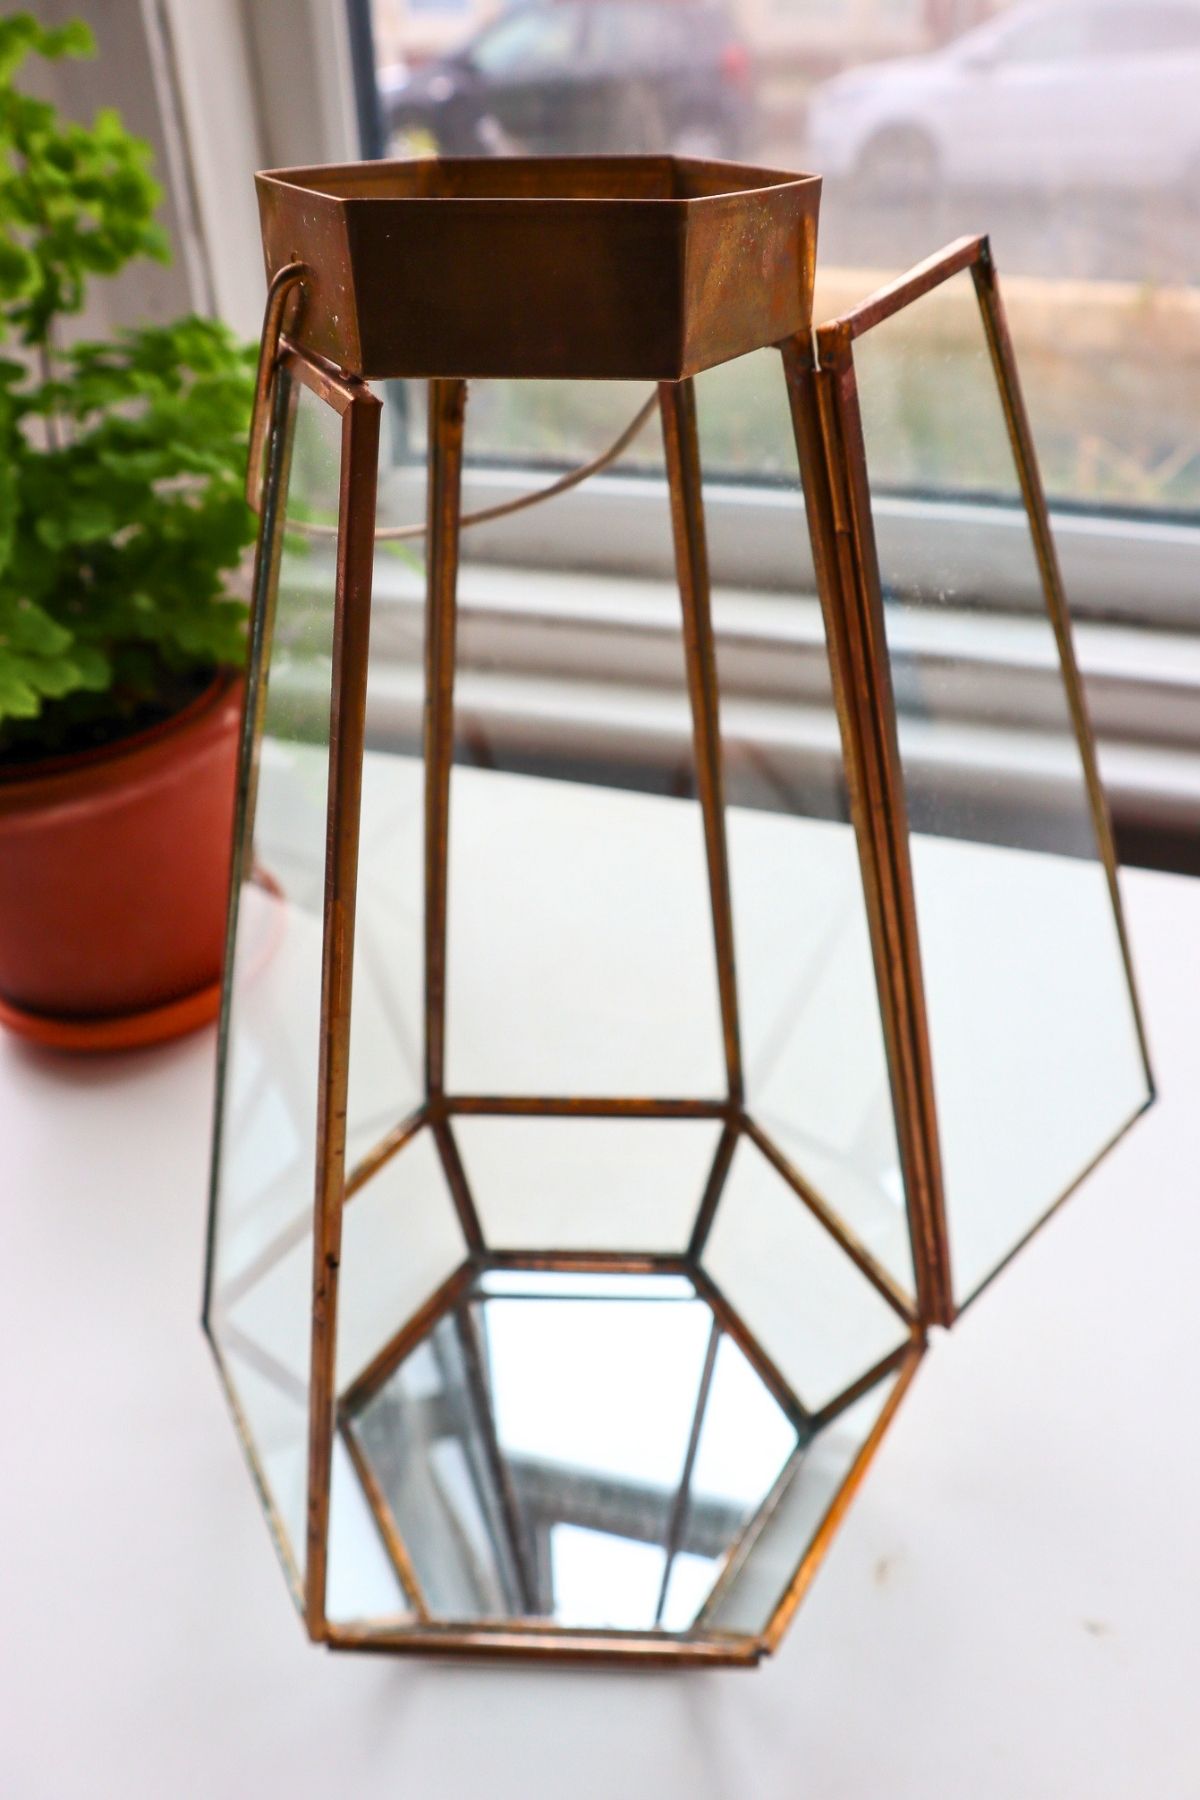
The wider the opening, the easier time you’ll have building and managing your terrarium.
3 | Hardscape and Decor
Hardscape is what gives the terrarium shape.
Wood tends to create a warmer, more natural look (especially if you use driftwood, grapewood, cork bark, or a small, branching root). Stone gives a cleaner, more sculptural finish, but it can be more difficult to attach the plants to.
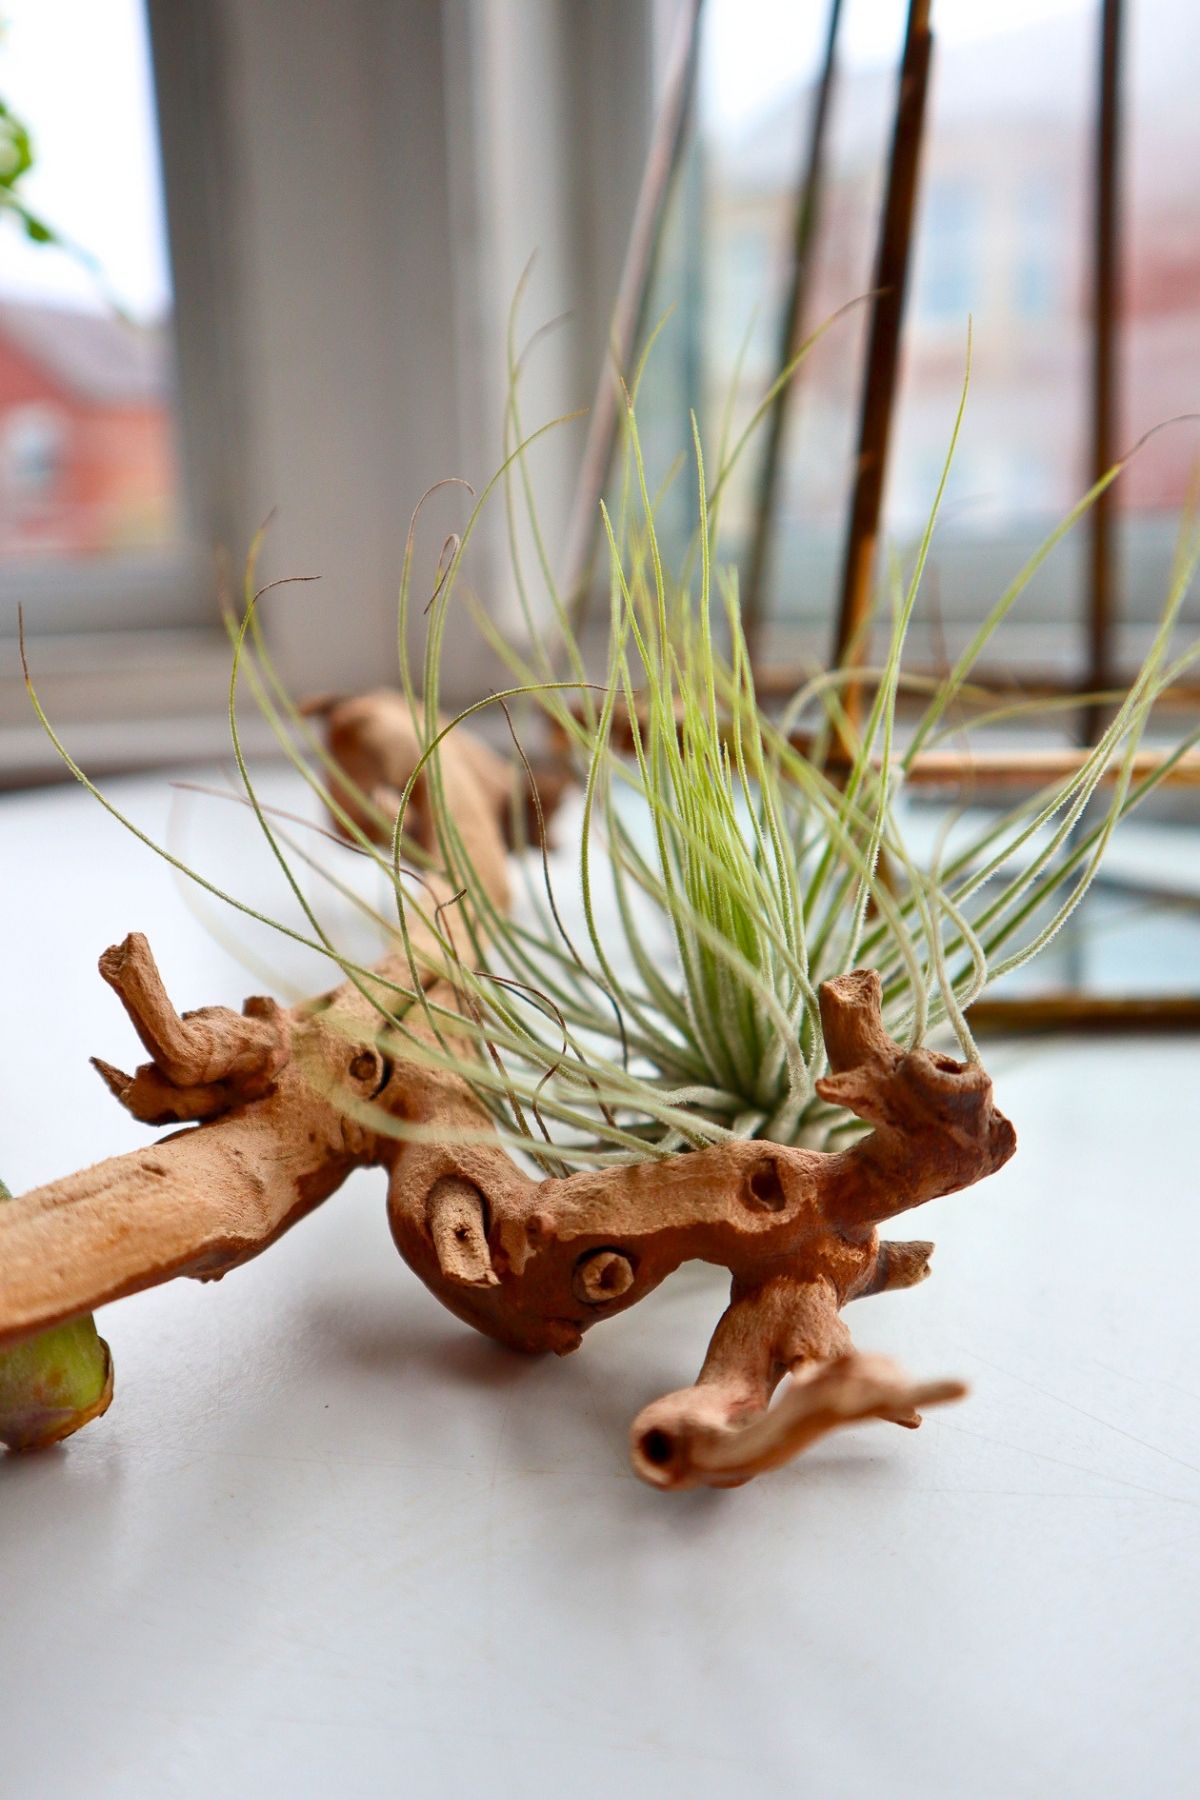
The best pieces have little ledges, grooves, forks, or gaps where the air plants can rest naturally. You’re not really planting them. You’re placing them where they look like they decided to grow there.
Finally, we consider the base and decor options.
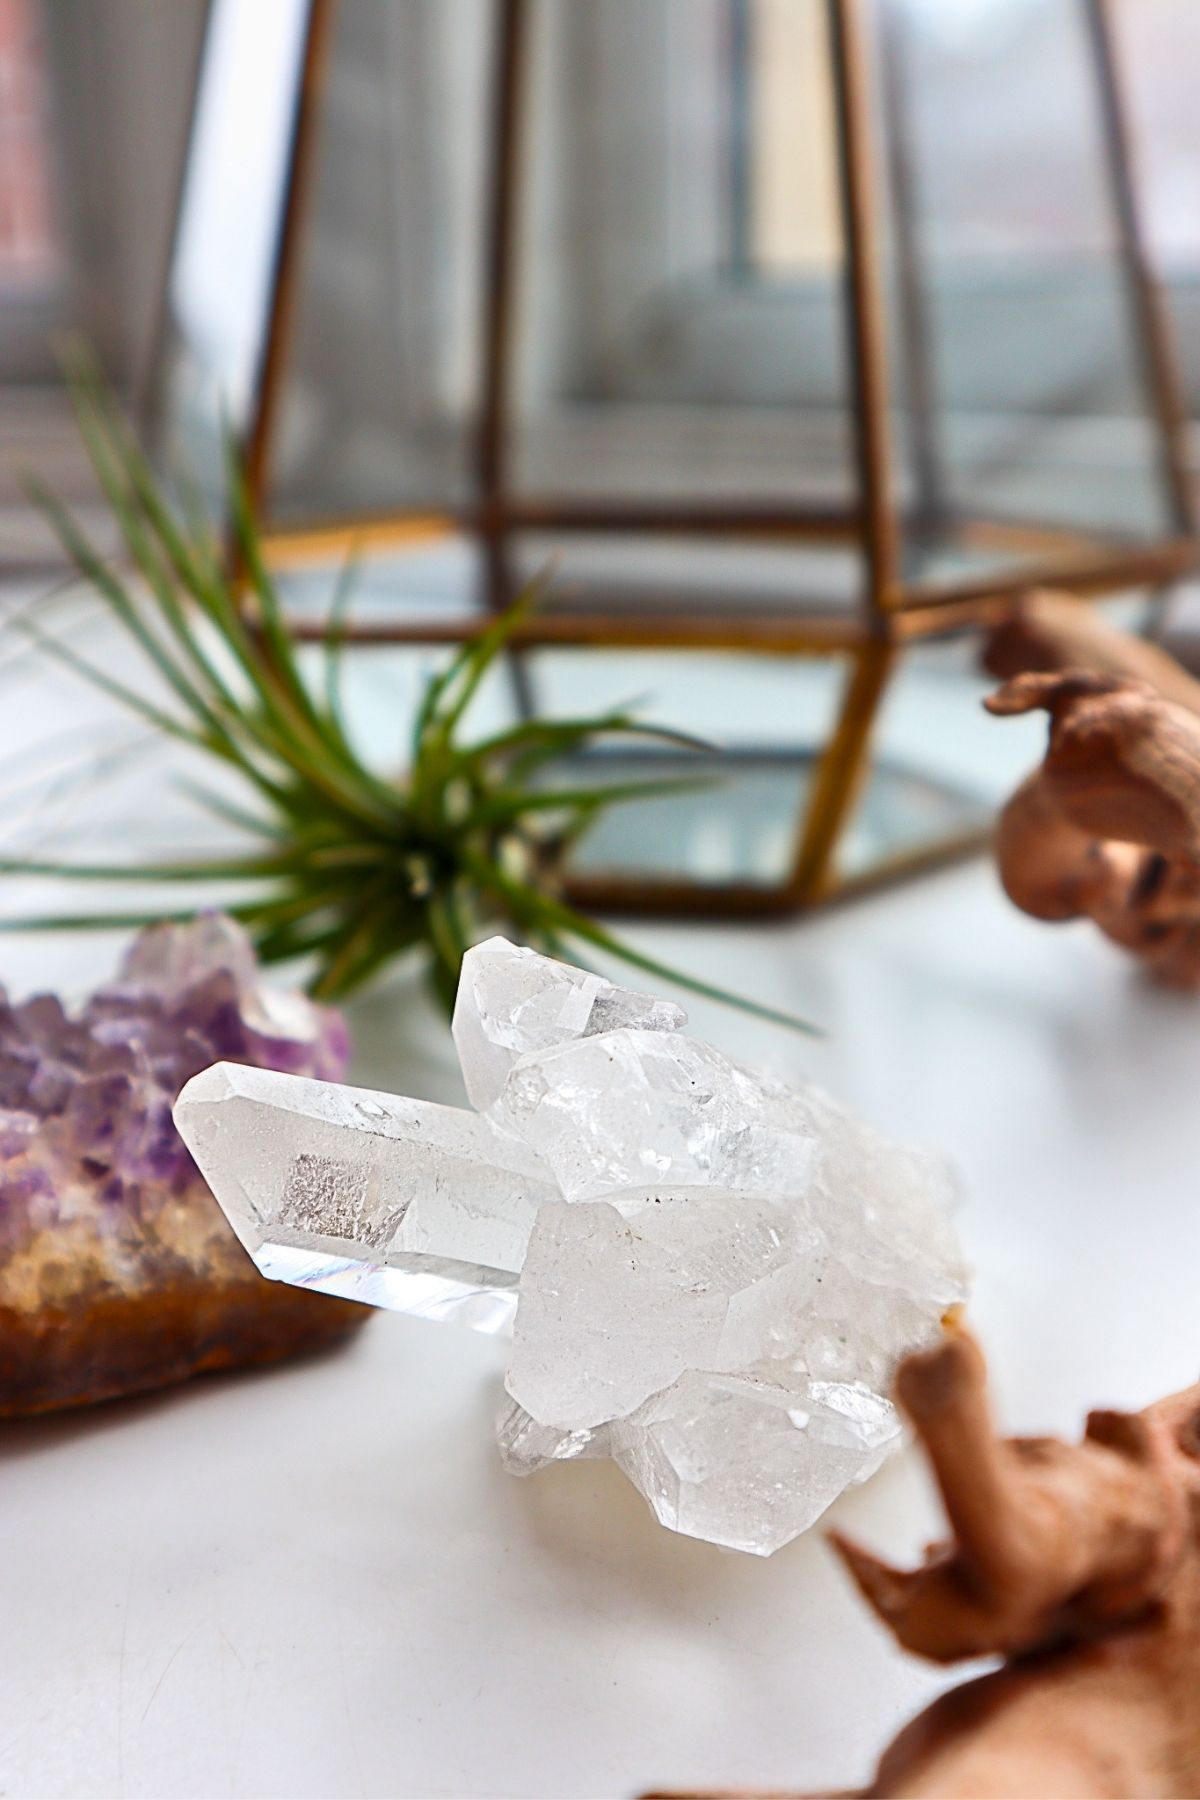
Sand, gravel, pebbles, preserved moss, shells, crystals, and small stones can all work. The base is mostly visual, so you can lean into whatever style you want: desert, coastal, woodland, minimalist, boho, or something that defies categorisation (in a tasteful way).
Some great options are:
- Adding varieties of preserved moss to give it a luscious living aesthetic.
- Experimenting with some sand art (like I have).
- Using aquarium gravel or pebbles as ground cover.
- Popping in crystals, shells, or figurines – whatever your heart desires!
How to Make an Air Plant Terrarium
Step 1: Add the base layer
Start with your ground material.
This might be sand, gravel, pebbles, preserved moss, or a mix of several materials. It’s mostly there to frame the scene and give it some contrast from the bottom (rather than an empty base).
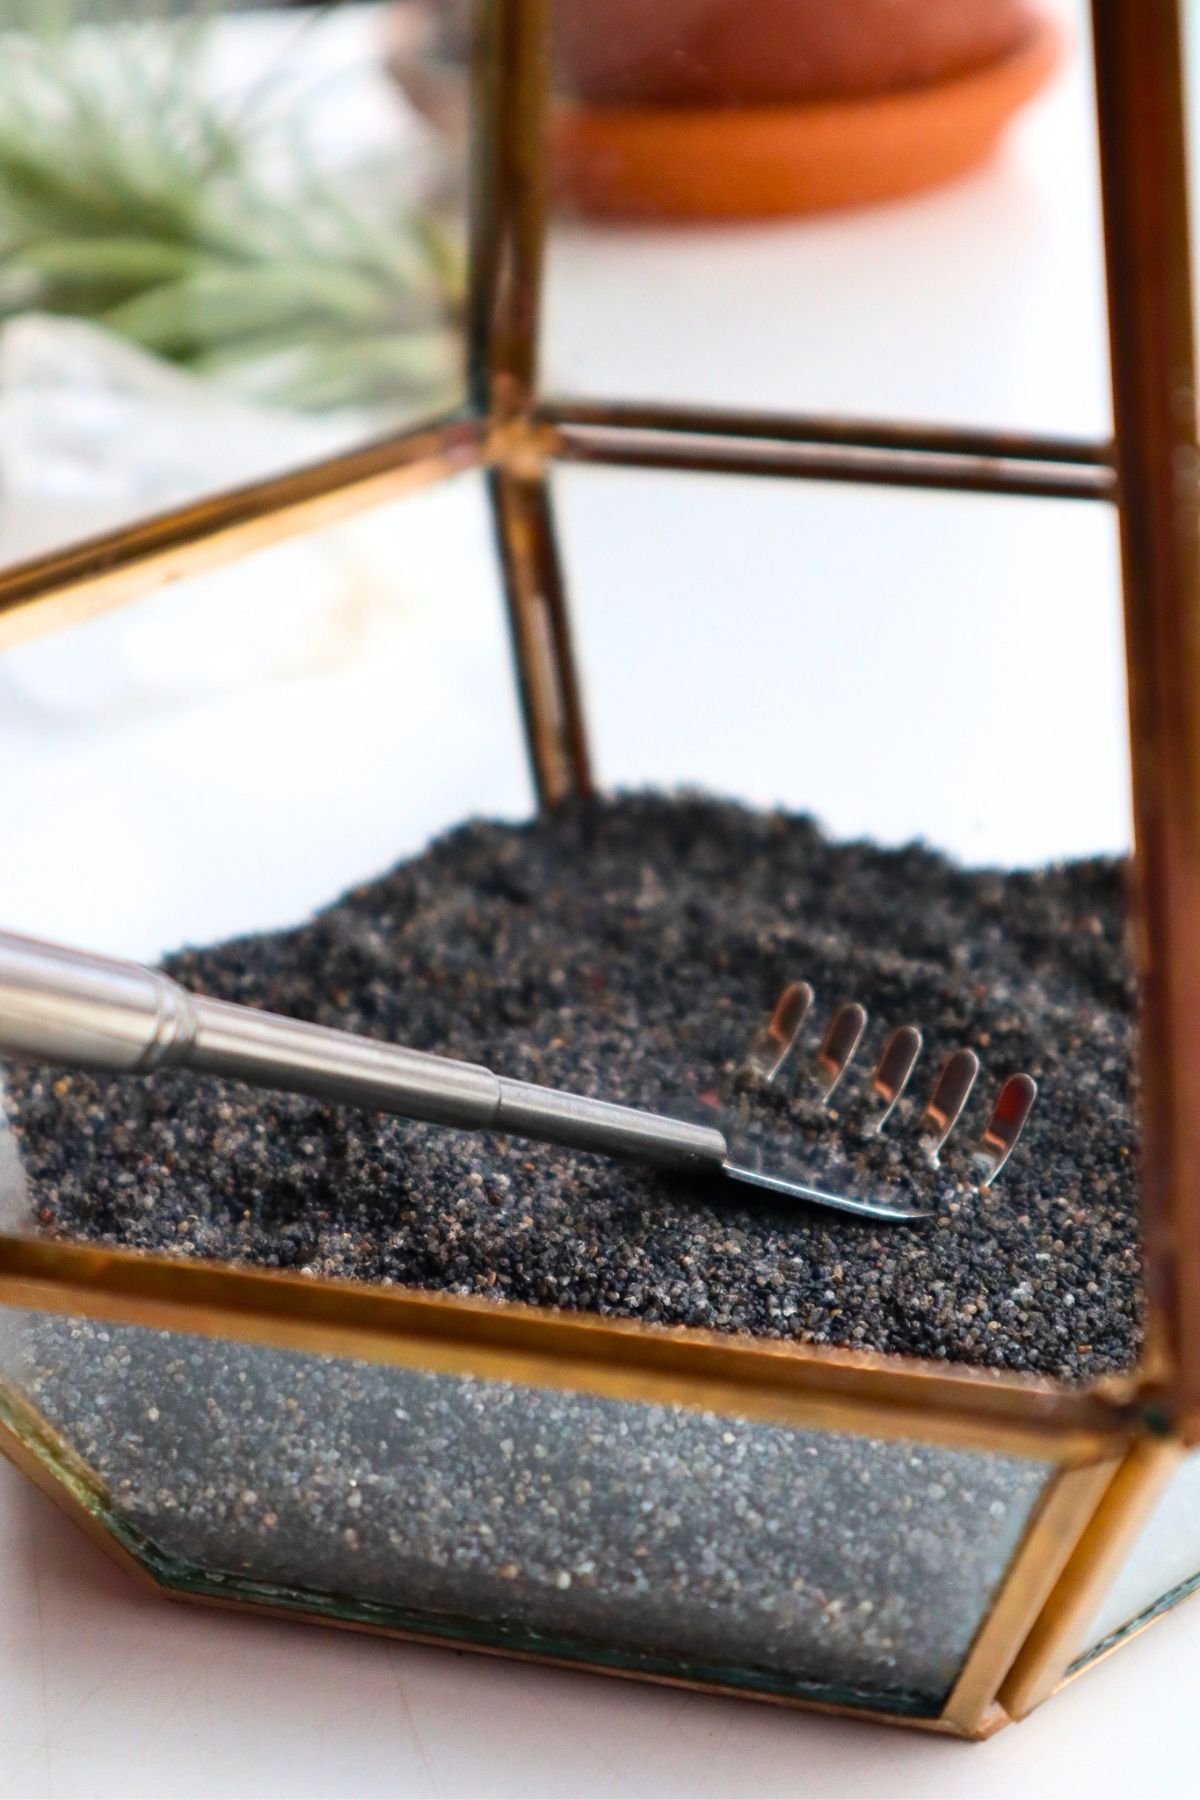
Afterwards, I layered several thin strips of white into the black sand to create a striped effect.
Step 2: Position the hardscape
Next, add your wood or stone.
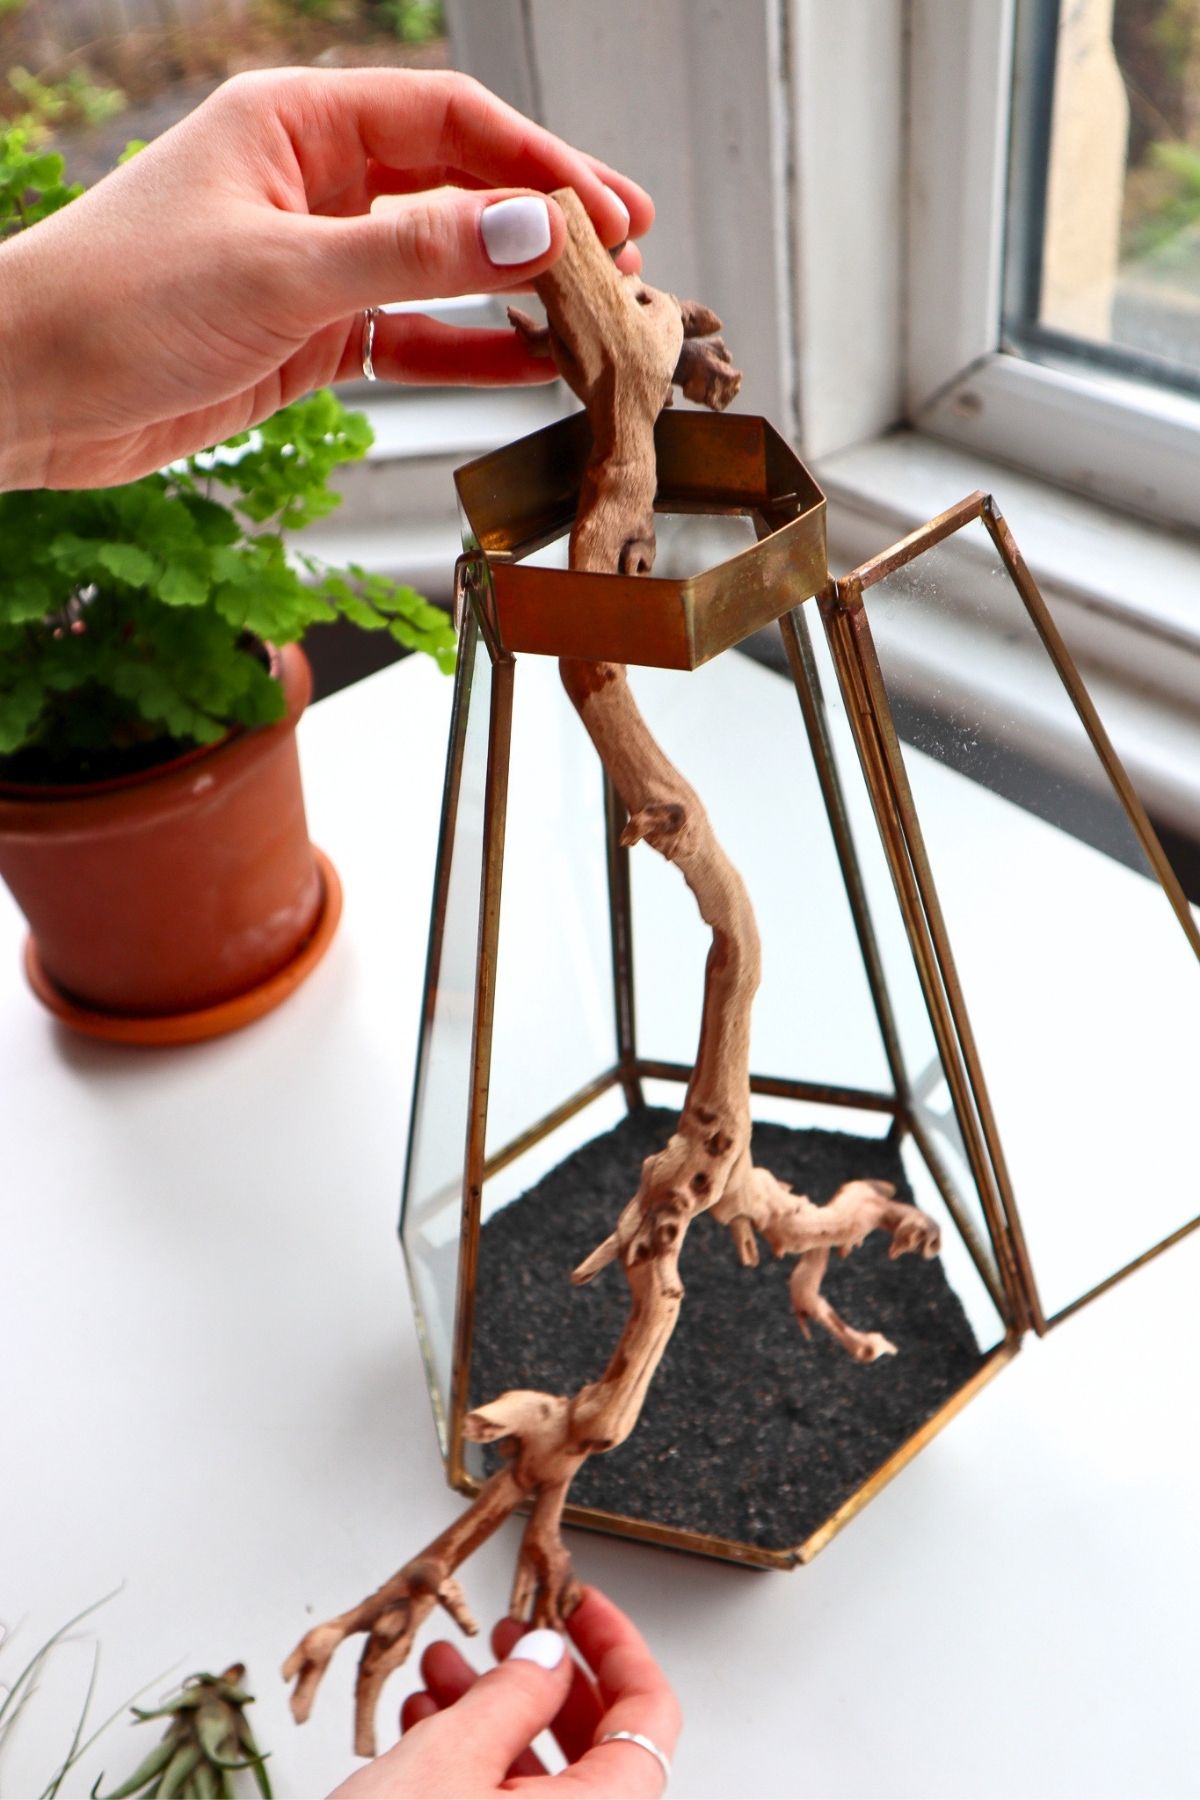
Try a few angles before committing. The first placement often looks fine, but the third or fourth usually looks much better.
Remember, if you’re going for an open terrarium, it doesn’t need to stay in the container. Mine pokes out, and I think it looks great.
Step 3: Place the Air Plants
Now add the air plants.
Don’t overthink it, but do think about balance.
Place larger plants first, then use smaller ones to fill gaps or soften the edges. Try not to line them up evenly. Natural-looking arrangements usually have a little asymmetry.
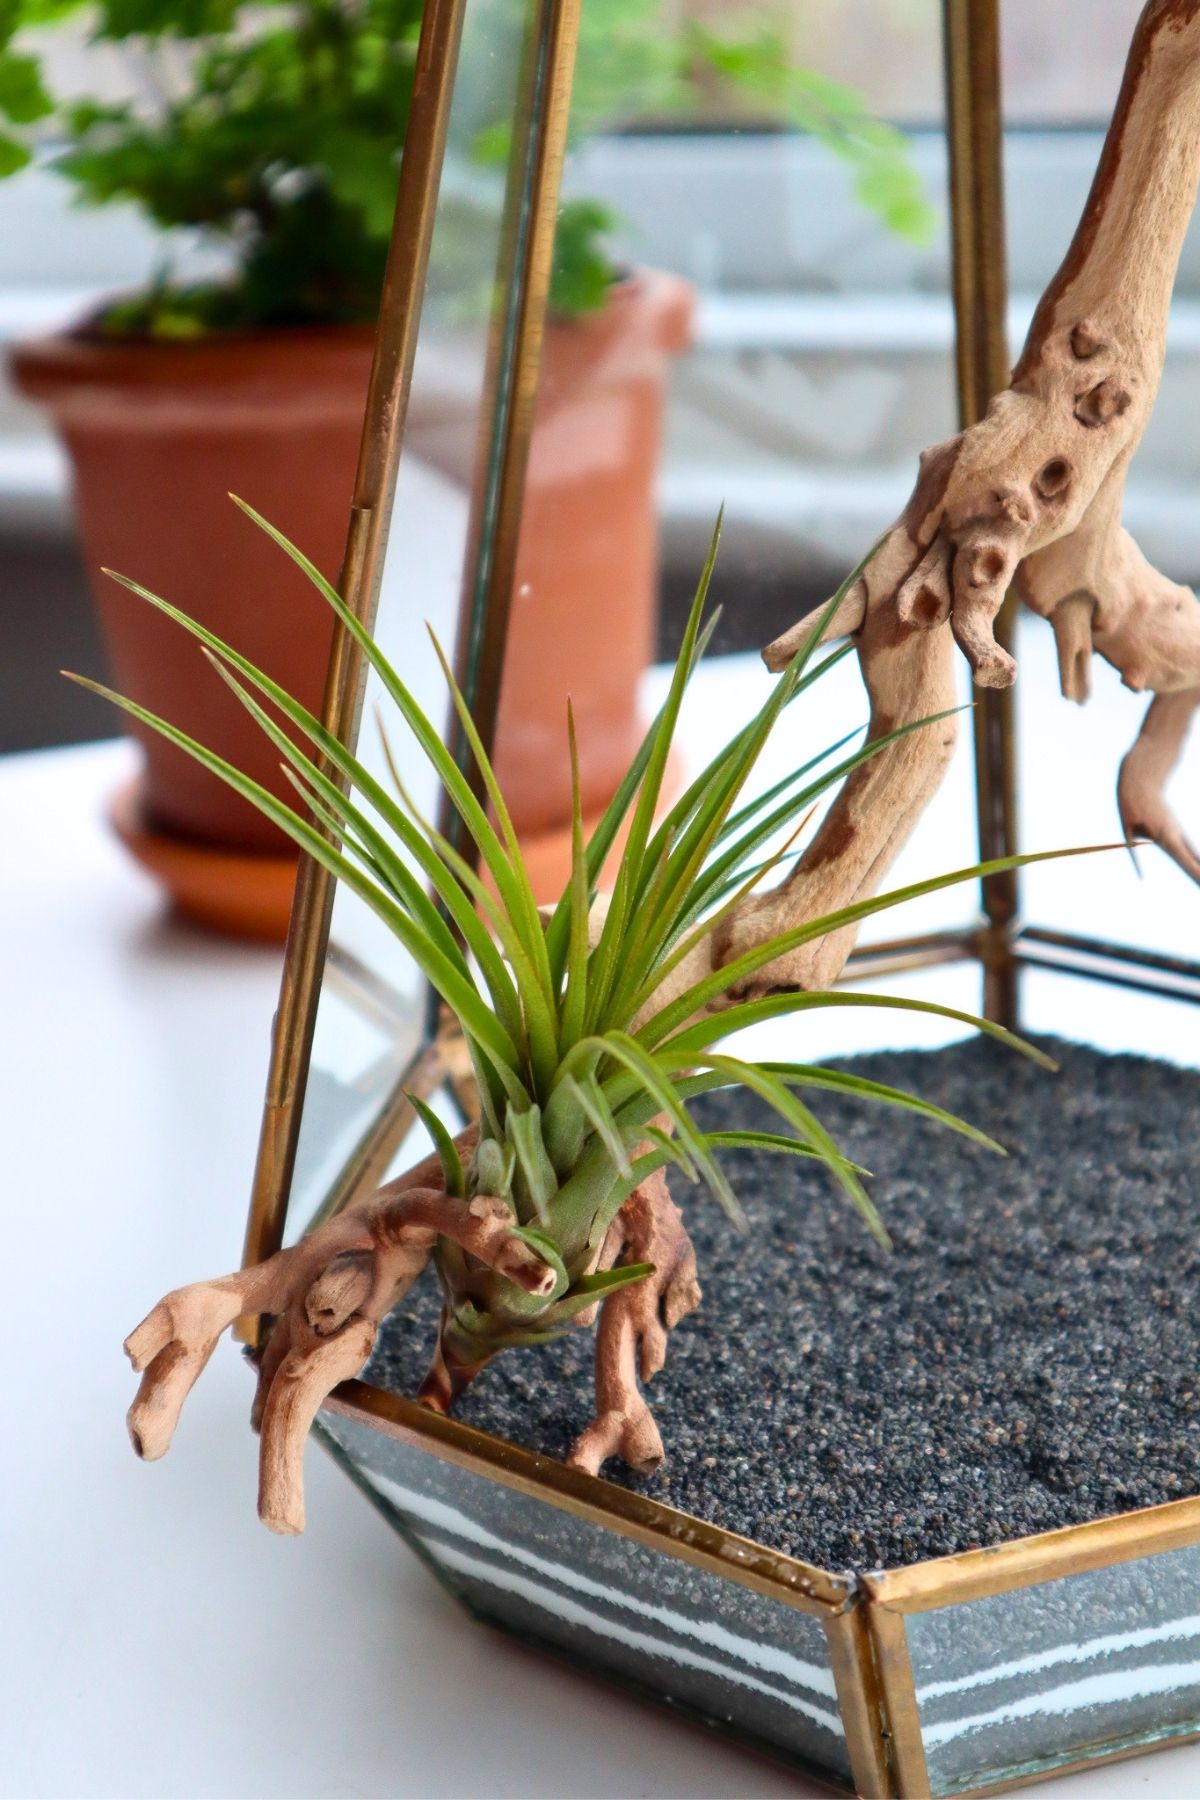
You can also use a small dab of plant-safe glue or cyanoacrylate super glue to secure them.
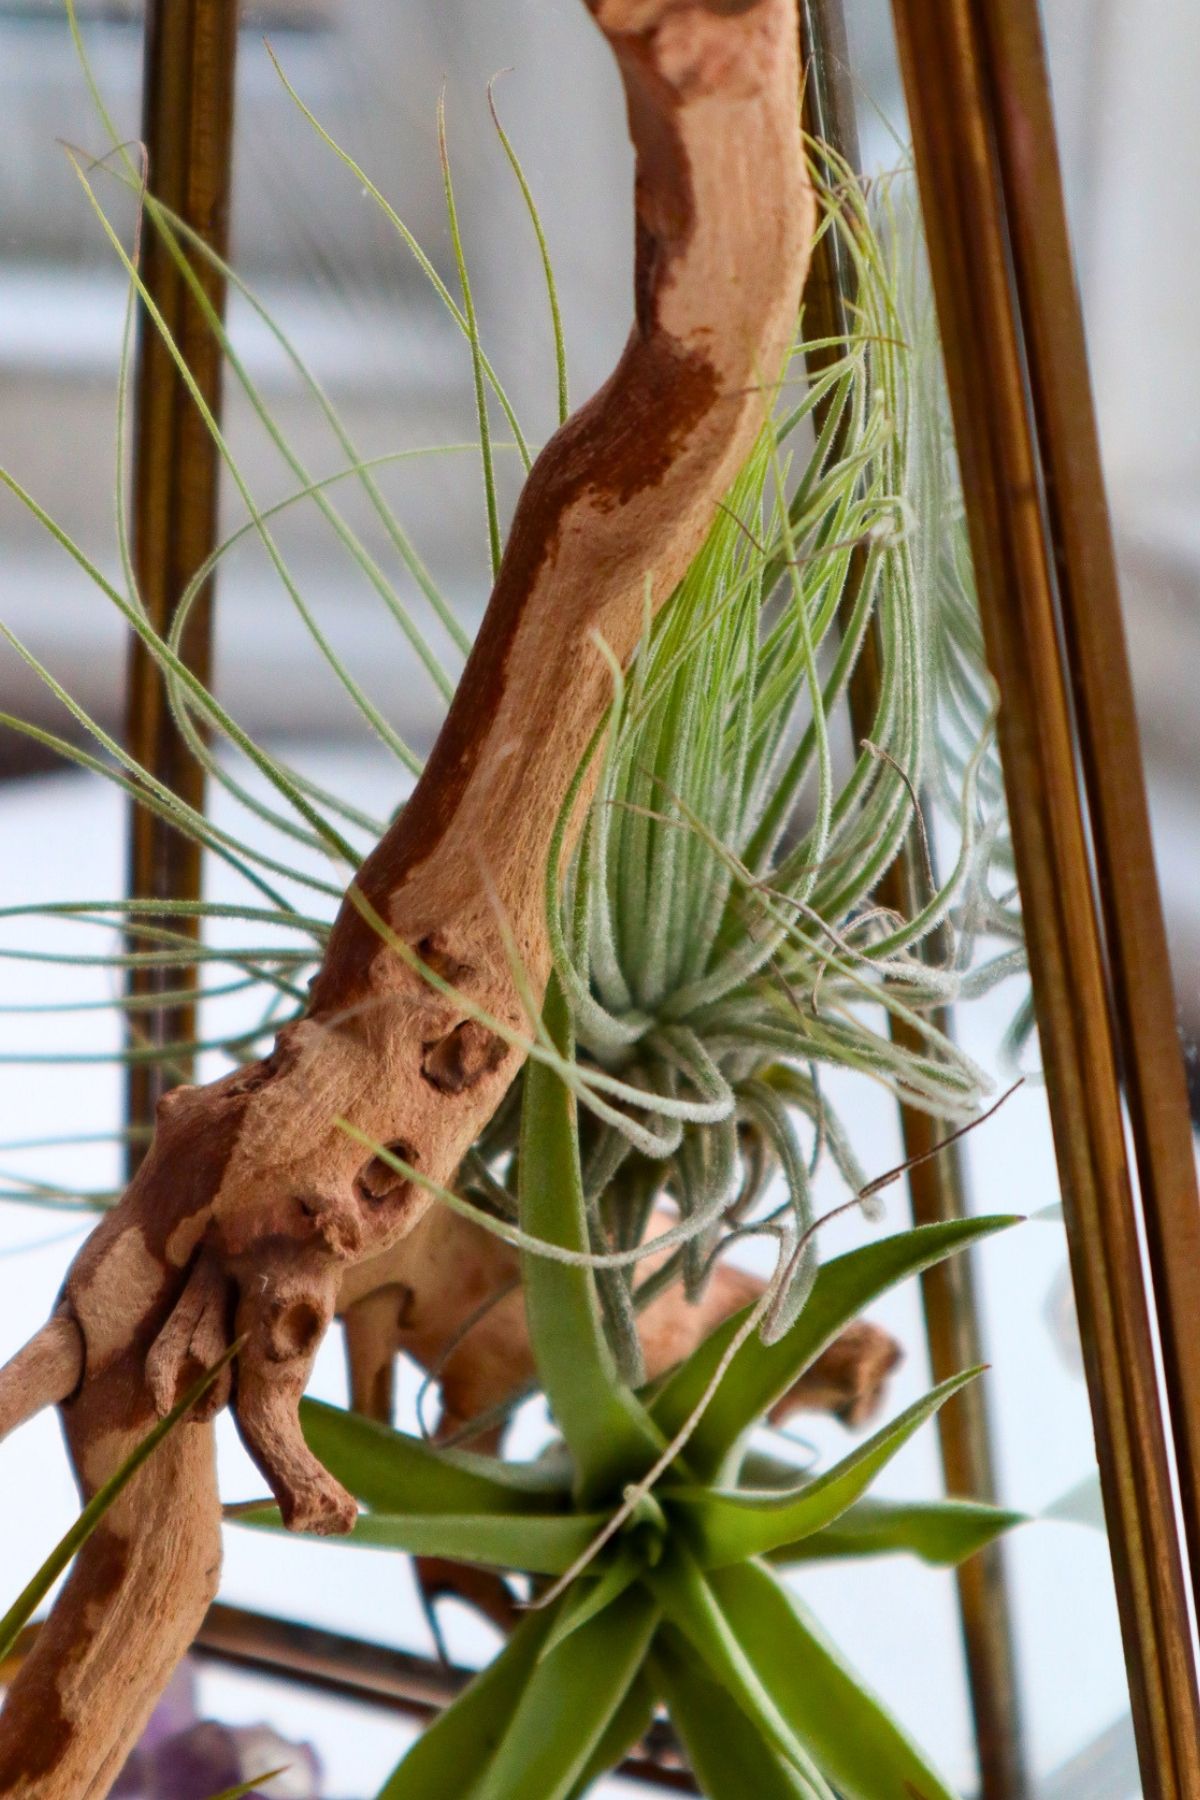
Step 4: Add Finishing Touches
Once the plants are in place, add any final details.
This could be preserved moss around the base, a small crystal, a few accent stones, or a shell if you’re going for a coastal look.
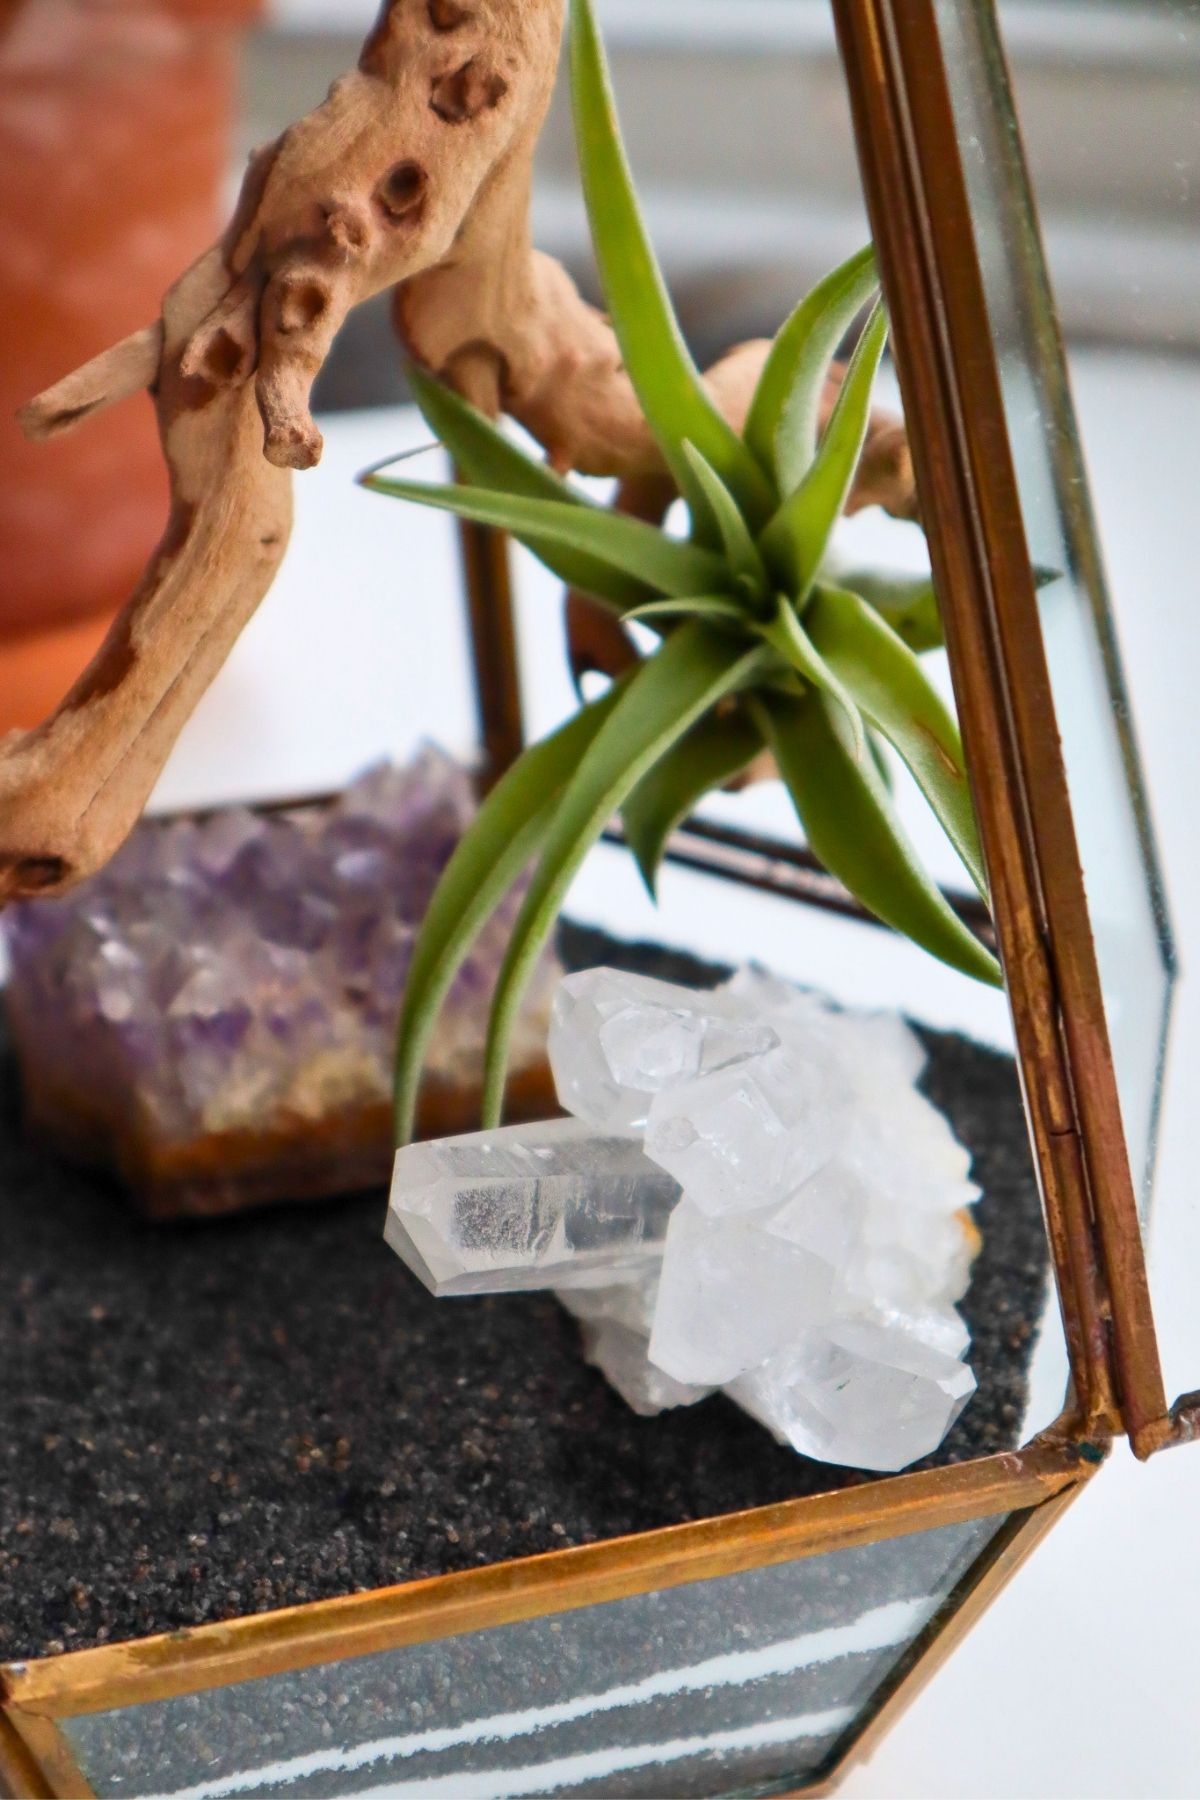
Remember to consider what the build looks like from all angles for a 360° design.
If you’ve gone a step further with a mounted or hanging air plant terrarium, it’s time to put it in its final position.
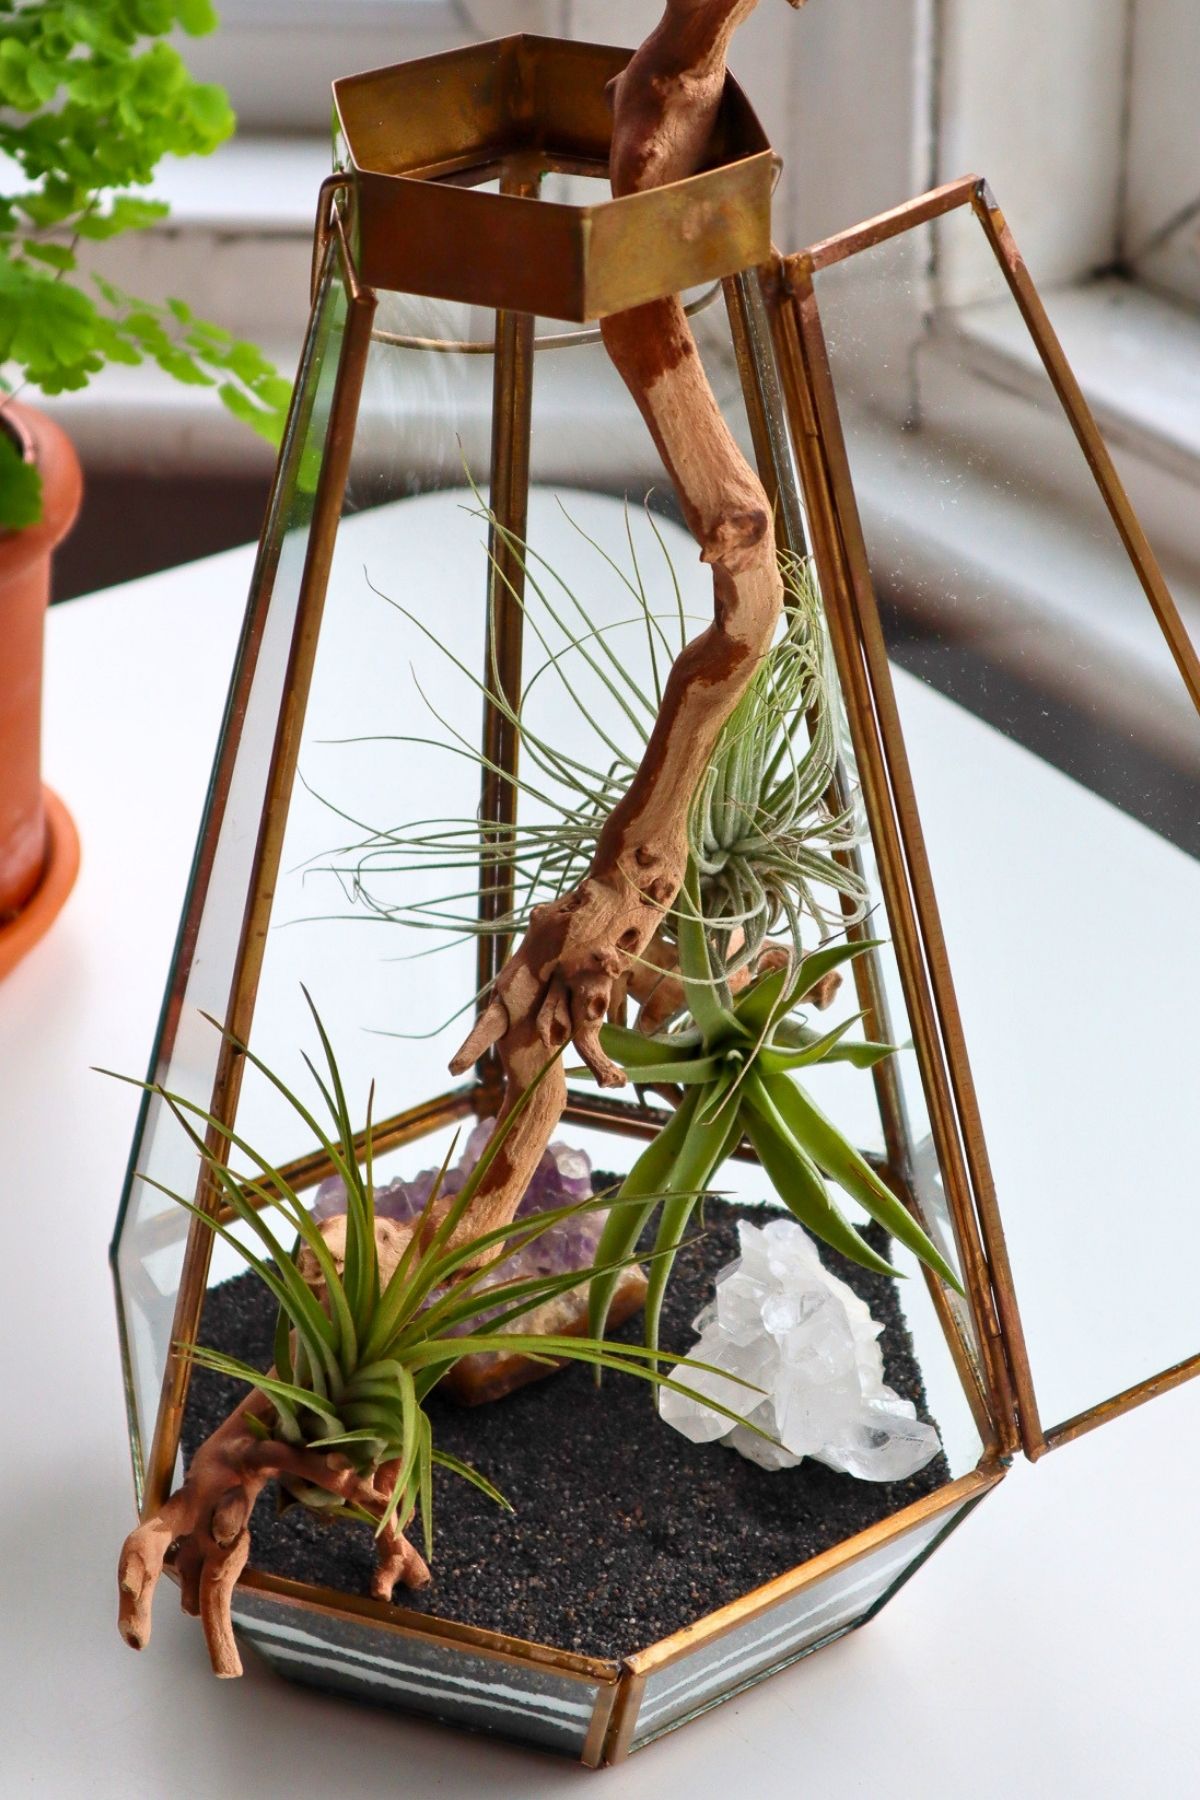
How to Care for an Air Plant Terrarium
You’ll be relieved to know your new air plant terrarium is probably the easiest terrarium there is to care for.
Pop it in bright indirect light if possible, but it will be perfectly happy with some direct sunlight too.
To keep your air plants healthy, as a rough guide, you’ll need to spray them with a bit of water at least once a week and preferably soak them for an hour or two every three weeks.
I recommend taking them out of the terrarium for watering and popping them back in when they’re dry. This is because:
- Water typically leaves a residue that marks glass.
- Your plants will struggle if they’re sitting in excess water.
- The glass container might not be waterproof (mine isn’t).
It’s a bit fiddly, but taking my plants out for watering keeps the glass clean and dry.
Air Plant Terrarium Ideas
Once you know the basic build, air plant terrariums are incredibly easy to theme.
You’re free to treat the container almost like a tiny display case. Sand, stone, shells, crystals, moss, bark, miniature figures, and sculptural hardscape can all change the mood without changing the care.
The trick is to choose one clear direction and let the air plants finish the scene.
Here are some fun air plant terrarium ideas.
- Beach style – Use sand as your base and add beachy elements to your heart’s desire. Shells, sea glass, smooth pebbles, and weathered driftwood all work well.
- Boho style – Crystals are your friend here. Pair quartz, amethyst, or rose quartz with warm (or white) sand and a sculptural air plant.
- Woodland style – Natural materials are best, like preserved moss, cork bark, darker gravel, and small river stones.
- Desert style – Use warm sand, lava rock, dragon stone, and weathered wood. Air plants aren’t desert plants, but visually, they absolutely fit the part.
- Hanging air plant terrarium – Glass globes, orbs, and prisms make air plants look like they’re floating.
Final Thoughts
An air plant terrarium is one of the simplest ways to create a polished glass display.
That’s really the charm of these builds.
They’re easy, adaptable, and surprisingly stylish for the amount of effort involved. You can keep things clean and minimal, make something soft and naturalistic, or go full crystals-and-driftwood if that’s where the spirit takes you.
Either way, air plants make it easy to create something that looks deliberate without needing to behave like a full-time terrarium keeper.

About a year ago; I was visiting one of my daughters, and observed plants just sitting in a planter on her patio. What intrigued me was that they were not in any soil. Just received my 20th plant yesterday.❤️🌱
I recently made an air plant terrarium. I used a hanging glass orb (with a large part cut out of it) and filled it with some beautiful loose Mgambo seeds and a large bushy plant. I have it in my bathroom and it looks wonderful with the beach theme!
A few colleagues and I exchange Christmas gifts – rule is they need to be inexpensive (under $10) and made, not purchased. As there’s five of us, we all make 5 of the same (one each for the colleague and one for ourselves).
I think I’ve found the perfect idea for this year’s project – inexpensive, easy to make and gorgeous. I hope my colleagues like them as much as I do 🙂
I think you’re on to a winner! 👍