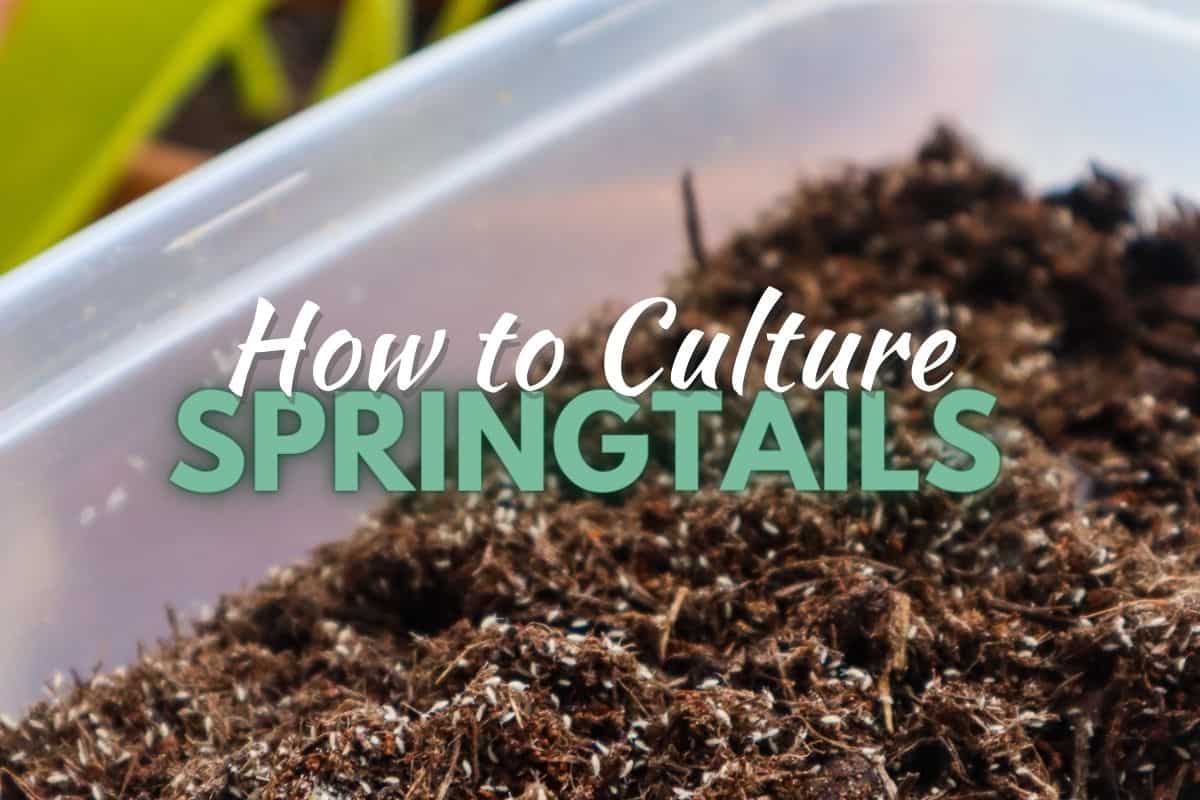
Springtails are fast becoming a true terrarium/vivarium staple.
The (small but) mighty champion that’s strong enough to hold back the tide of mold – keeping our ecosystems happy and healthy.
Alas, our proud warriors can’t do it alone; their strength lies in their numbers. Which means we typically need a lot of them to get the desired effect.
Hence why being able to culture springtails yourself is so incredibly helpful.
Creating and maintaining a master culture can ultimately save you time and money in the long run. Not to mention potentially saving any of your terrariums from disaster should something go amiss.
So, in this guide, we’ll cover everything you need to know about springtail cultures. From setup and feeding to breeding and seeding (and rhyming, apparently…)
Let’s hop to it!
Terrarium Tribe is reader-supported. When you purchase through links on our site, we may earn an affiliate commission (at no further cost to you). 💜
How to Start a Springtail Culture
Container
Starting a DIY springtail culture is surprisingly easy.
You’ll need a small container (Tupperware is fine) that can be sealed completely. These little jumpers/climbers can and will find a way out if you give them one.
I started with a typical takeout food box, but I’d recommend going a bit bigger as they breed very quickly. Taller containers are better to stop them from jumping out when you feed them.
When it comes to ventilation, you have two options.
- Have a fully sealed container – You’ll have less risk of pest problems this way, but you’ll have to open it up every couple of days to get fresh oxygen in there. Leave it too long, and your culture will crash.
- Add ventilation holes – Springtails are tiny, so you’ll have to be creative to prevent escapees. I’d either create lots of pin-prick-sized holes (even then, I’m not sure it’d keep them out) or try to cover them with the finest mesh you can find.
To be honest, you’ll be feeding your springtails fairly regularly anyway. So, if you set your feeding schedule to every three or so days, you can solve both issues in one fell swoop.
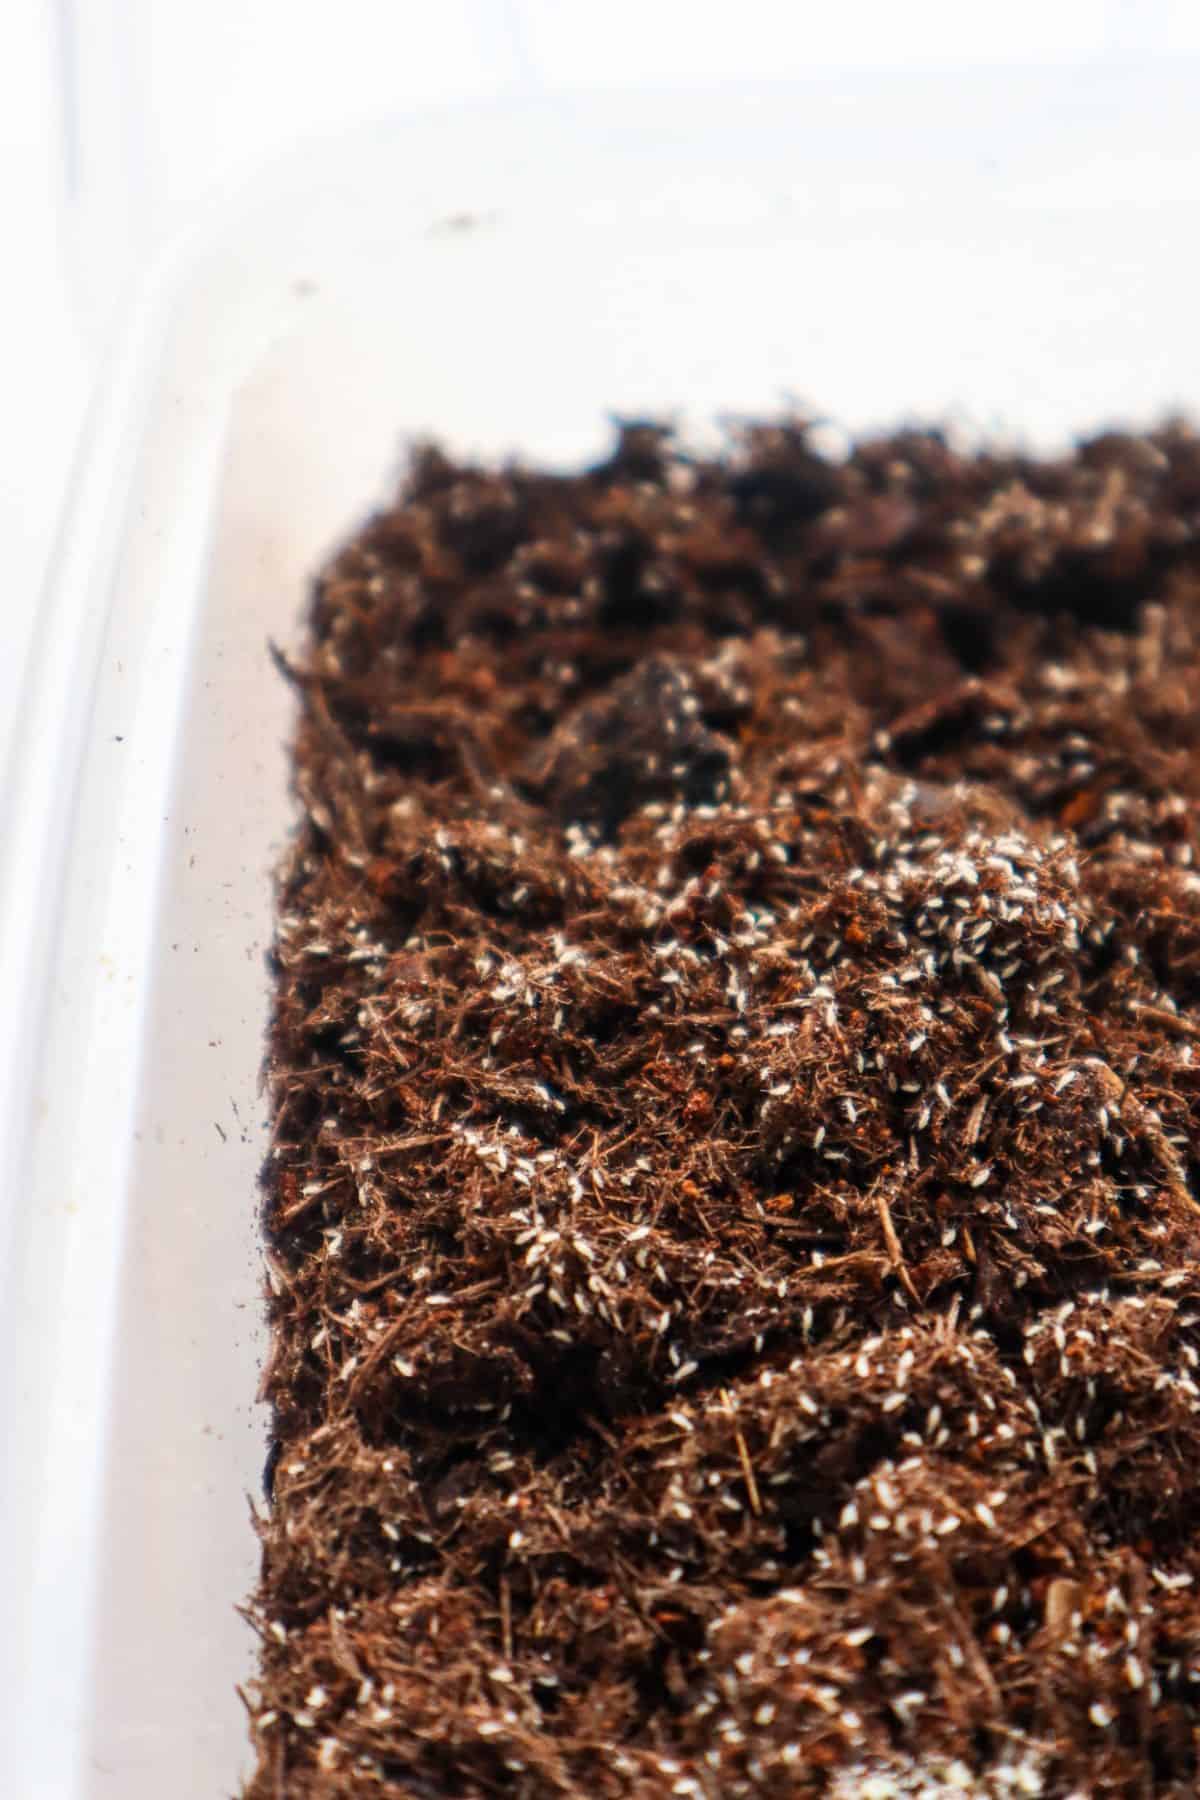
Substrate
Inside, you can choose from a variety of materials for your substrate medium.
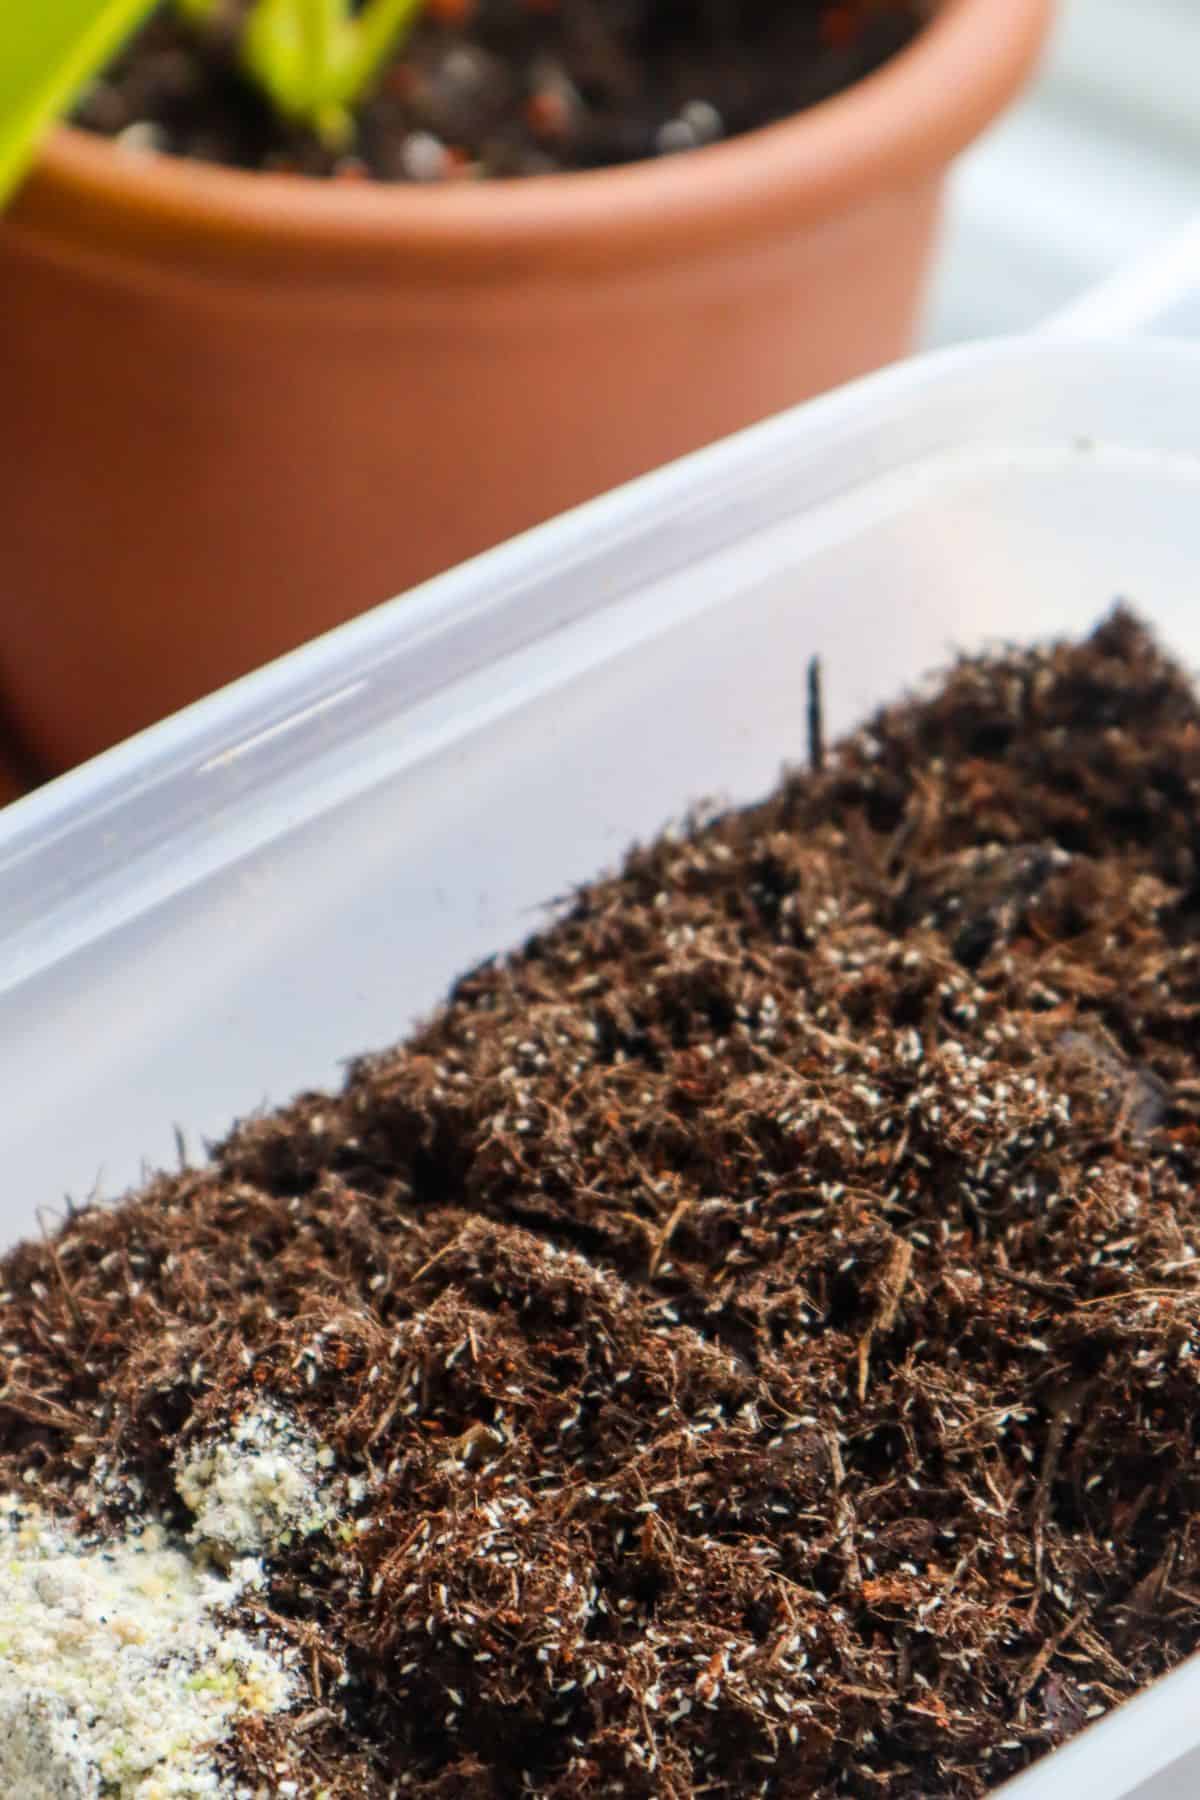
1 | Terrarium substrate mix
A tropical terrarium mix is an easy choice because it’s likely you already have something like this to hand for your terrarium projects.
The downside? Well, there’s a susceptibility to pests, as the damp substrate can be a target for mite issues. You’ll likely want to refresh the substrate every now and again, and it’s hard to do so without removing some of your culture along with it.
That said, it makes seeding new projects straightforward.
Simply add some of the substrate – complete with its springtail inhabitants – into your new terrarium’s mix as you set it up.
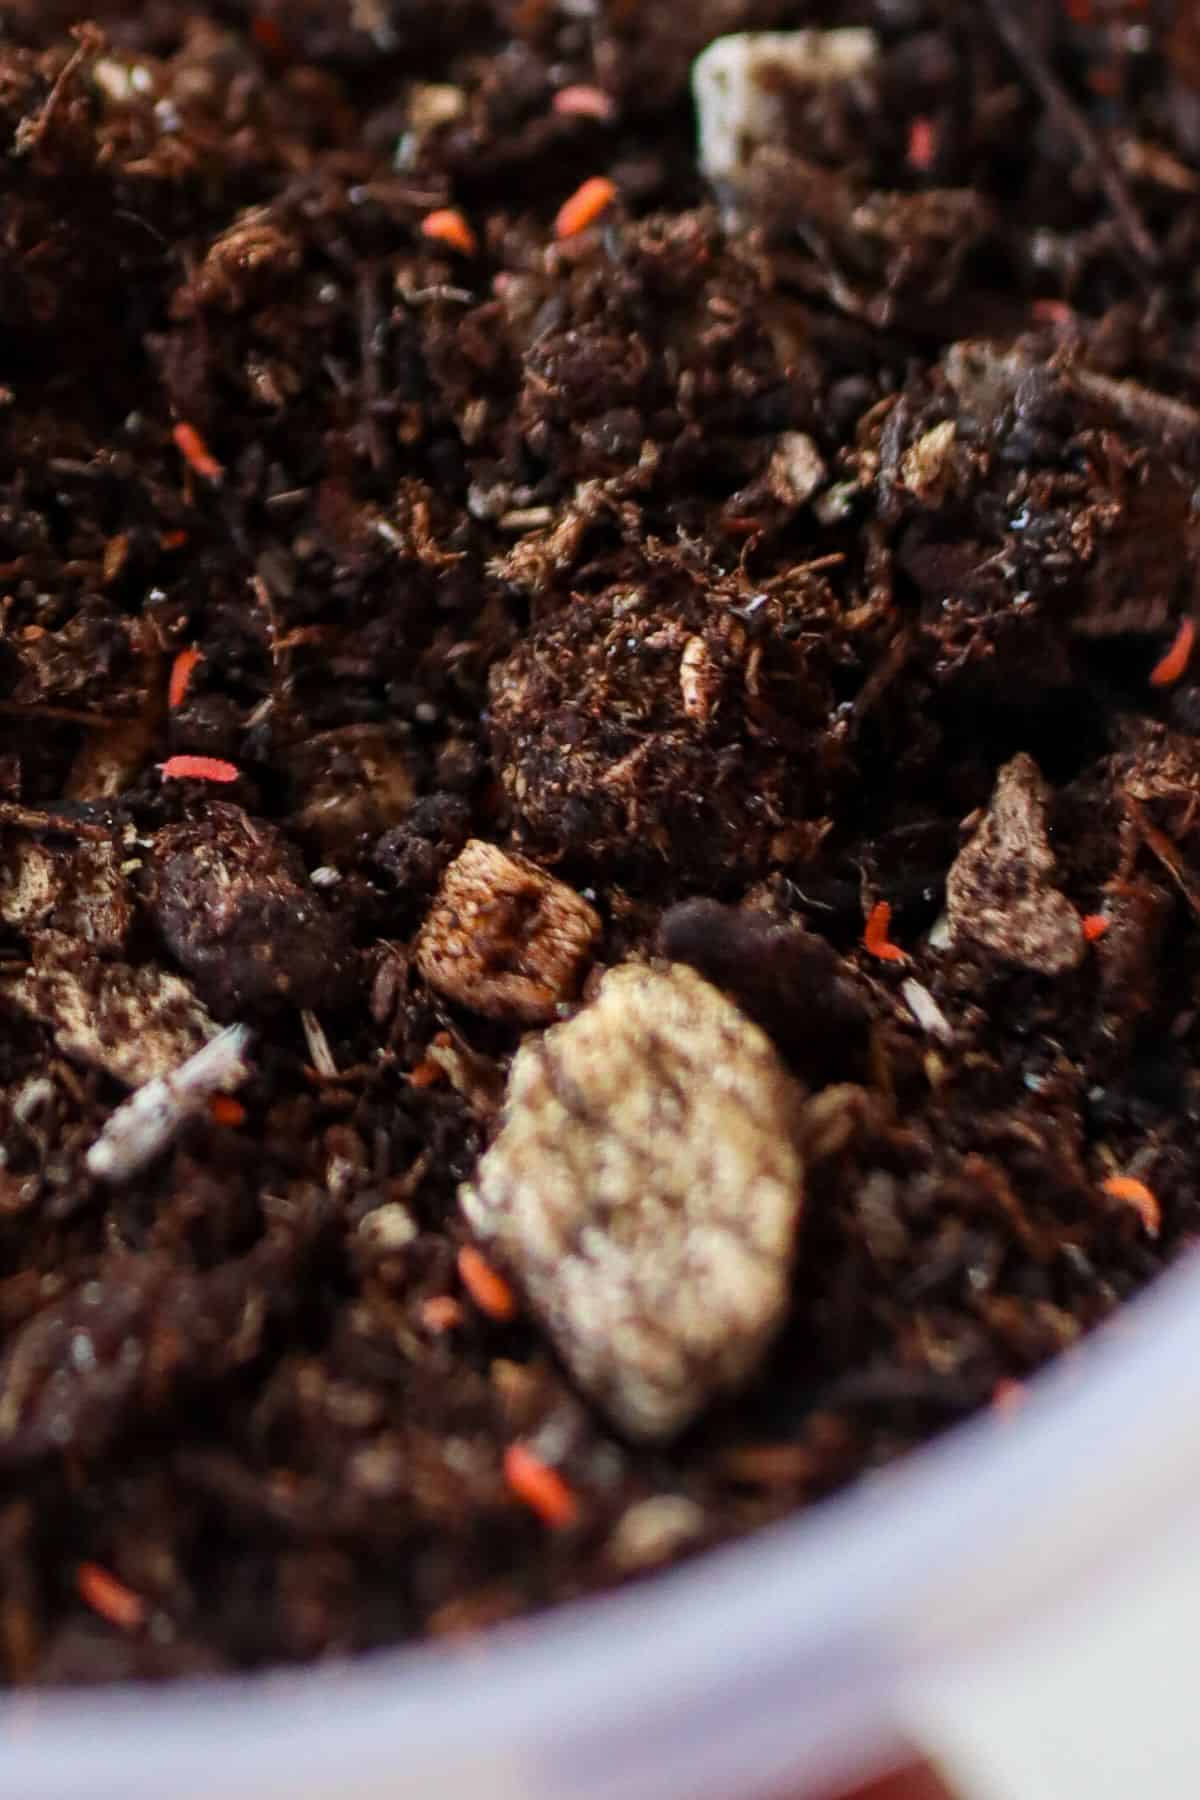
2 | Calcium-bearing clay
This is a more recent option that’s gaining popularity amongst the vivarium crowd.
Springtails often serve a dual purpose in vivariums, being the typical bioactive janitors and a feeder insect for the likes of dart frogs and small lizards.
The theory being that springtails cultured in a clay medium will incidentally take up calcium carbonate by either ingesting it or just covering themselves in it.
Which is great for vivarium pet owners, as you’re essentially seasoning their food with extra nutrition!
The clay also sticks to the container, so it means you can very easily transfer the springtails without adding material you don’t want into your terrarium.
Live Springtails Culture for Terrariums (4oz tub)
A simple, low-maintenance cleanup crew that helps keep terrariums healthy and mold-free.
Controls mold • Self-maintaining
3 | Charcoal chunks
Charcoal is the final of the springtail substrate trifecta.
Otherwise referred to as biochar or horticultural charcoal, this is ironically sometimes the cleanest of the solutions (provided you’ve washed the charcoal).
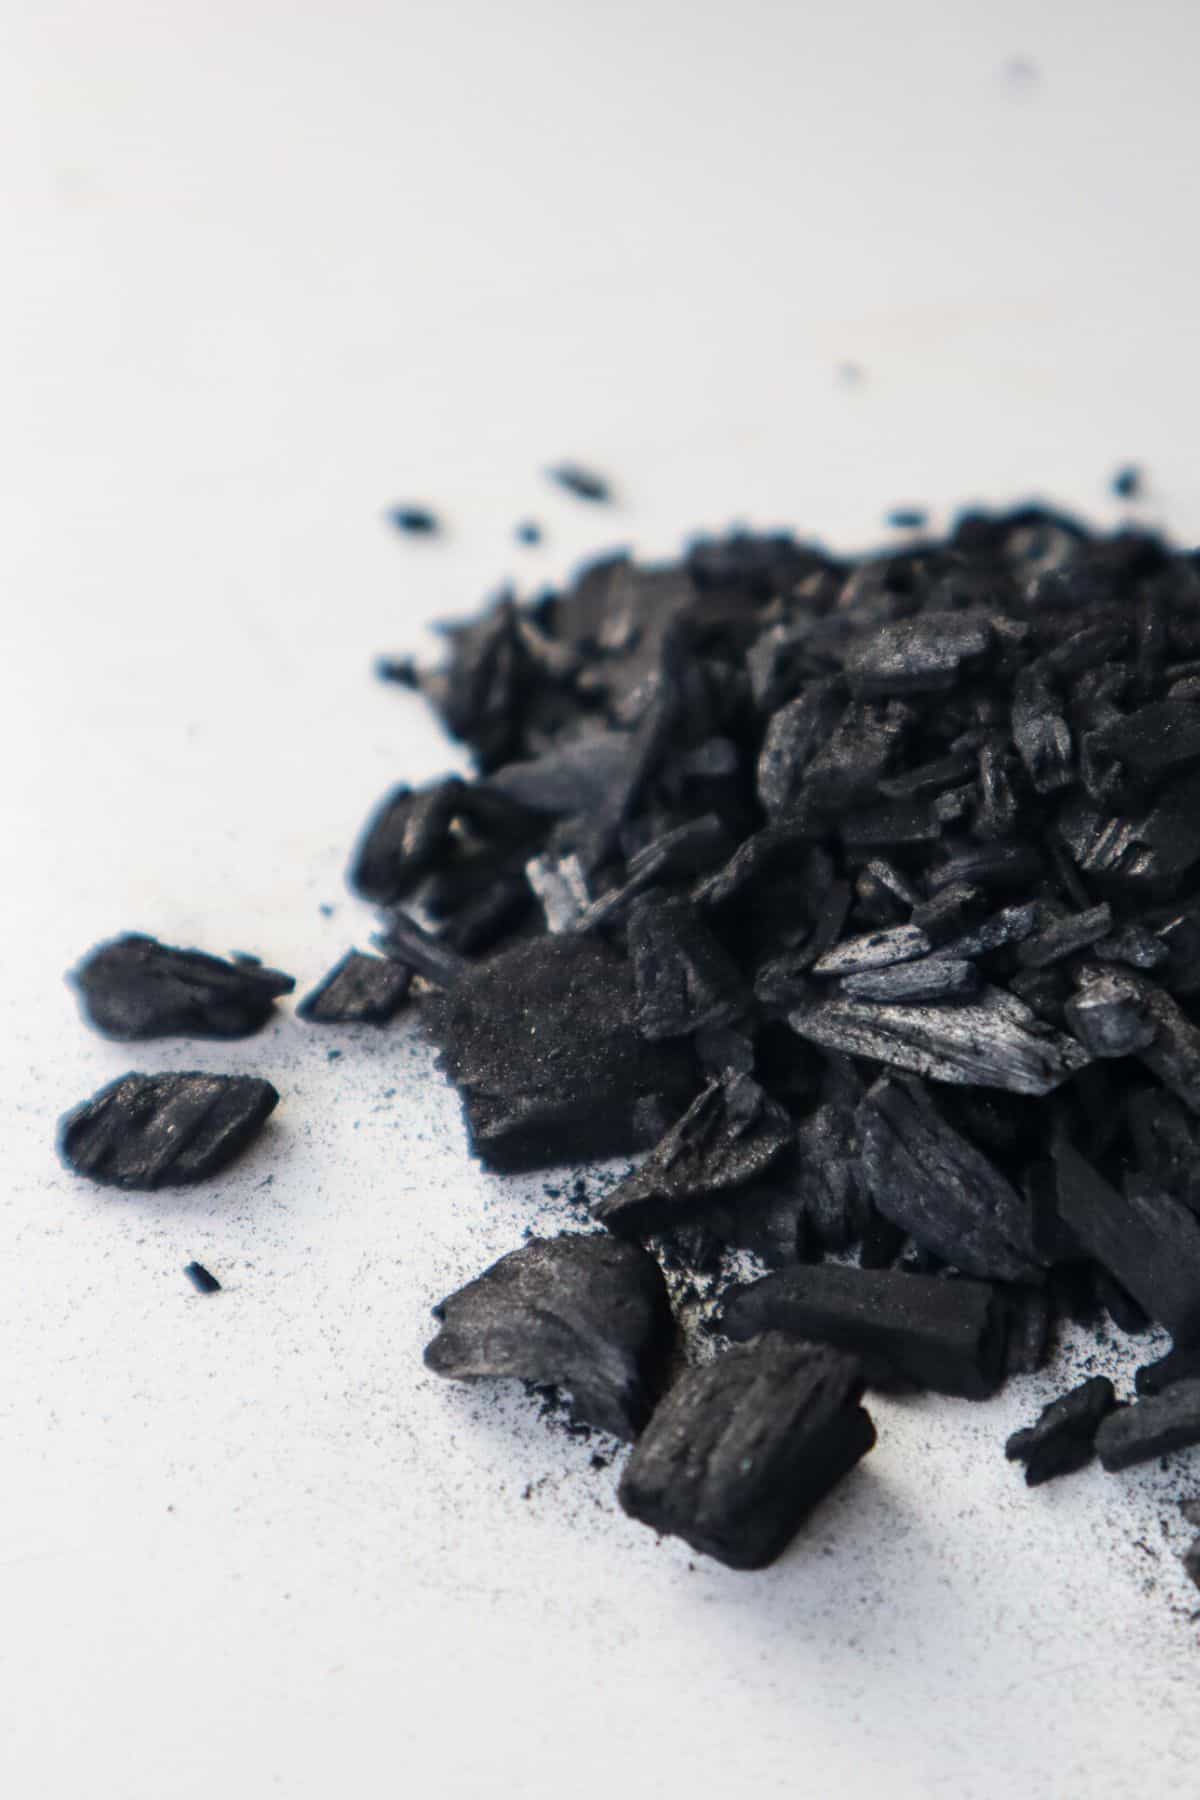
It’s mold and pest-resistant, lasts indefinitely, and similarly to the clay, it’s pretty easy to transfer the springtails.
Springtails can actually float, so you can simply “wash” your springtails into a terrarium just by adding water. Alternatively, you can directly add a piece of charcoal with springtails attached.
The main issue with charcoal is that springtails don’t travel too well with this method. The chunks can bump into the springtails during transit and damage the population.
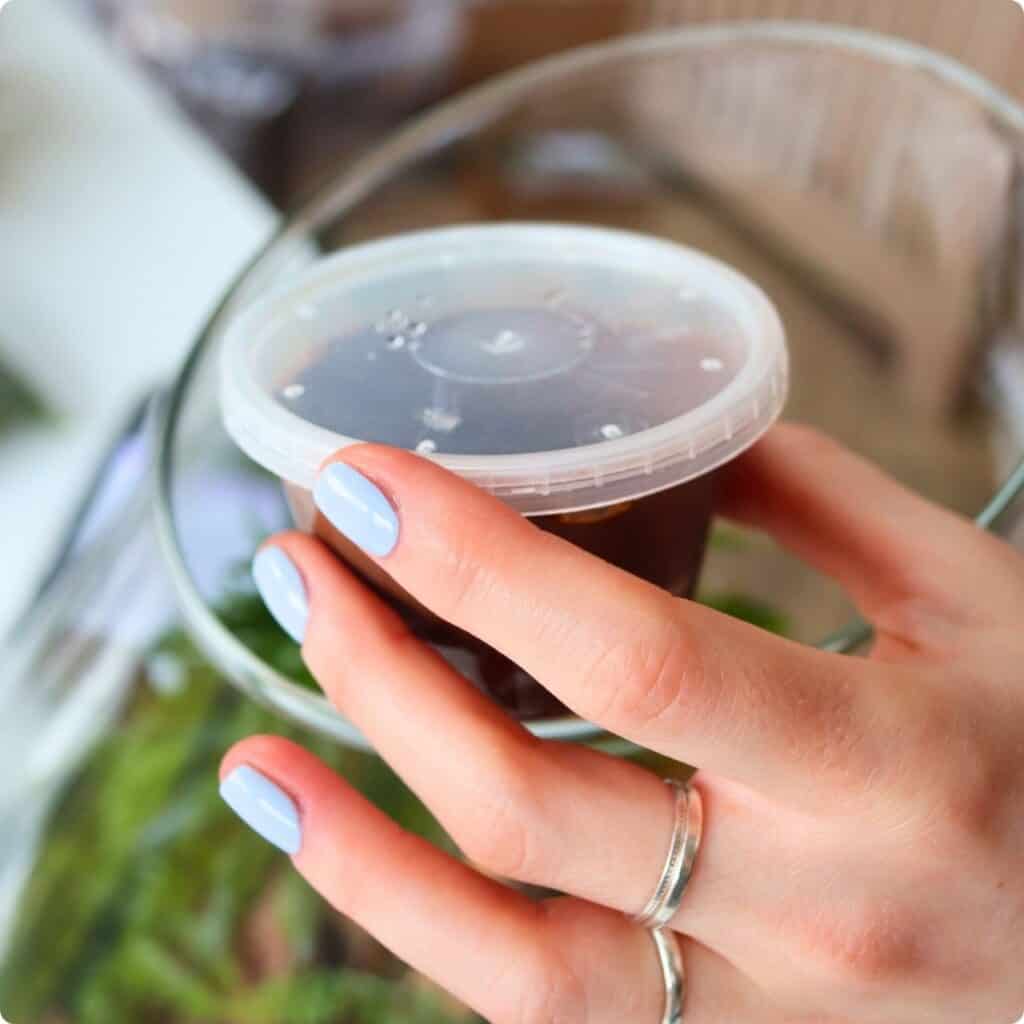
Adding Your Starter Culture
When you order a starter culture online, you’ll get a number of springtails that are usually enough to seed a project.
There are many different species of springtails, but you’ll likely be getting either Collembola, Sinella, or Folsomia. (Ours are Folsomia).
They’ll come in a small container filled with one of the above mediums.
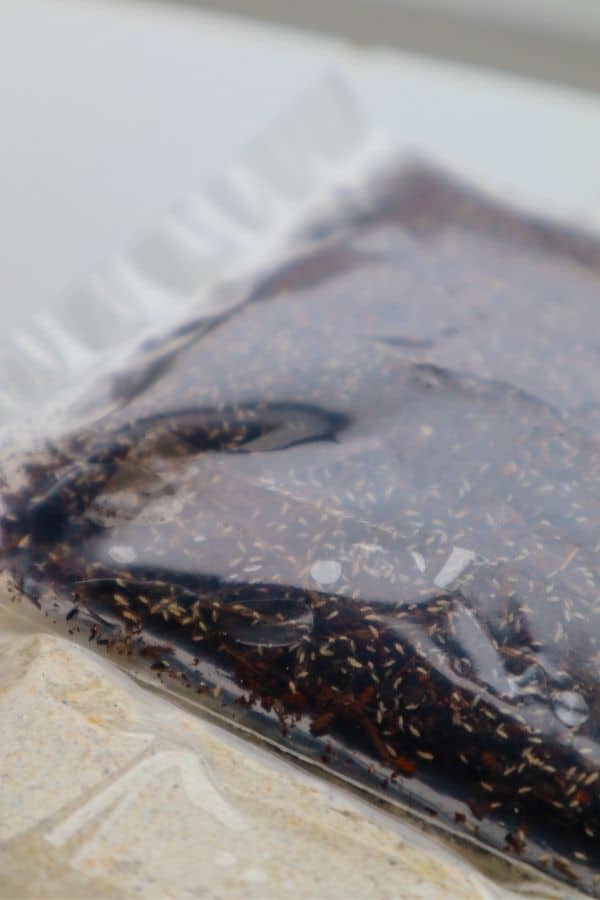
If it’s already your medium of choice, great! If not, you can always place your open starter culture container into your new bigger container and let the springtails find their own way out (you can tempt them out with food too).
First things first, fill your main container with your chosen substrate till it’s roughly half full.
As springtails are typically found in high moisture and humidity areas, you’ll want to add a liberal amount of distilled water to recreate those conditions. A dry culture will not last long.
Terrarium mix should be damp, clay will completely absorb the water before hardening, and if you’re using charcoal, you’ll want the water level to be roughly halfway up the chunks.
Then, you can add your starter culture.
Care
For your new breeding culture, there really isn’t much required in the care department.
Keep your culture out of direct sunlight so they don’t cook, but give them some light for best results. Like us, they seem to get a bit lethargic if they don’t see the Sun for a while.
They’re pretty forgiving on temperatures, too. A typical household range should be absolutely fine; just stay away from extreme temperatures.
You’ll need to periodically open your culture container to replenish oxygen levels and supply them with some food. It’s worth giving them a little spray with water each time too, as a) they enjoy moist food and b) it’ll keep the moisture and humidity topped up.
You can expect them to rapidly reproduce once settled in, typically after a month or so.
To get a thriving culture, here’s what you can do to feed them.
What to Feed a Springtail Culture
Springtails are natural detritivores.
Meaning in the wild, they feed on dead or decaying organic matter, which is definitely something we want to keep on top of in a terrarium. But that’s not all; they also love to eat mold – making them the perfect terrarium janitors.
Springtails in terrariums are supplied by the bioactive cycles of decay – but what about an isolated culture?
Well, your little boxed springtail colony will not have enough organic material to support it passively. Instead, you’ll need to supplement them with a different food supply.
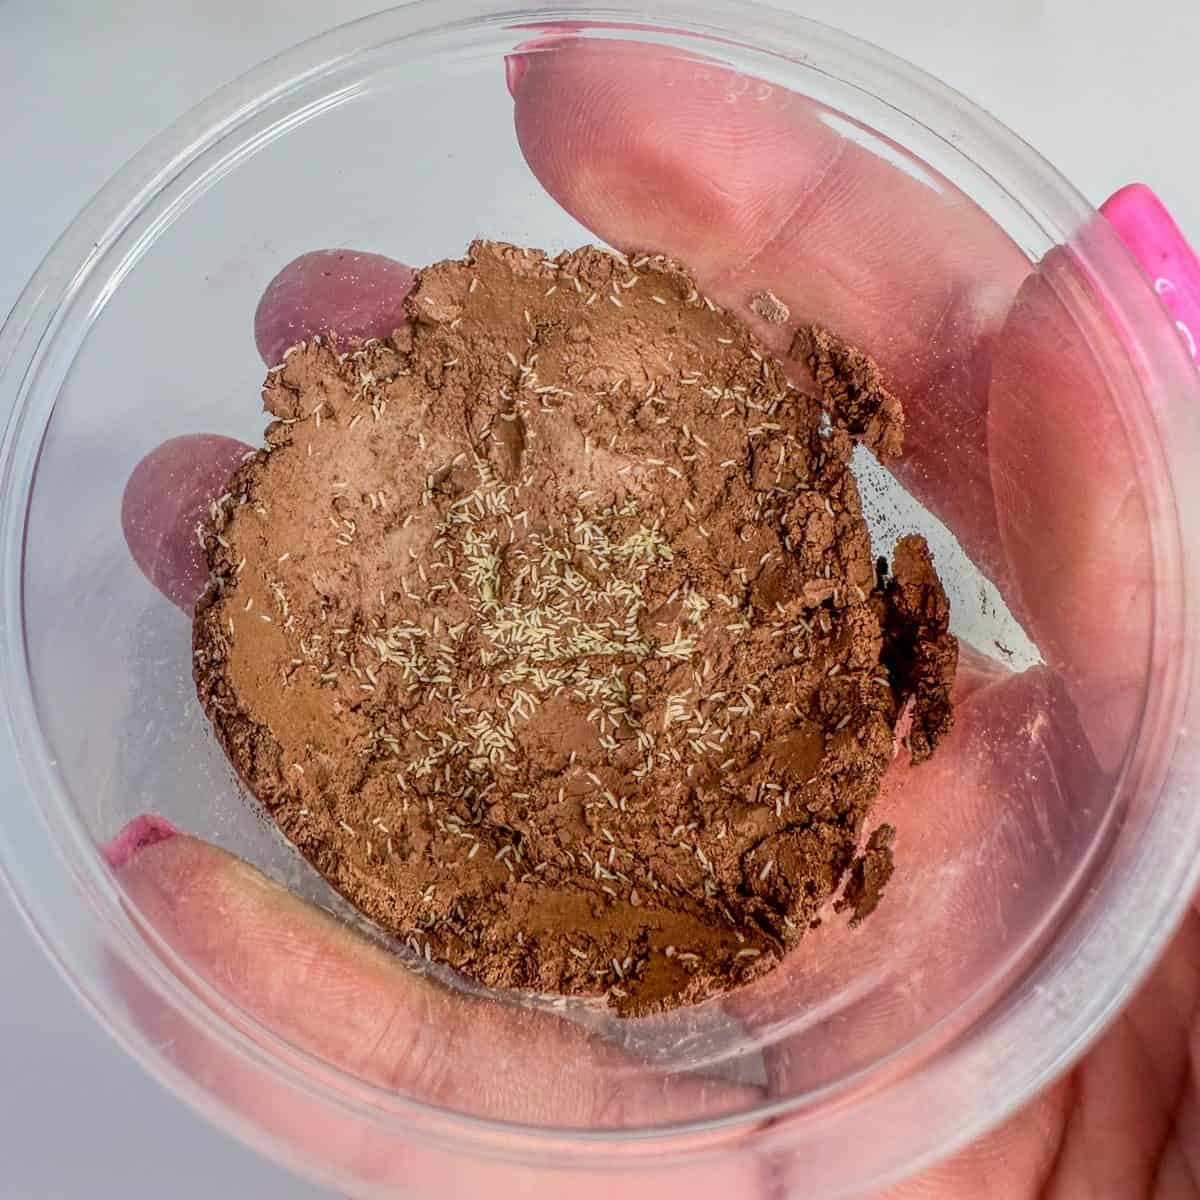
New cultures won’t need much at a time, but you can work up to larger items as the population increases.
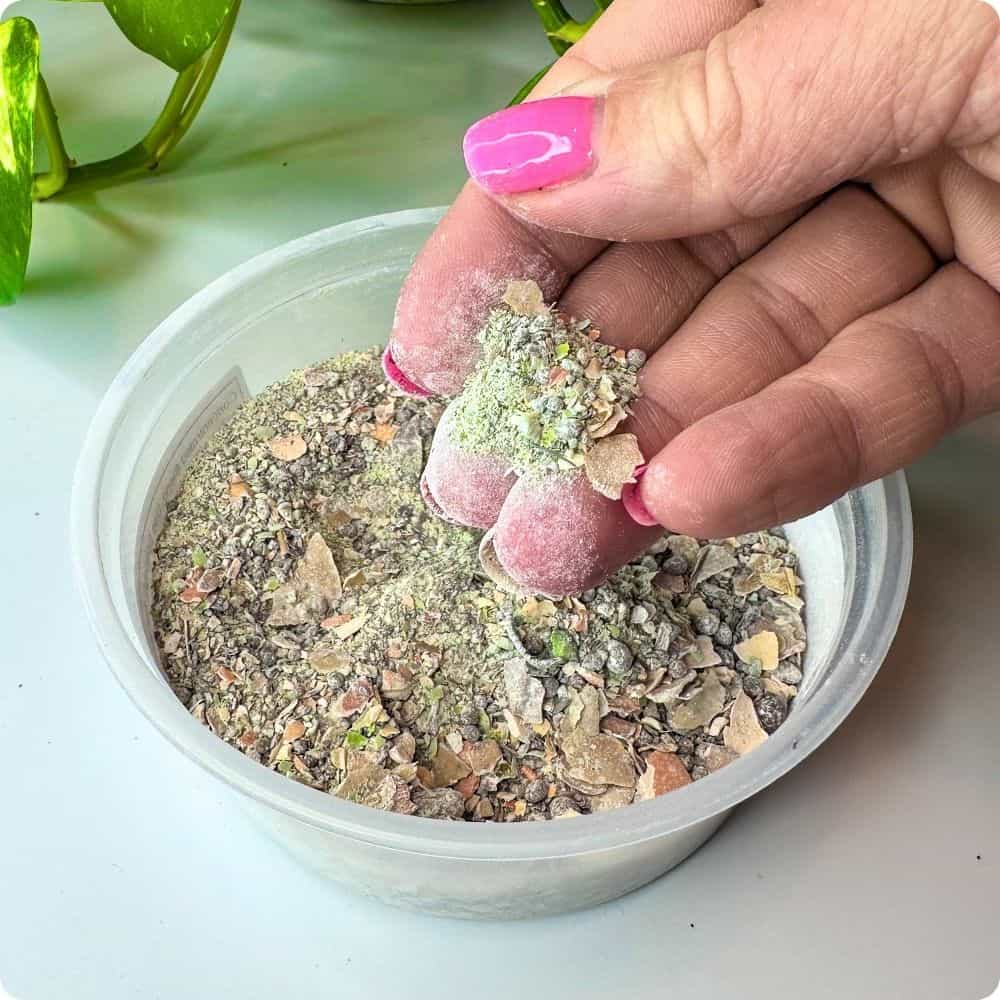
That’s why I’d start with powdered food.
Brewer’s yeast is a convenient all-in-one solution to get them started, or you can use one of the proprietary blends for sale online, such as our Superfood blend.
Isopod Superfood Powder (+ for Springtails)
A powerful nutrition boost for thriving isopod colonies, packing high-grade nutrition into every pinch.
Growth support • Optimum health
You can even make your own springtail food recipe if you like!
Once you have a larger colony, some people like to diversify their food sources and add chunks of actual food, e.g., vegetable scraps of sweet potato, carrot, and cucumber. You only want to add a small amount at a time to prevent it from spoiling and attracting pests. Uncooked rice is a common choice, too.
Finally, protein is also important for springtails in producing the structural proteins in their protective cuticle1 (that helps them repel water), so it’s worth giving them a protein snack now and again.
Protein sources include – you guessed it – brewer’s yeast powder. Is there nothing this food source can’t do?
👉 Check out my full Springtails Food Guide for more help!
Over to You
Hopefully, with the help of this guide, your culture will spring to life in no time!
Which substrate do you use with your springtail culture?
Tell me your secrets!
References
- https://www.ncbi.nlm.nih.gov/pmc/articles/PMC4233743/ ↩︎
Regular medical paper tape has a .22 micron pore size and can be taped over holes drilled or cut. Similarly poly-fill, from a craft store or whatnot, can be stuffed in the hole. (I use both for liquid cultures, they can even be pressure cooked.) Should keep critters in.