The chilly weather has come, and it’s time for cozy nights in and spooky craft projects. Pumpkins are so last year; this season, we’re talking all things Halloween terrariums!
Living plants and ghoulish horrors might not be the obvious pairing, but it works.
Whether you want something bright and fun, tasteful, or genuinely scary, the world of terrariums holds so much scope for exploration.
In this guide, I’ll take you through unique ideas, sourcing accessories, and finish on a step-by-step process you can follow to bring your project to life (or perhaps…undead?).
Let’s goooooohhhh!
Terrarium Tribe is reader-supported. When you purchase through links on our site, we may earn an affiliate commission (at no further cost to you). 💜
Halloween Terrarium Ideas
Let’s get the creative juices flowing to start our spooky horticultural endeavor off on the right foot. Here are a few things to consider for your project:
- Theme – What story do you want your terrarium to tell? You could do anything from a cozy fall aesthetic to a haunting graveyard. A strong concept goes a long way, and there are no rules. Anything vaguely Halloween is on the cards.
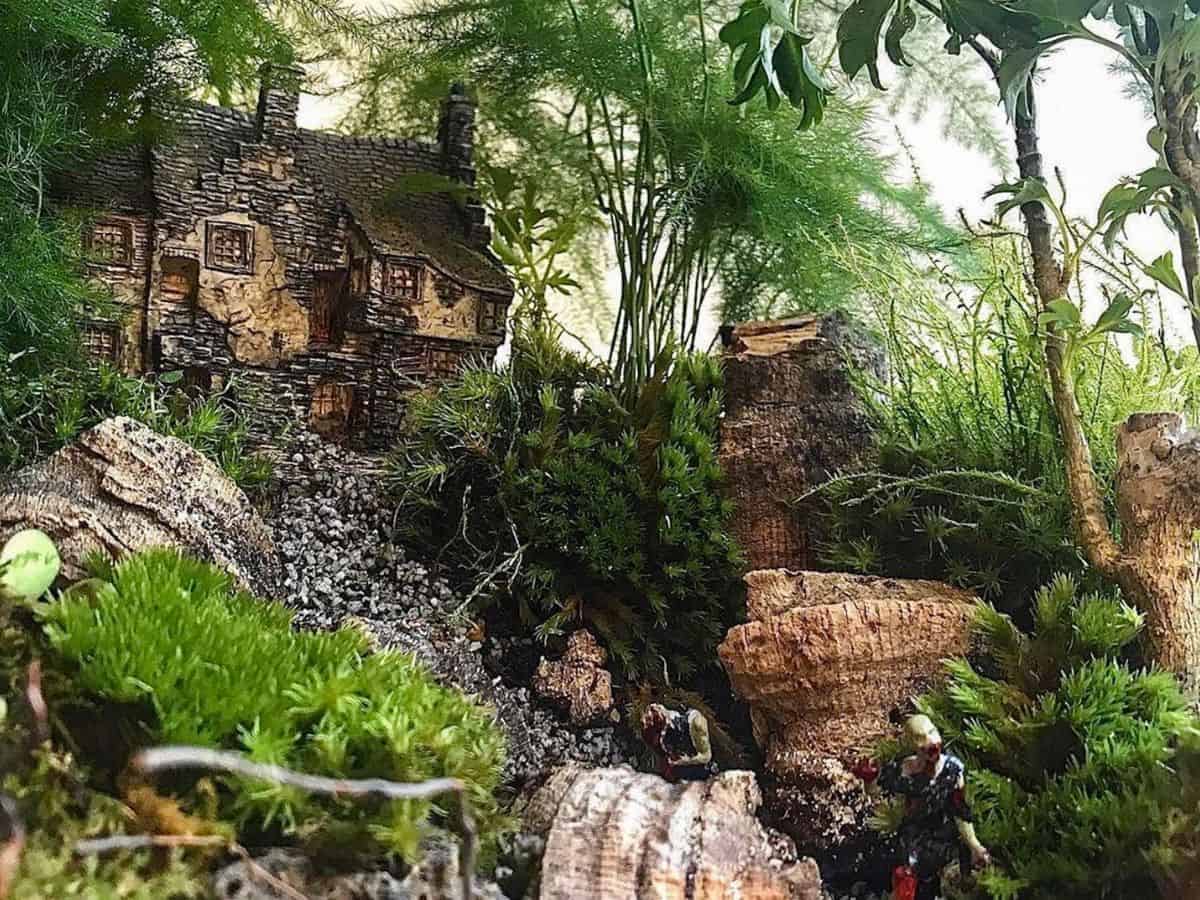
Why not take inspiration from your favorite movies or shows? I’m dying to do a Scooby-Doo-themed terrarium.
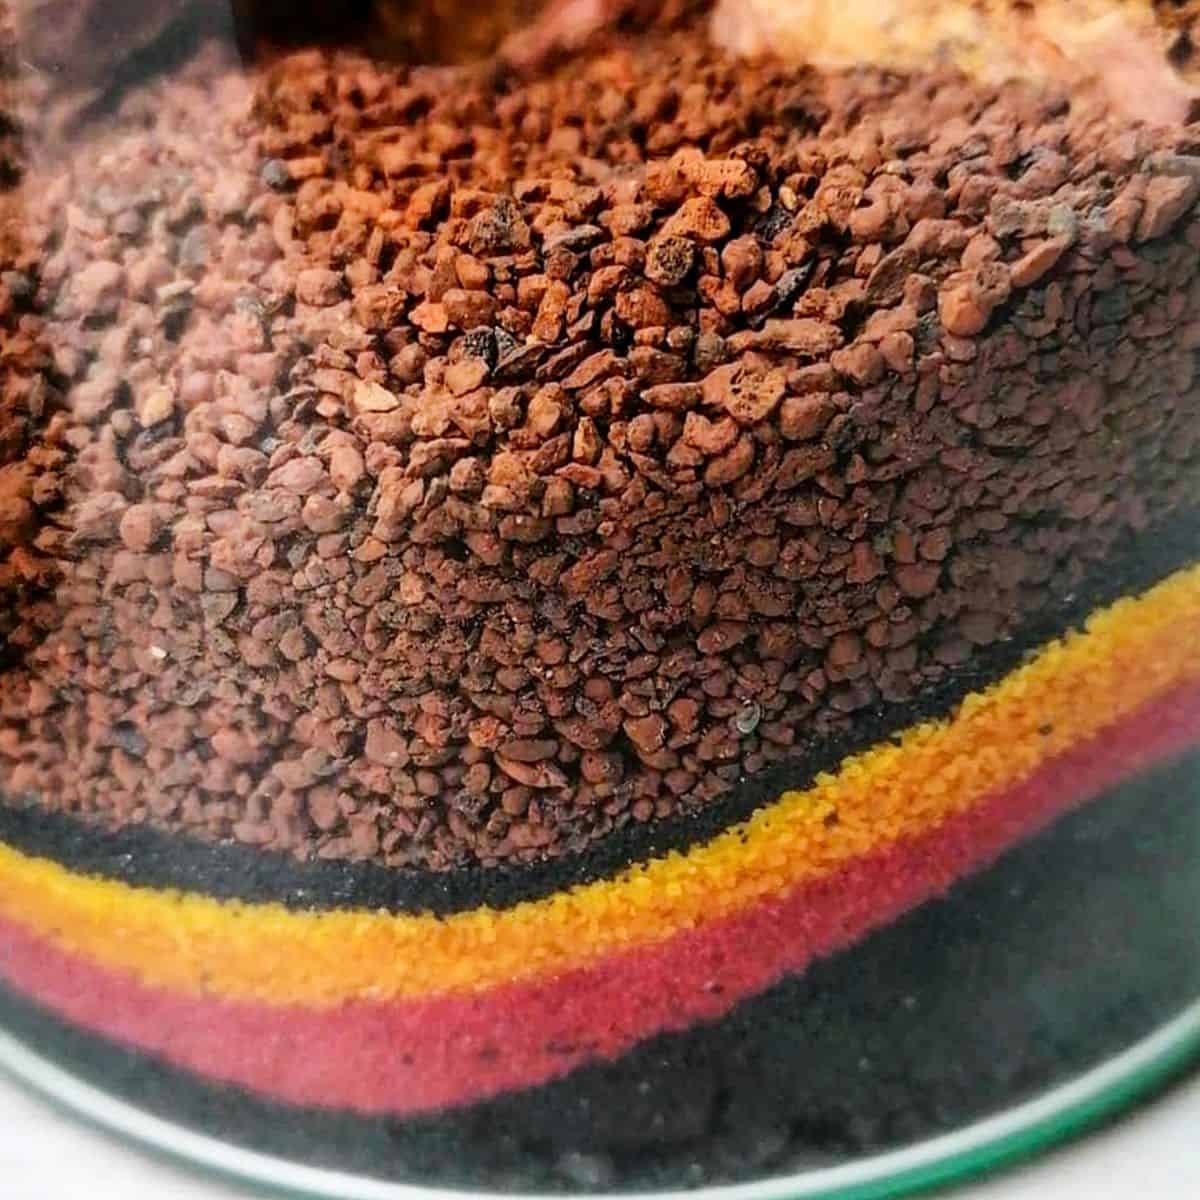
- Color – Incorporating a bold splash of purple or black is an instant way to bring Halloween energy to your project. You could use colored aquarium gravel for your drainage layer or for open terrarium projects (more on that later); finish it with some dyed preserved moss.
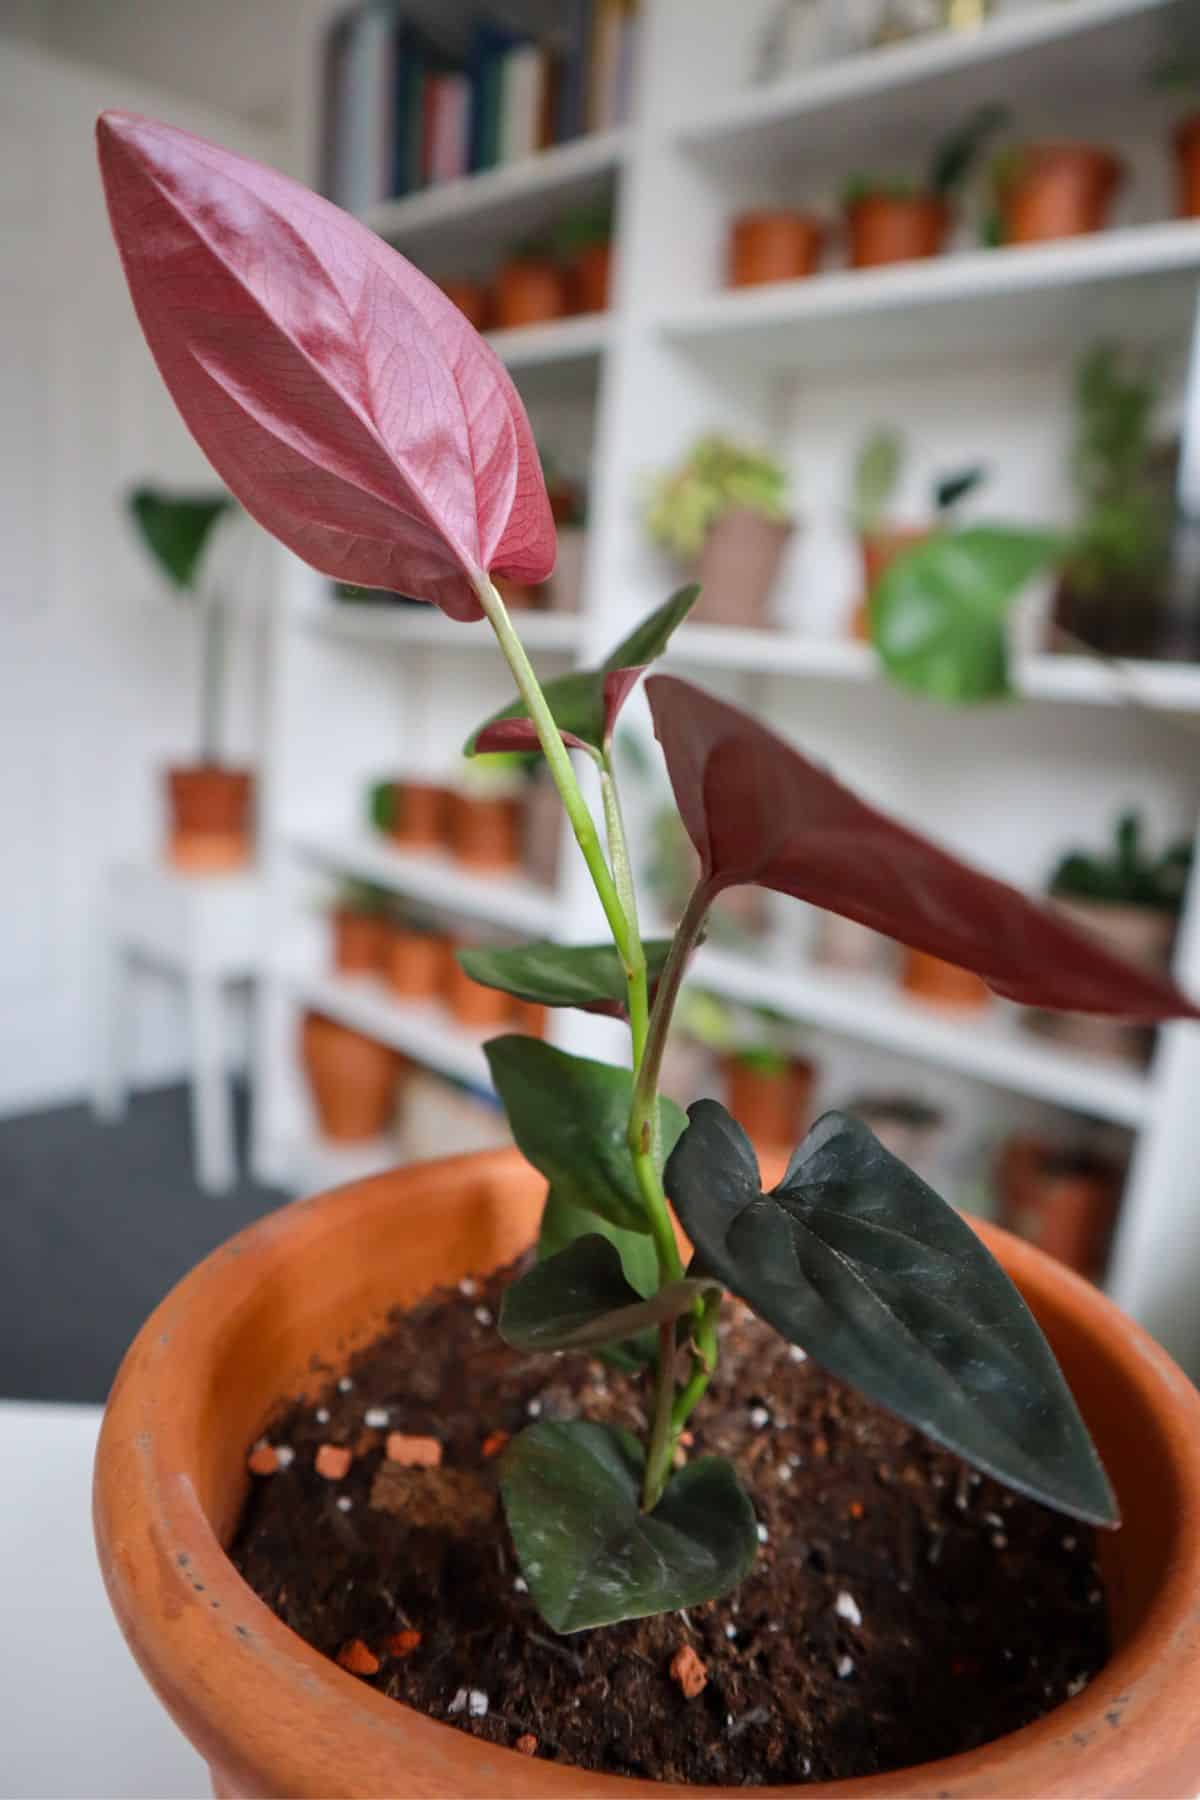
Or, for a less artificial look, how about using exclusively dark plants? The magical world of plants boasts all kinds of purples, oranges, reds, and silvers.
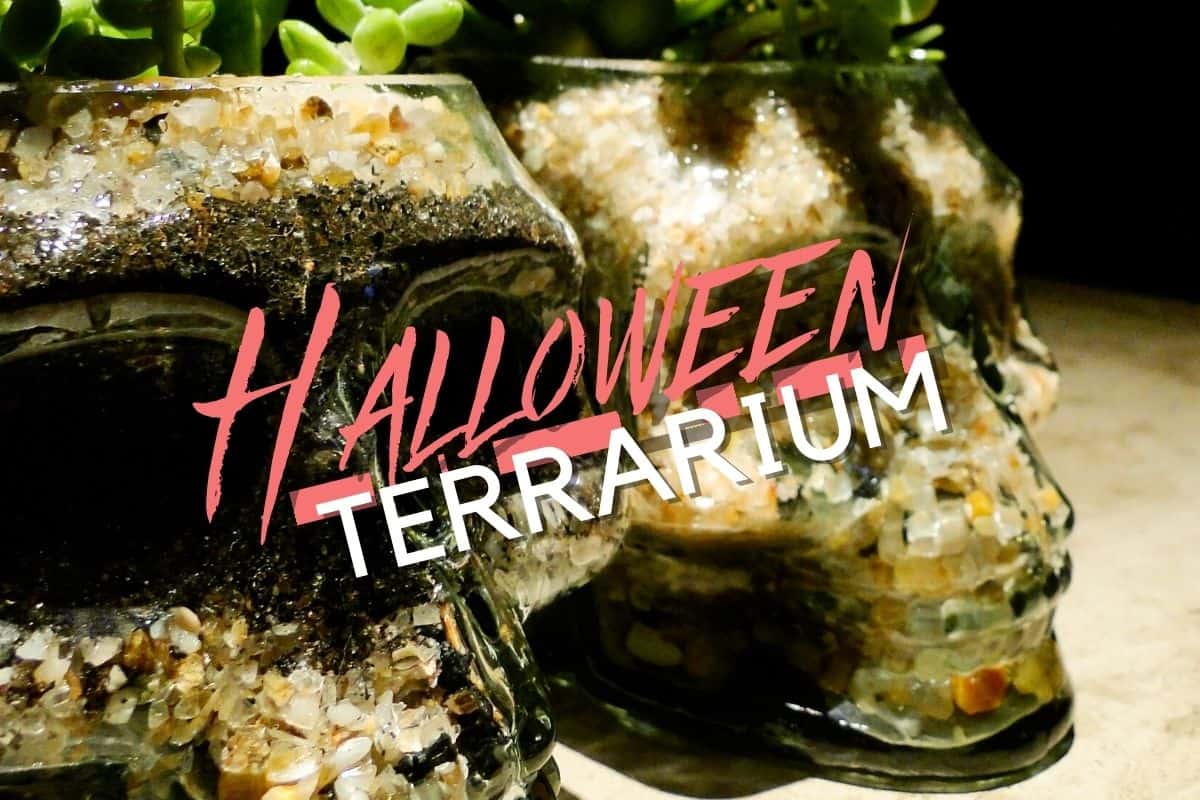
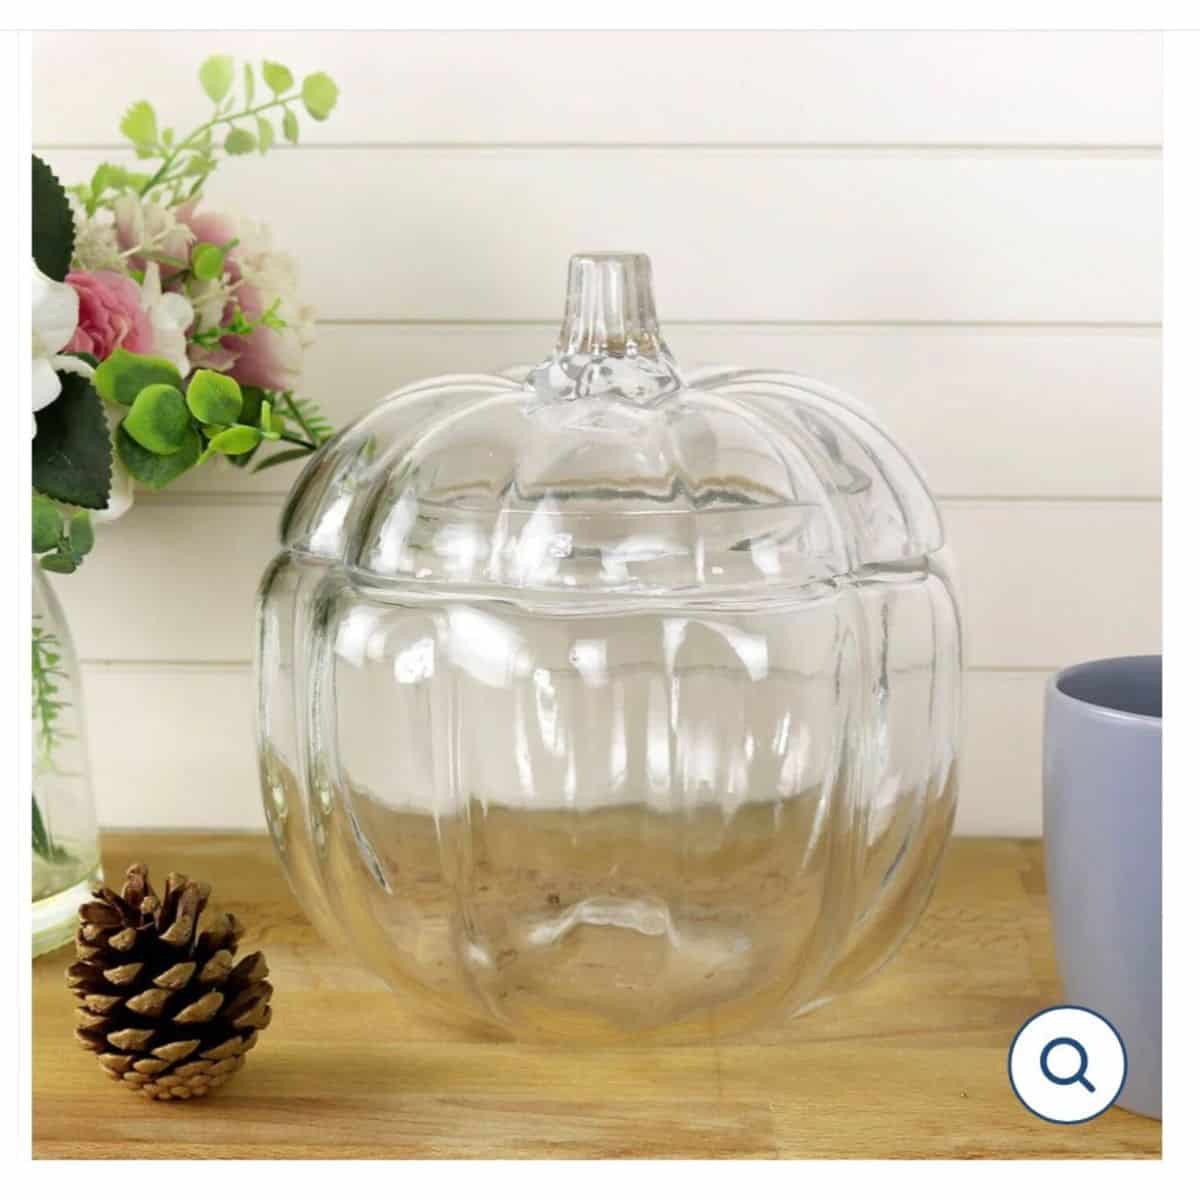
- Glassware – Never underestimate the impact a unique piece of glassware can make… There are plenty of options available, from skull-shaped vodka or tequila bottles (there’s your Halloween punch taken care of) to spooky Victorian cases and everything in between.
Sourcing Halloween Terrarium Accessories & Figurines – 2 Ways
Once you have an idea of the direction you’d like to go in, you’ll need to accessorize. And unsurprisingly, accessories are everything when it comes to Halloween terrariums.
There are two ways to approach this, depending on how much time you have for this project.
1 | Buy Ready-Made Pieces
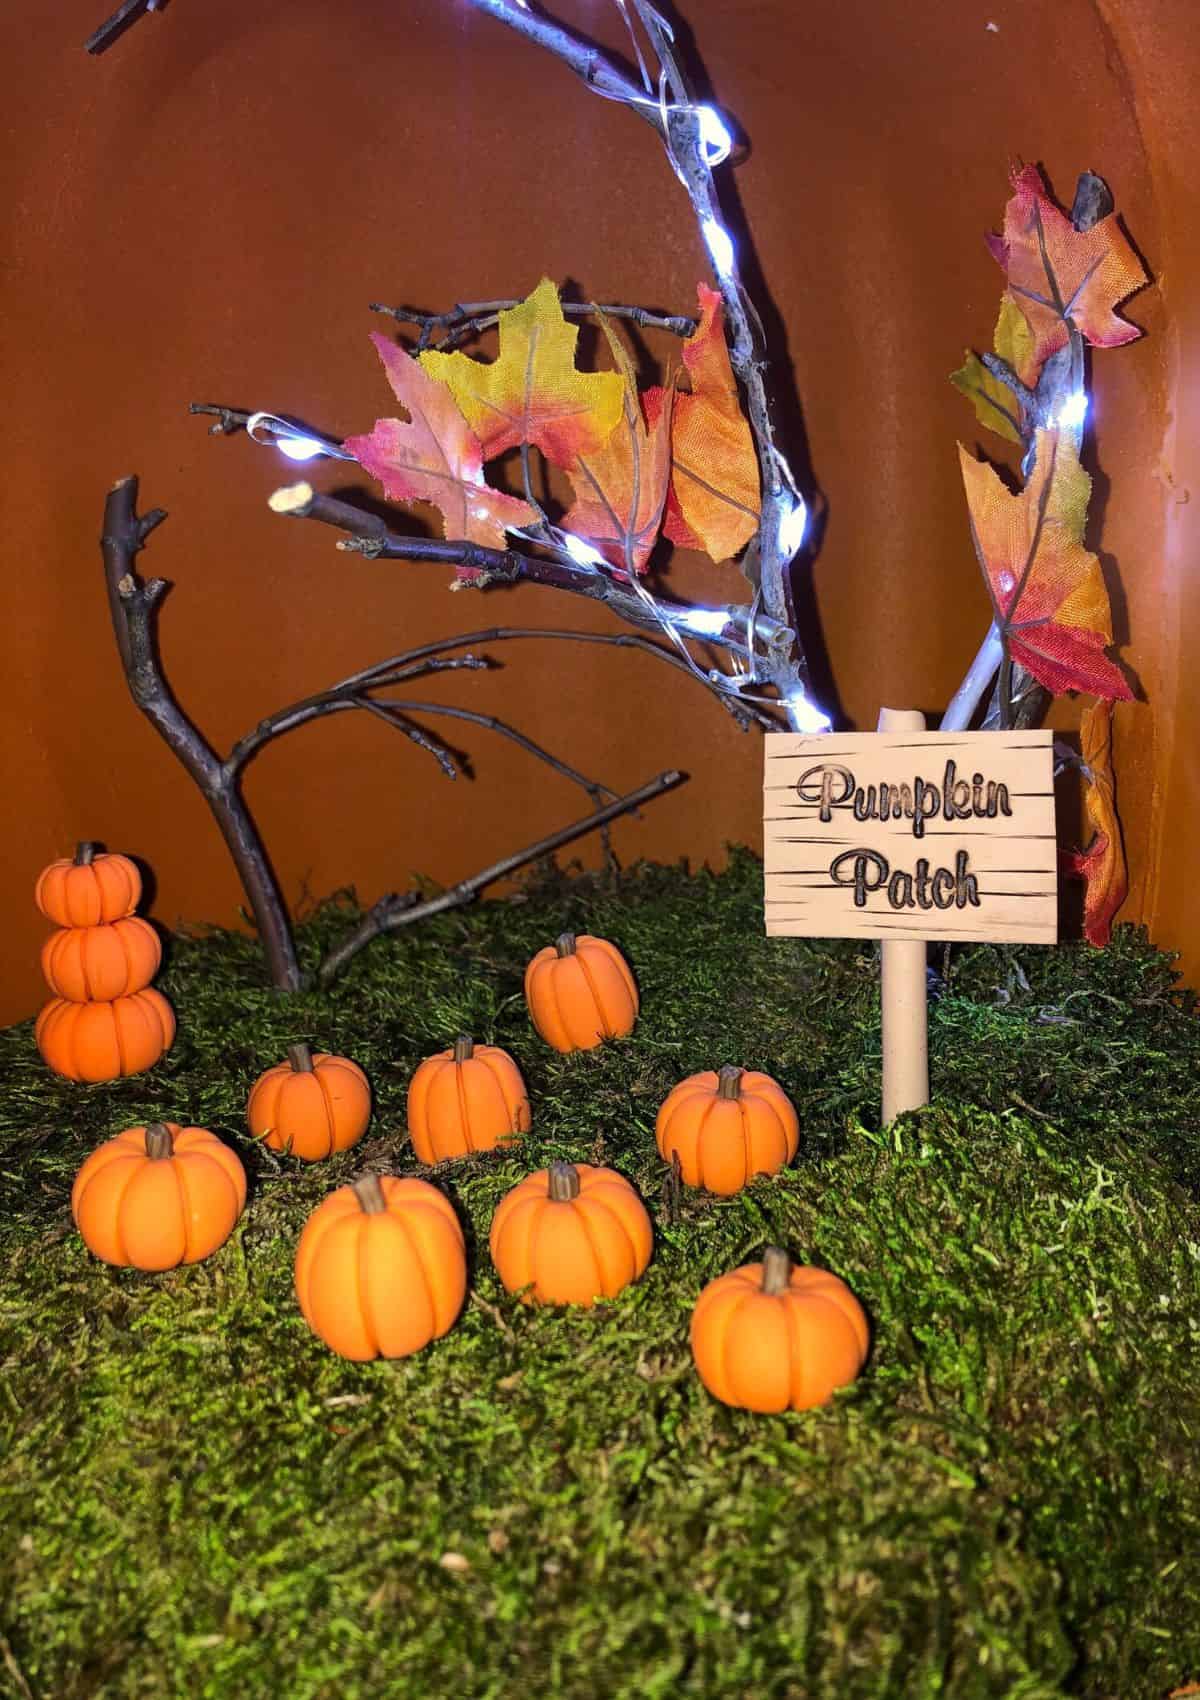
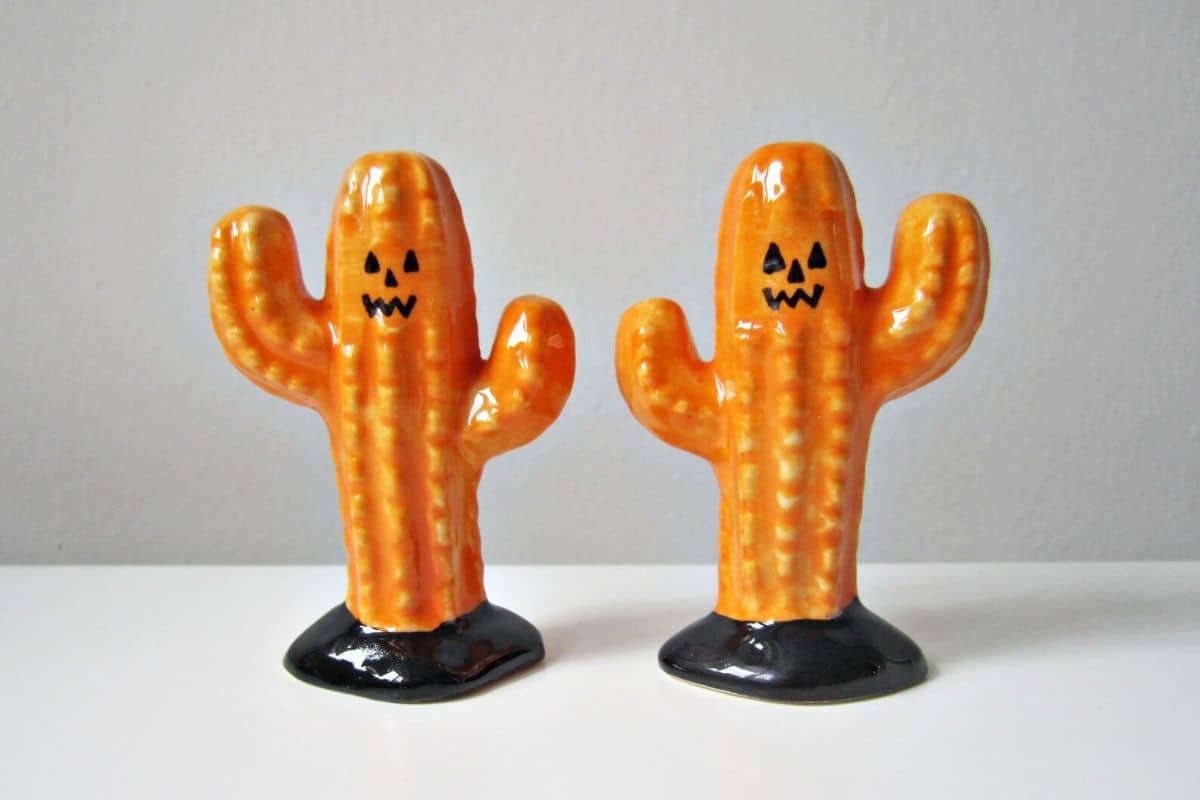
On the ready-made front, I was really impressed with the number of options available – particularly lots of skulls, ghosts, pumpkins, and gravestones. And some are surprisingly inexpensive.
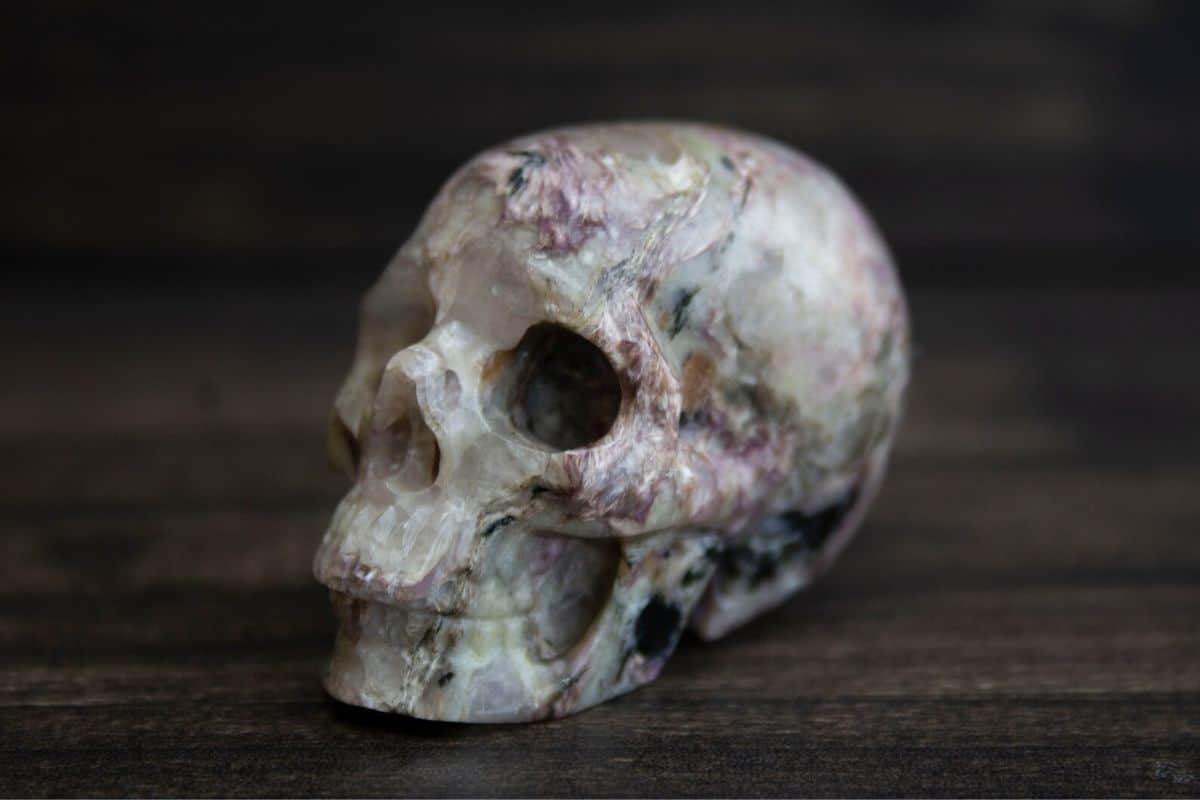
Or, if you want more of a chic design, why not opt for authentic crystal?
👉 Shop Halloween accessories on Etsy.
2 | Make Your Accessories Yourself
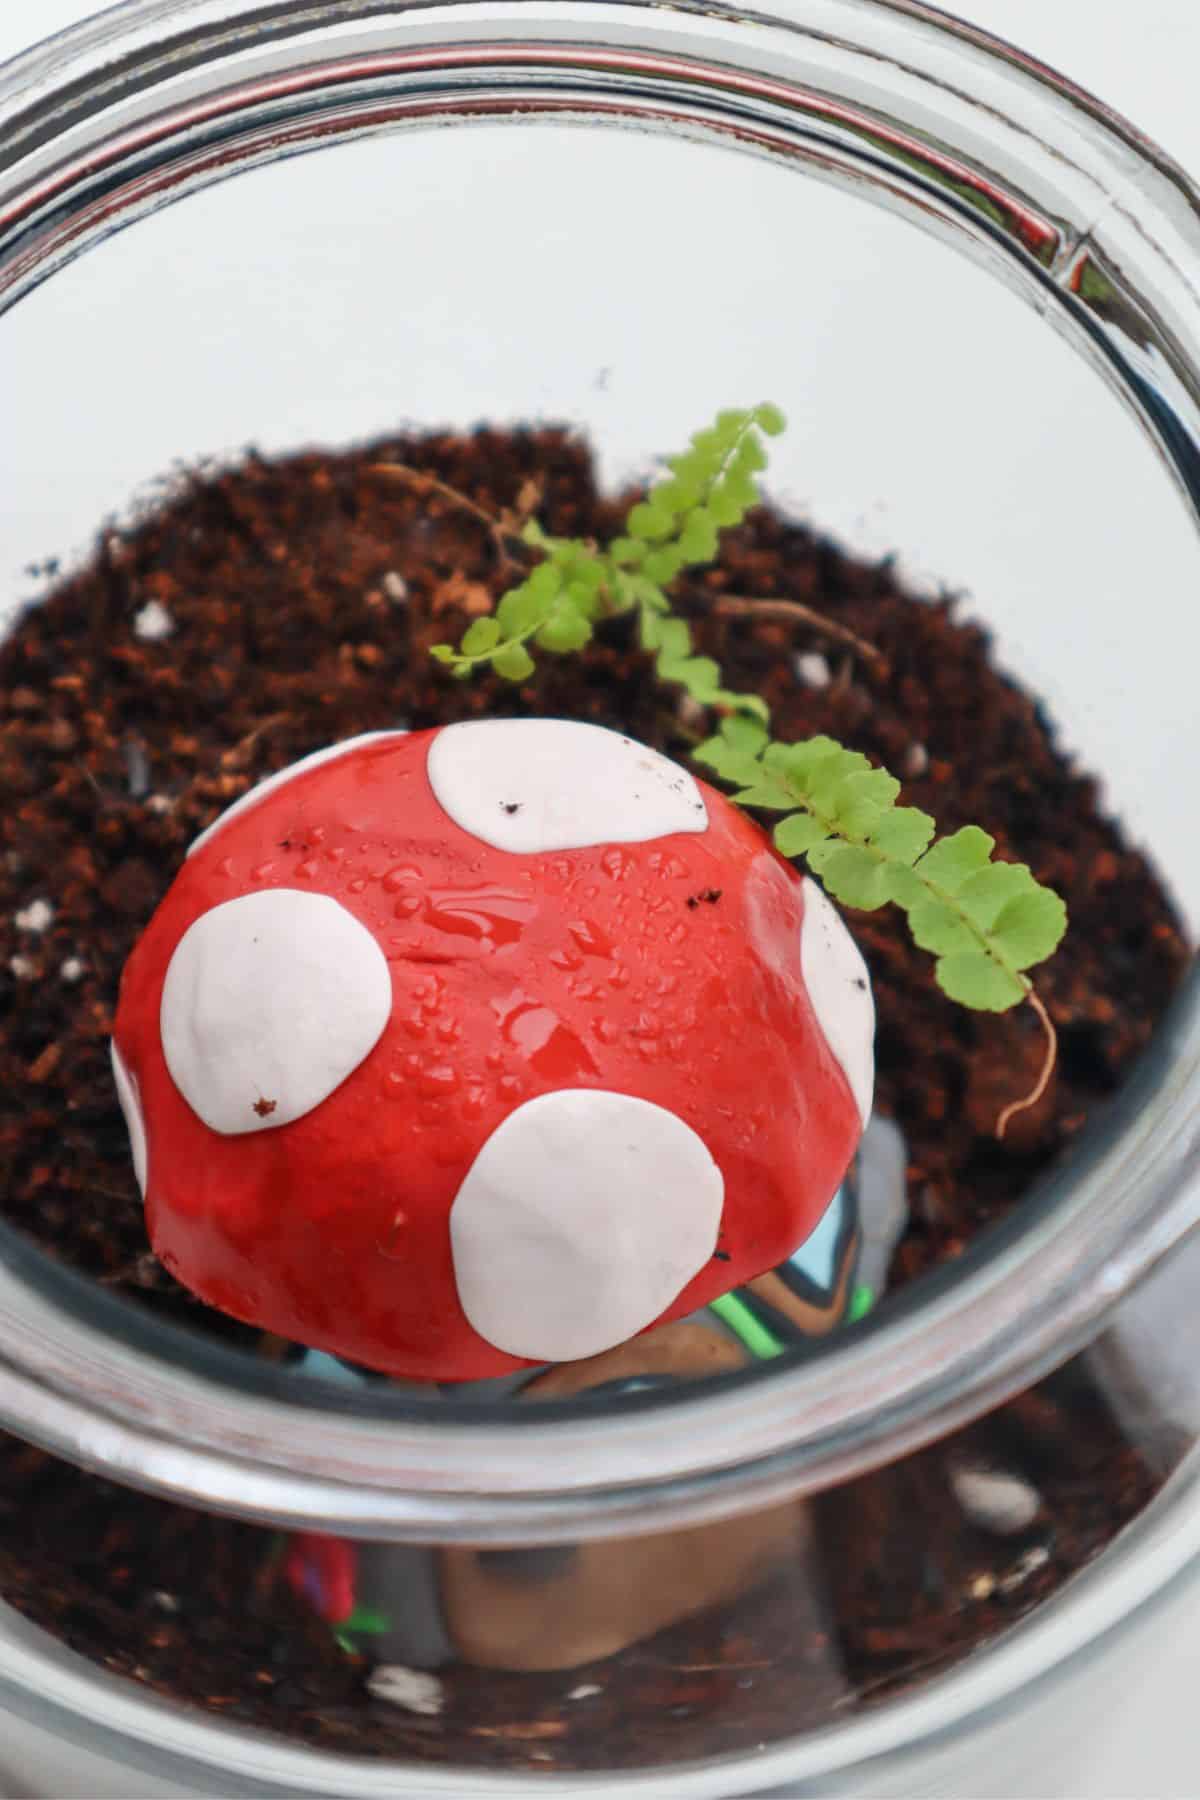
Maybe you love a good craft session, or maybe you want to create something more unique; either way, if you want to go down the DIY route, oven-hardening modeling clay is your best friend.
Complete freedom and an infinite amount of colors? Yes, please!
Simply make whatever you want and harden it in the oven. Well…not simply, it’s actually quite tricky, but this YouTube video came in handy for me.
👉 Shop Oven Modeling Clay on Etsy.
How to Make a Halloween Terrarium (Step By Step)
The time has come. Get your creative hat ready and cue the Nightmare Before Christmas soundtrack (it’s a Halloween movie, not a Christmas movie, and no one can tell me otherwise).
What You’ll Need
- Appropriate glassware*
- Gravel/pebbles/leca for drainage
- Appropriate soil*
- Appropriate plants*
- Any Halloween accessories
- Spray bottle
- Optional terrarium tools or a long spoon
As you might have guessed by the *asterisks*, there’s a choice to be made…
Your container will ultimately dictate what kind of terrarium you’ll build.
Glassware with a lid is suited to moss and tropical plants; it will generally take care of itself and need a tropical soil mix. This is a traditional, closed terrarium.
A glass vase with no lid is suited to cacti and succulents; it will need frequent watering and a gritty soil mix.
Once you’ve made your choice, you can jump straight in!
1 | Make sure your materials are clean
You never know what nasties could be hitching a ride into your terrarium. Begin by cleaning the glassware, drainage material, accessories, and any tools with soap and water and letting them dry.
Top tip – it helps to dry the glass so you don’t get any watermarks.
2 | Layers
Once that’s out of the way, you can begin assembly.
Lay out around an inch of drainage material, and then create a substrate layer on top that’s big enough to support your plants – around 3 inches tends to be good.
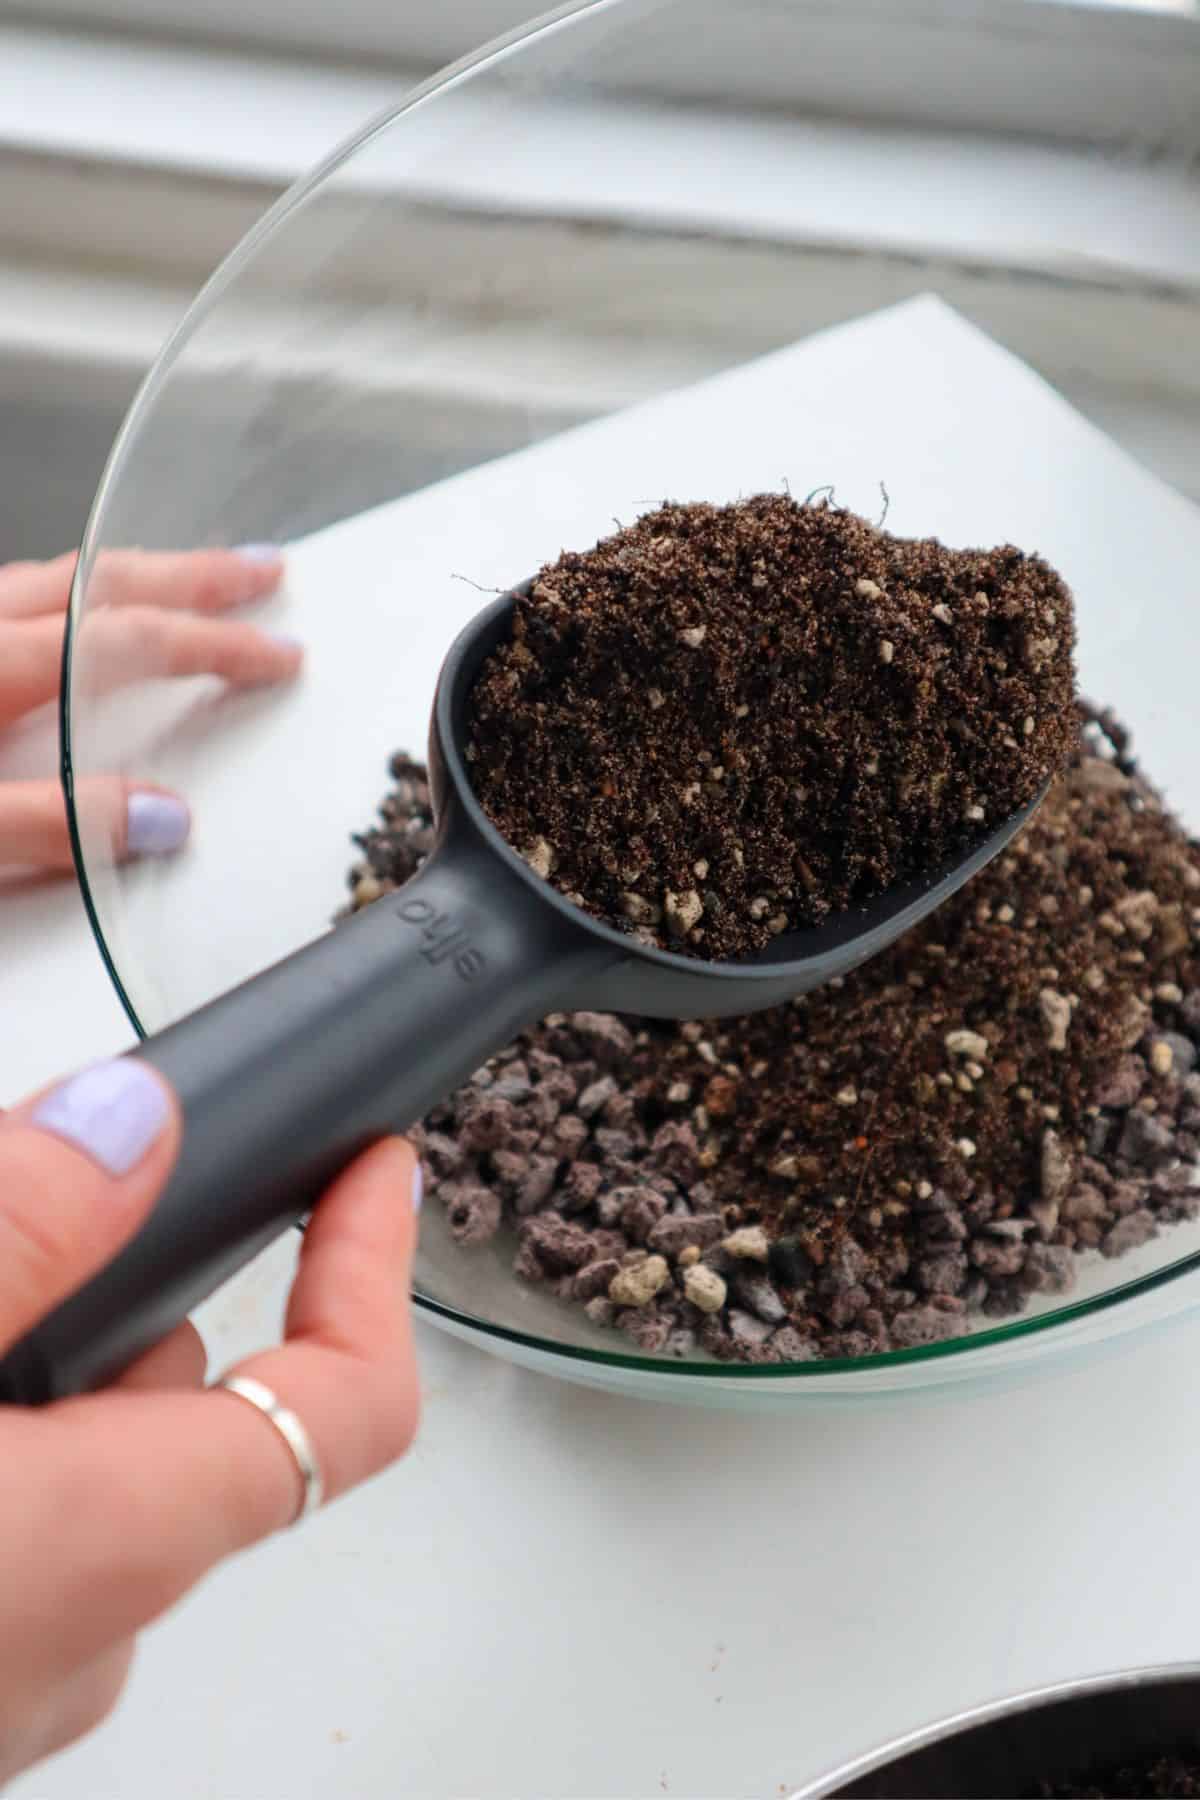
Top tip – place any large accessories or hardscape items now to help anchor them into the substrate.
3 | Planting
Time to get your green thumb out! Create a depression with your finger, spoon, or tool, place the plant in roots first, and smooth the substrate around to secure it.
Rinse and repeat with all of your plants till you’re done.
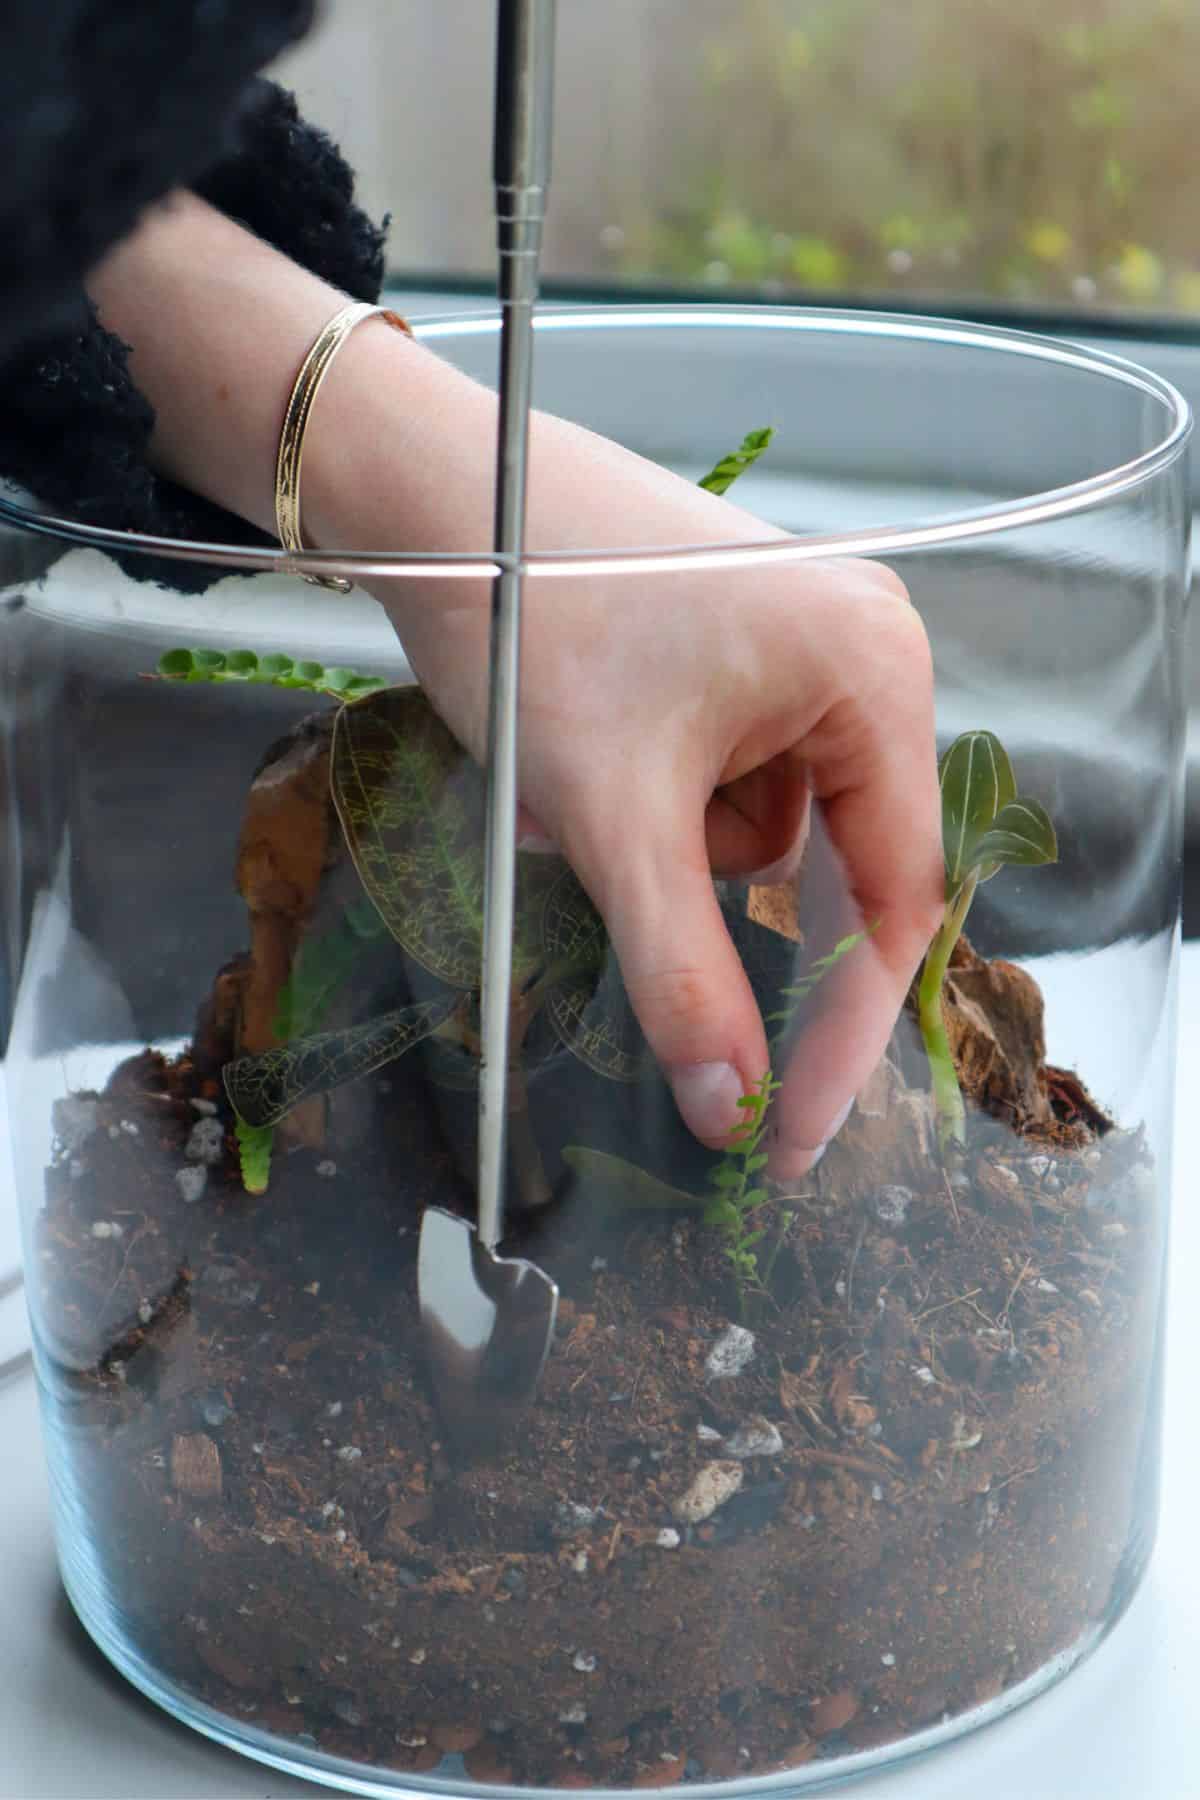
Top tip – give your substrate a light spray of water to make it easier to plant in.
4 | Setting the Scene
Now it’s time to add anything extra to take your terrarium from vibrant to spooky. Figurines, miniatures, accessories, add them all in.
And if you’ve chosen a closed terrarium build, now’s the time for moss.
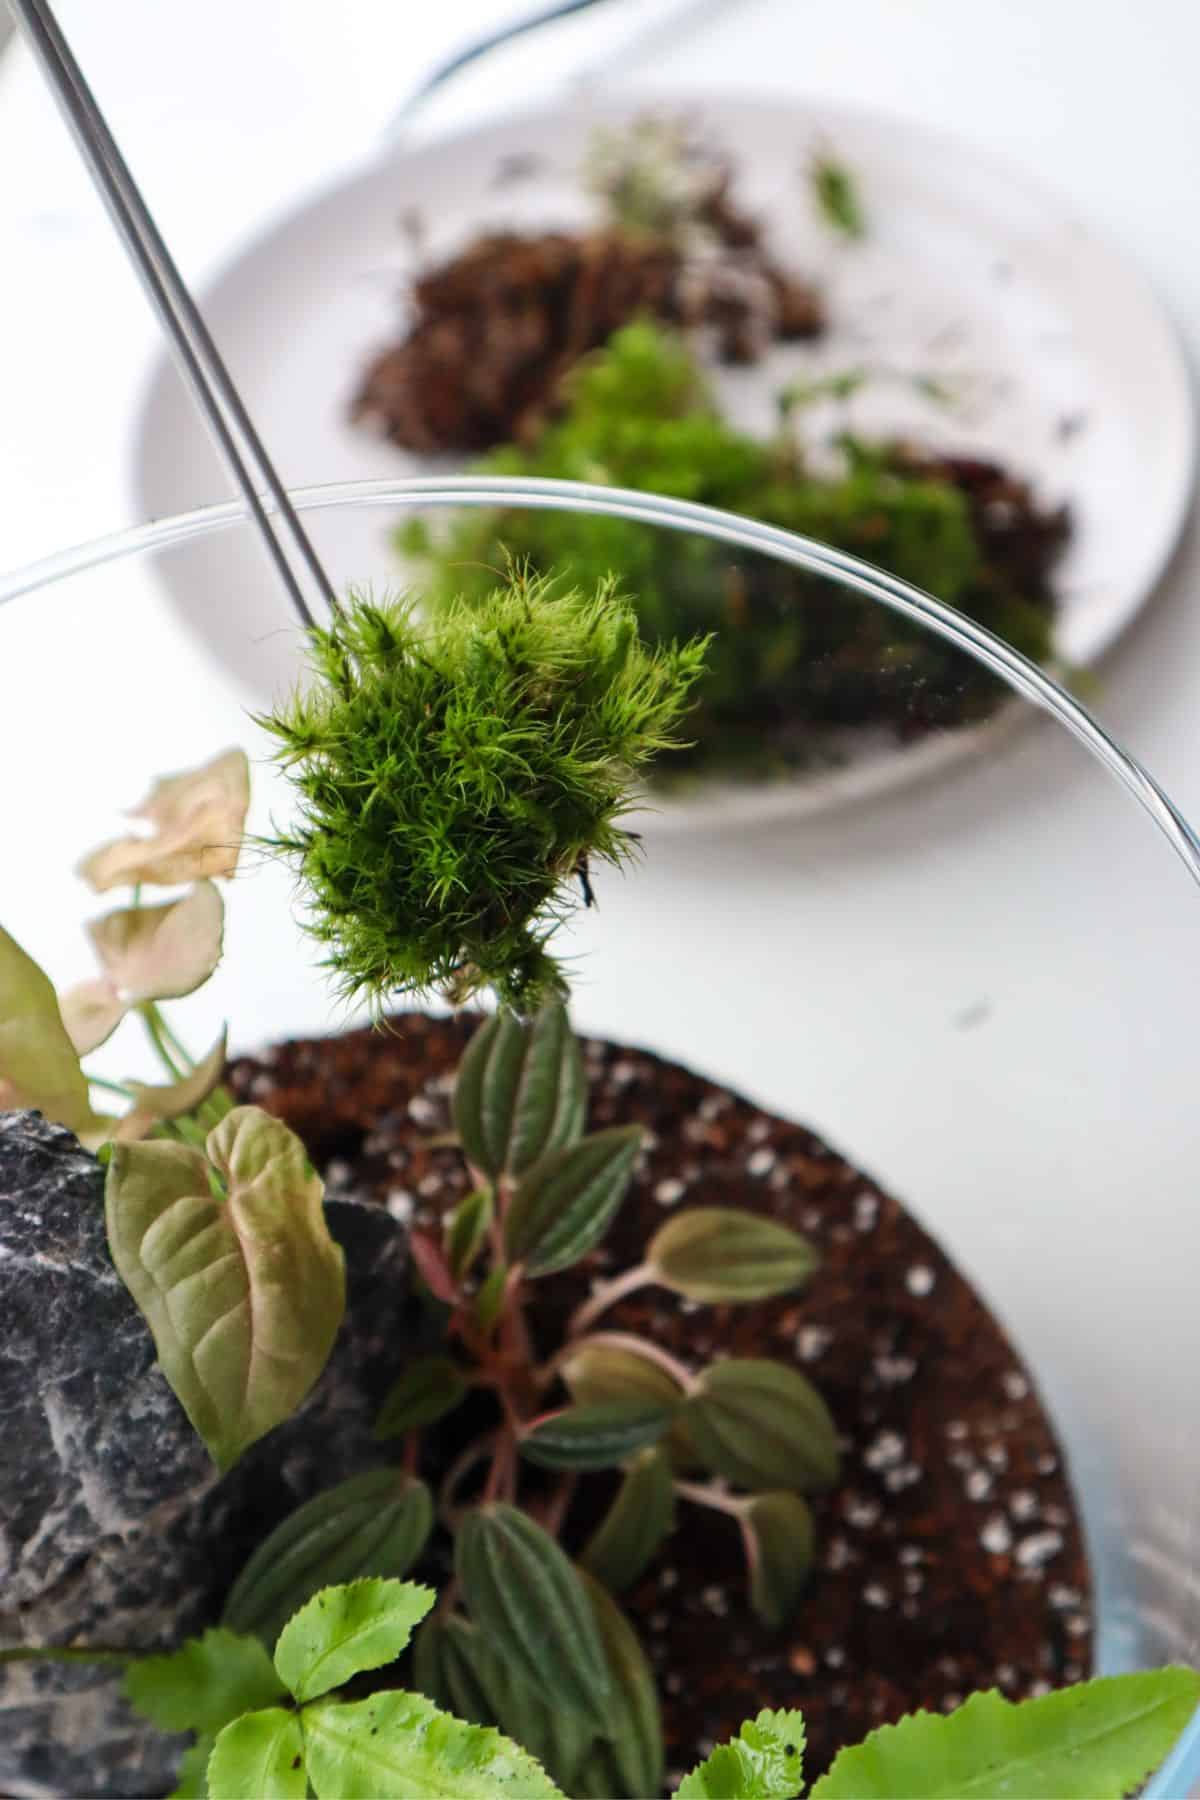
Once you’re happy with your design, give it a light spritz of water, and you’re sorted!
Top tip – plants hate being soaked. Make sure you don’t overdo the watering; you can always add more later.
Show Us What You Made!
What did you create? I love a creatively themed terrarium, so please tag us on Instagram or share it on the Facebook group. Bonus points for anything Scooby-Doo!
