Everyone knows that pets are the new children, and plants are the new pets. So what better way to bring life to a fish bowl than to forgo the fish for lush greenery?
Fish bowl terrariums are a fantastic way to revamp glassware, unleash your creativity and make something that elevates your home.
In this article, I’m going to tell you exactly how.
Let’s get into the swim of things!

Terrarium Tribe is reader-supported. When you purchase through links on our site, we may earn an affiliate commission (at no further cost to you). 💜
Fish Bowl Terrarium Ideas
There are two main types of terrarium – a closed terrarium and an open terrarium.
Because they’re such different approaches, deciding which you’re going for is easier before you get into the juicy creative details.
Let’s take a closer look.
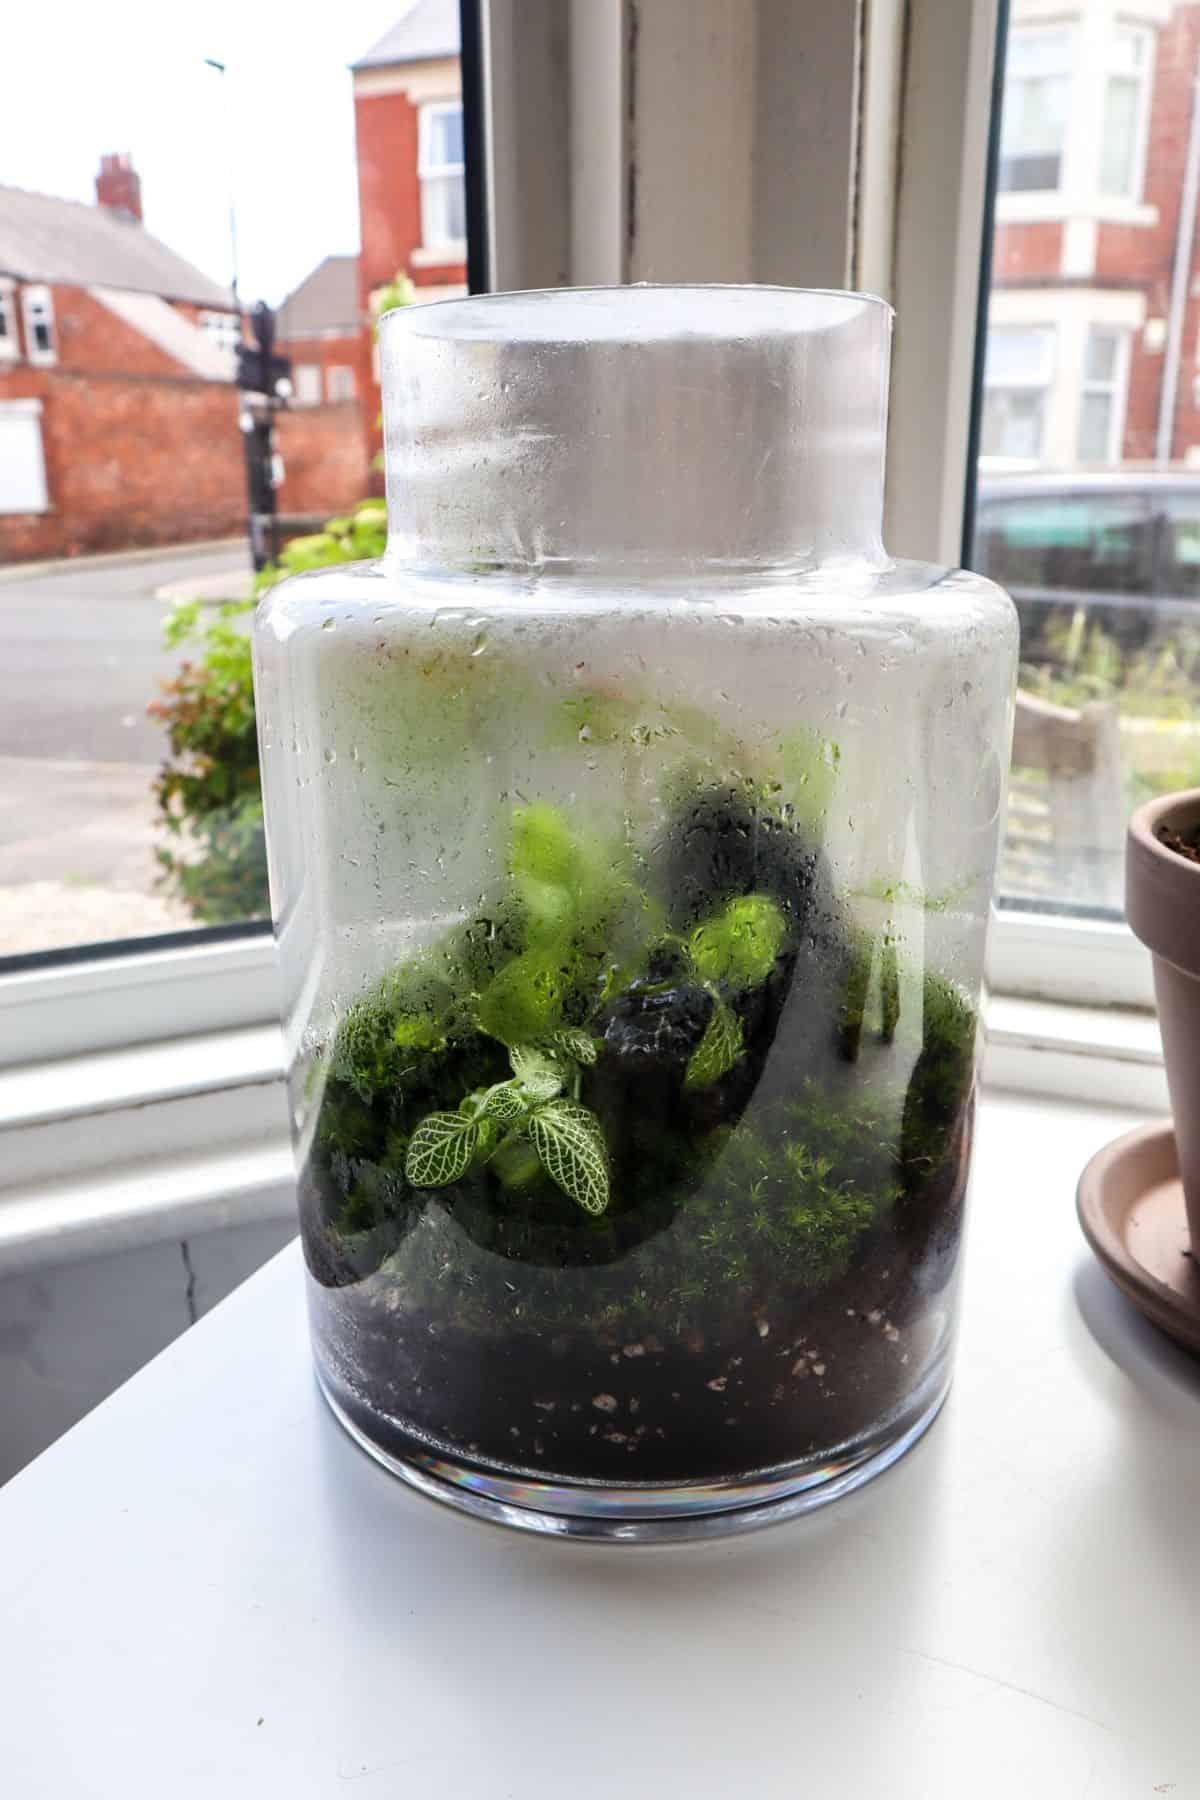
- 1 | A closed terrarium is a traditional terrarium. Because it’s a self-sustaining ecosystem, it will generally take care of itself, and it’s suited to house tropical plants and moss that enjoy humidity and warmth.
How about trying a rainforest or a woodland theme?
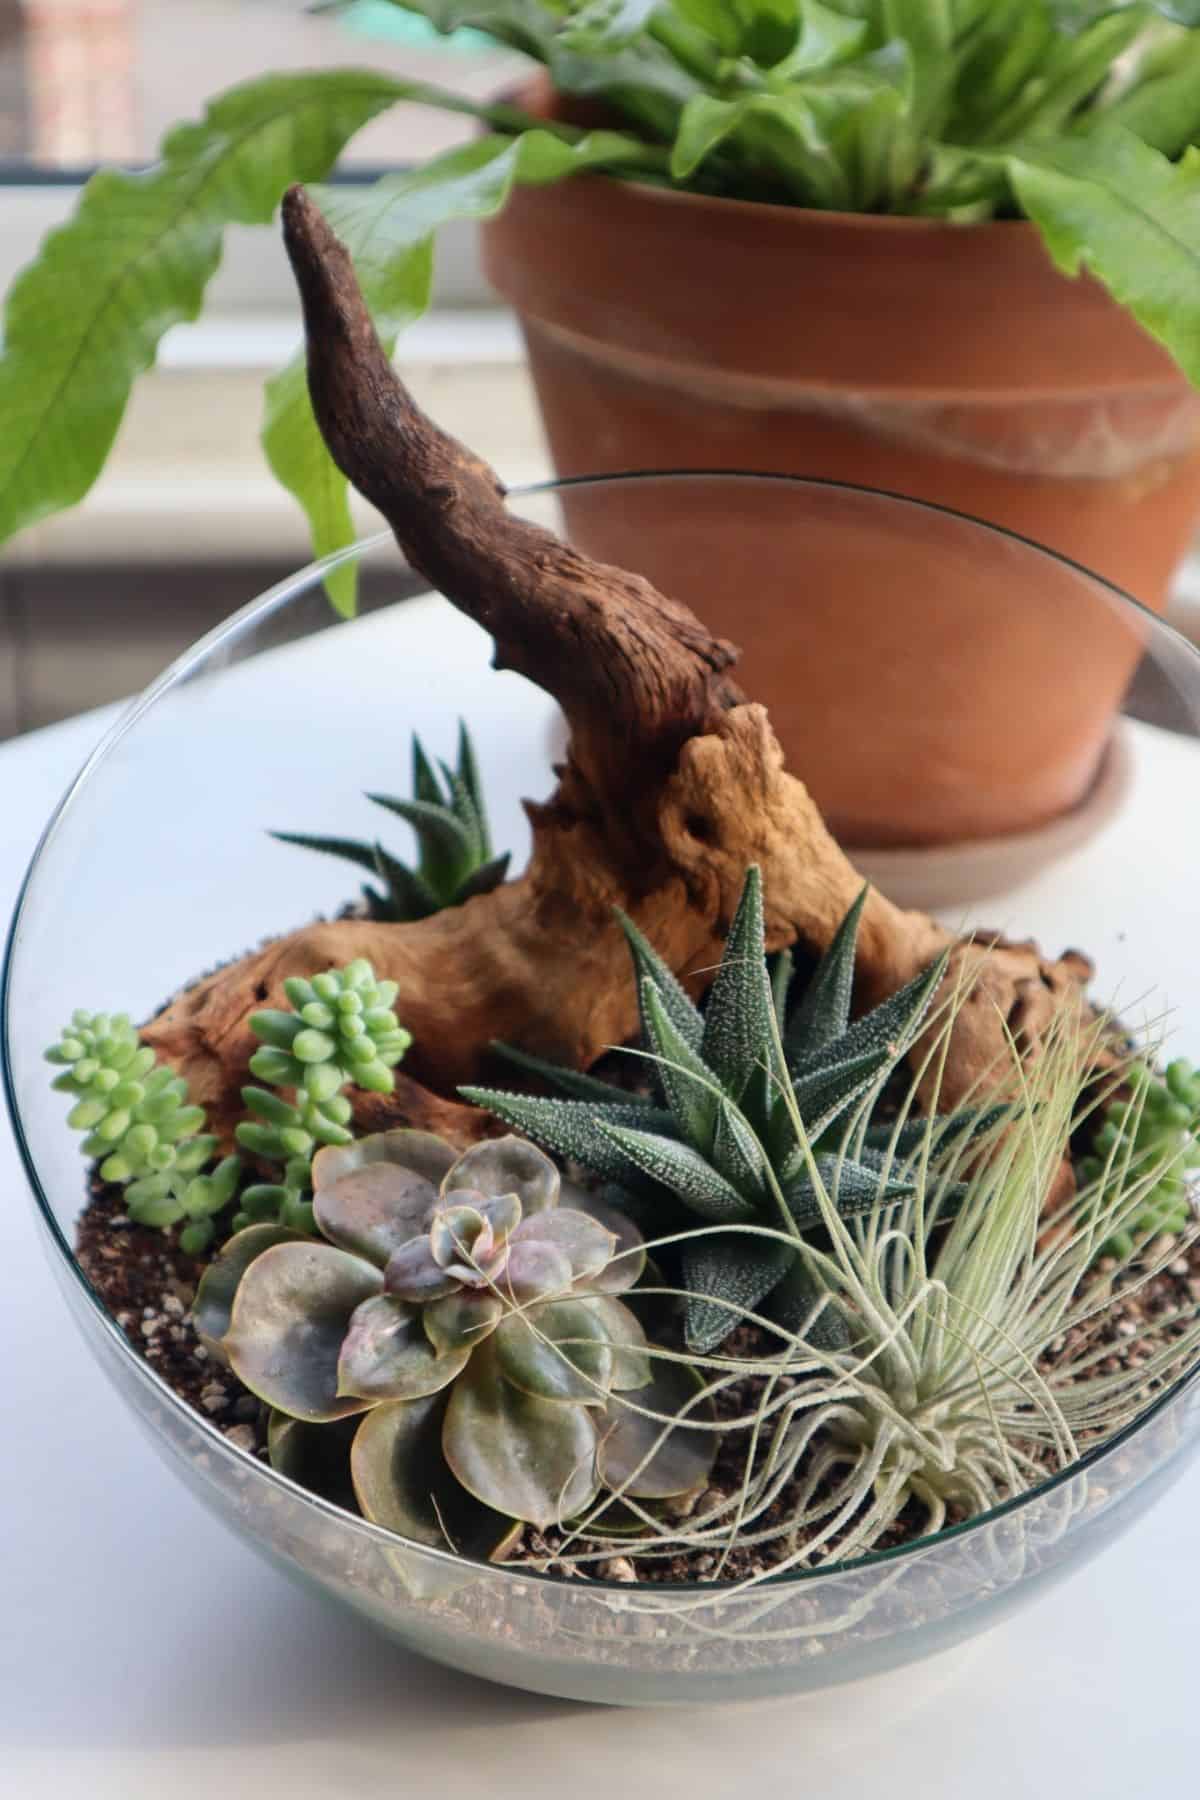
- 2 | An open terrarium is a modern take on the concept. It’s technically more like a glass planter and will need regular care just as a houseplant would. It’s typically built with arid plants that enjoy a drier environment and airflow.
You could build a stunning DIY succulent terrarium or a cactus terrarium project.
For further design inspiration, check out our homemade terrarium ideas and terrarium decor articles.
- Bonus | An aquarium is, of course, the conventional use of a fish bowl. While we’re fond of all ariums here at Terrarium Tribe, my predominant experience with fish is in the kitchen… So, if you fancy including fish in your fish bowl, check out the aquatic equivalent of the terrarium hobby – aquascaping.
Now, let’s get on with it, shall we?
DIY Fish Bowl Terrarium
1. Find a Fish Bowl (Container Options)
The first thing you’ll need is a glass container; luckily, they’re pretty easy to buy online. You can even find them at some pet stores and plant markets.
But it’s important that you get the right kind of fish bowl for your project.
If you’ve chosen an open terrarium build, fish bowls with wider openings are best. The narrower the neck of the bowl, the more humidity will be trapped inside, which isn’t ideal for arid plants.
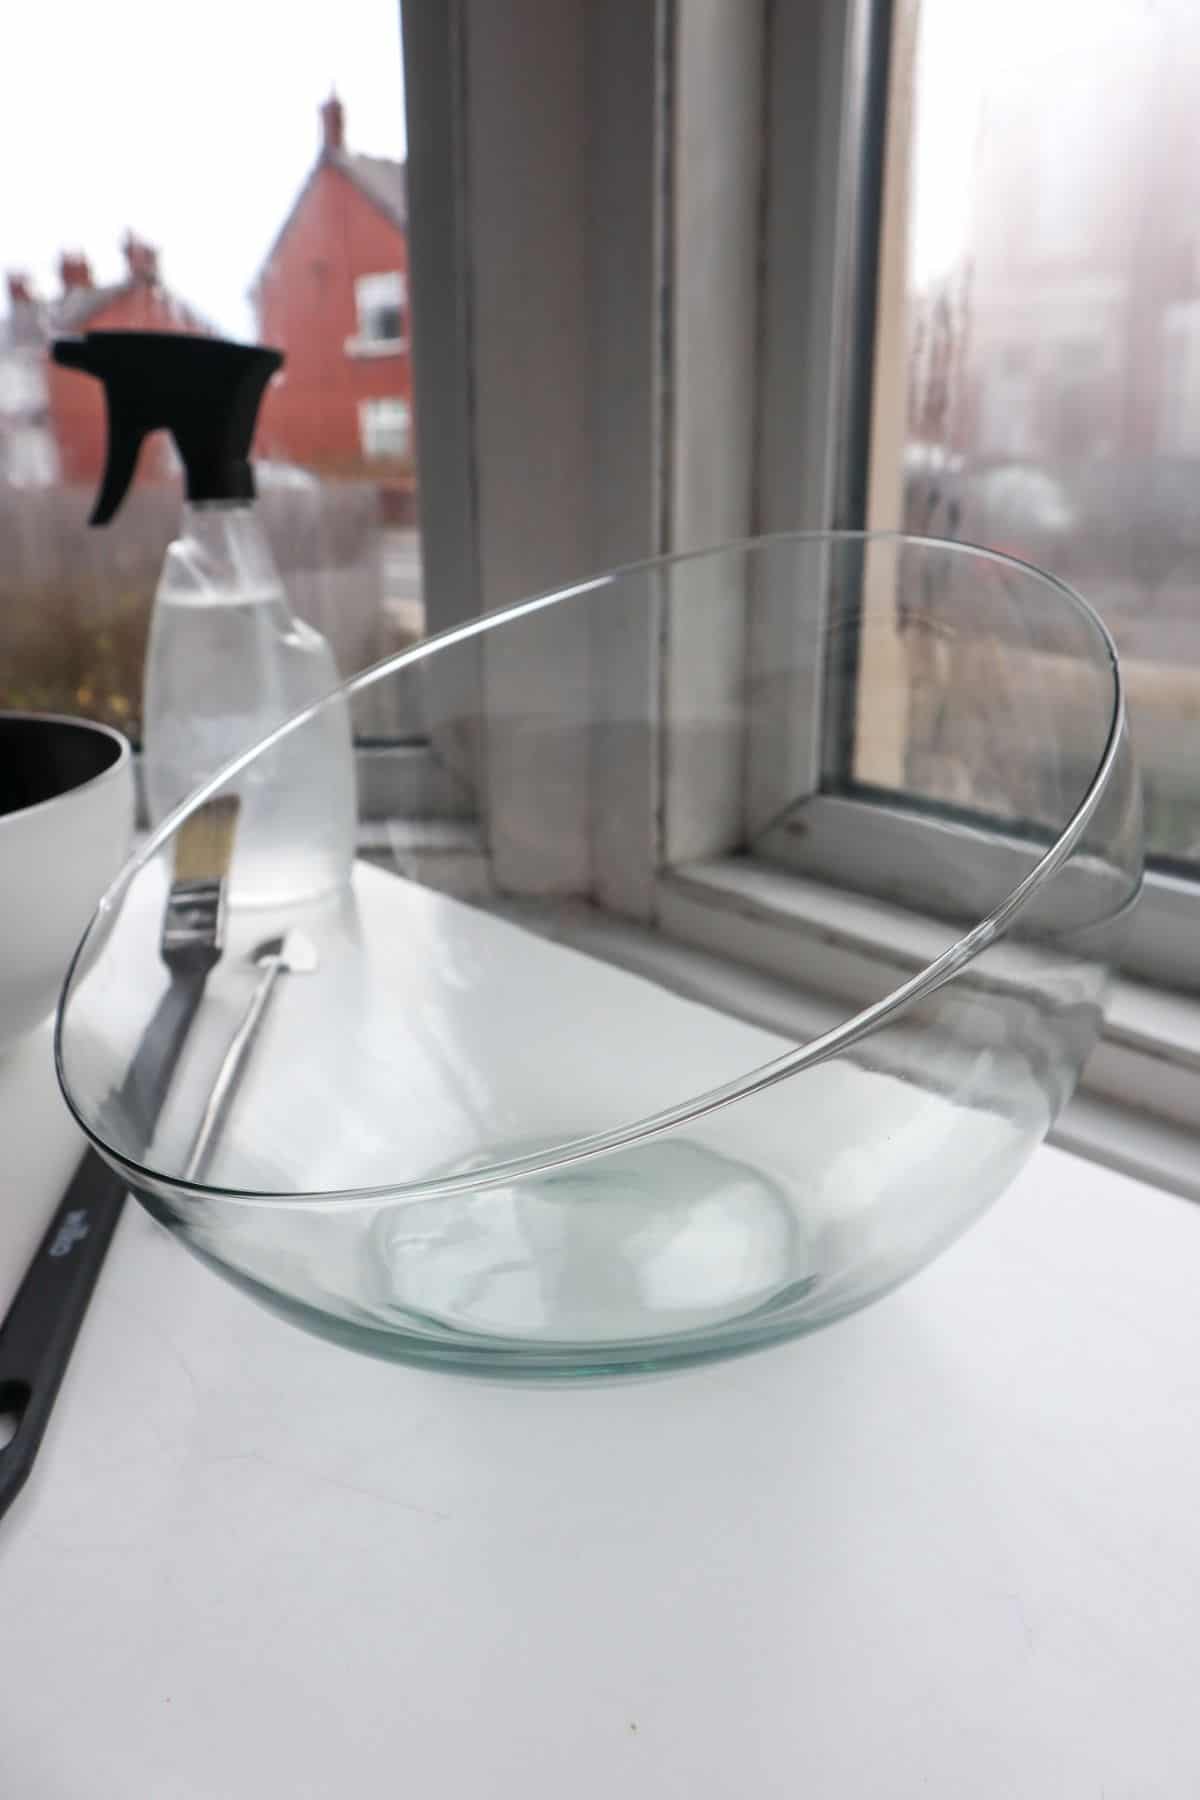
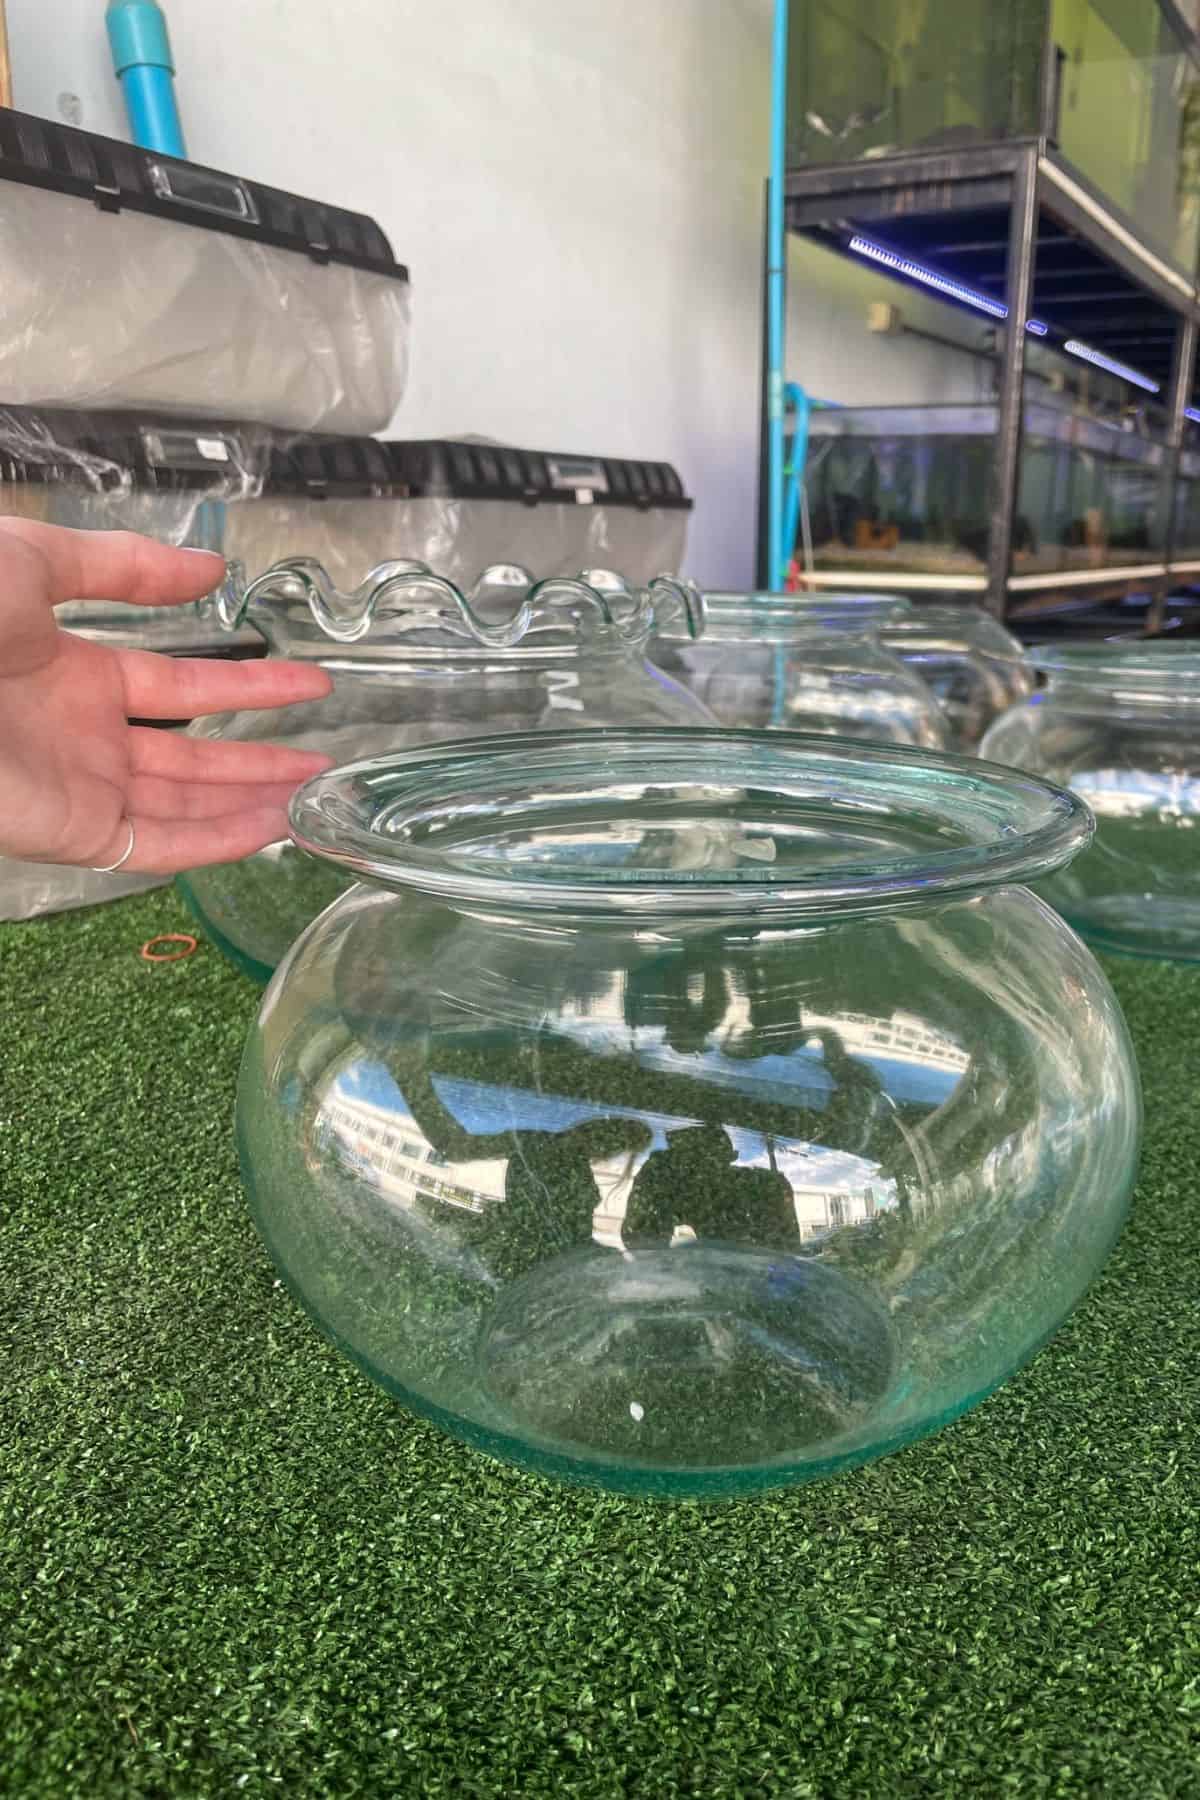
And if you’ve chosen a closed terrarium build, choosing glassware with an even circular opening is best.
Because fish bowls aren’t traditionally closed containers, they don’t come with lids; you’ll need to grab a lid elsewhere, and it’s almost impossible to get a good fit with a funky-shaped lid.
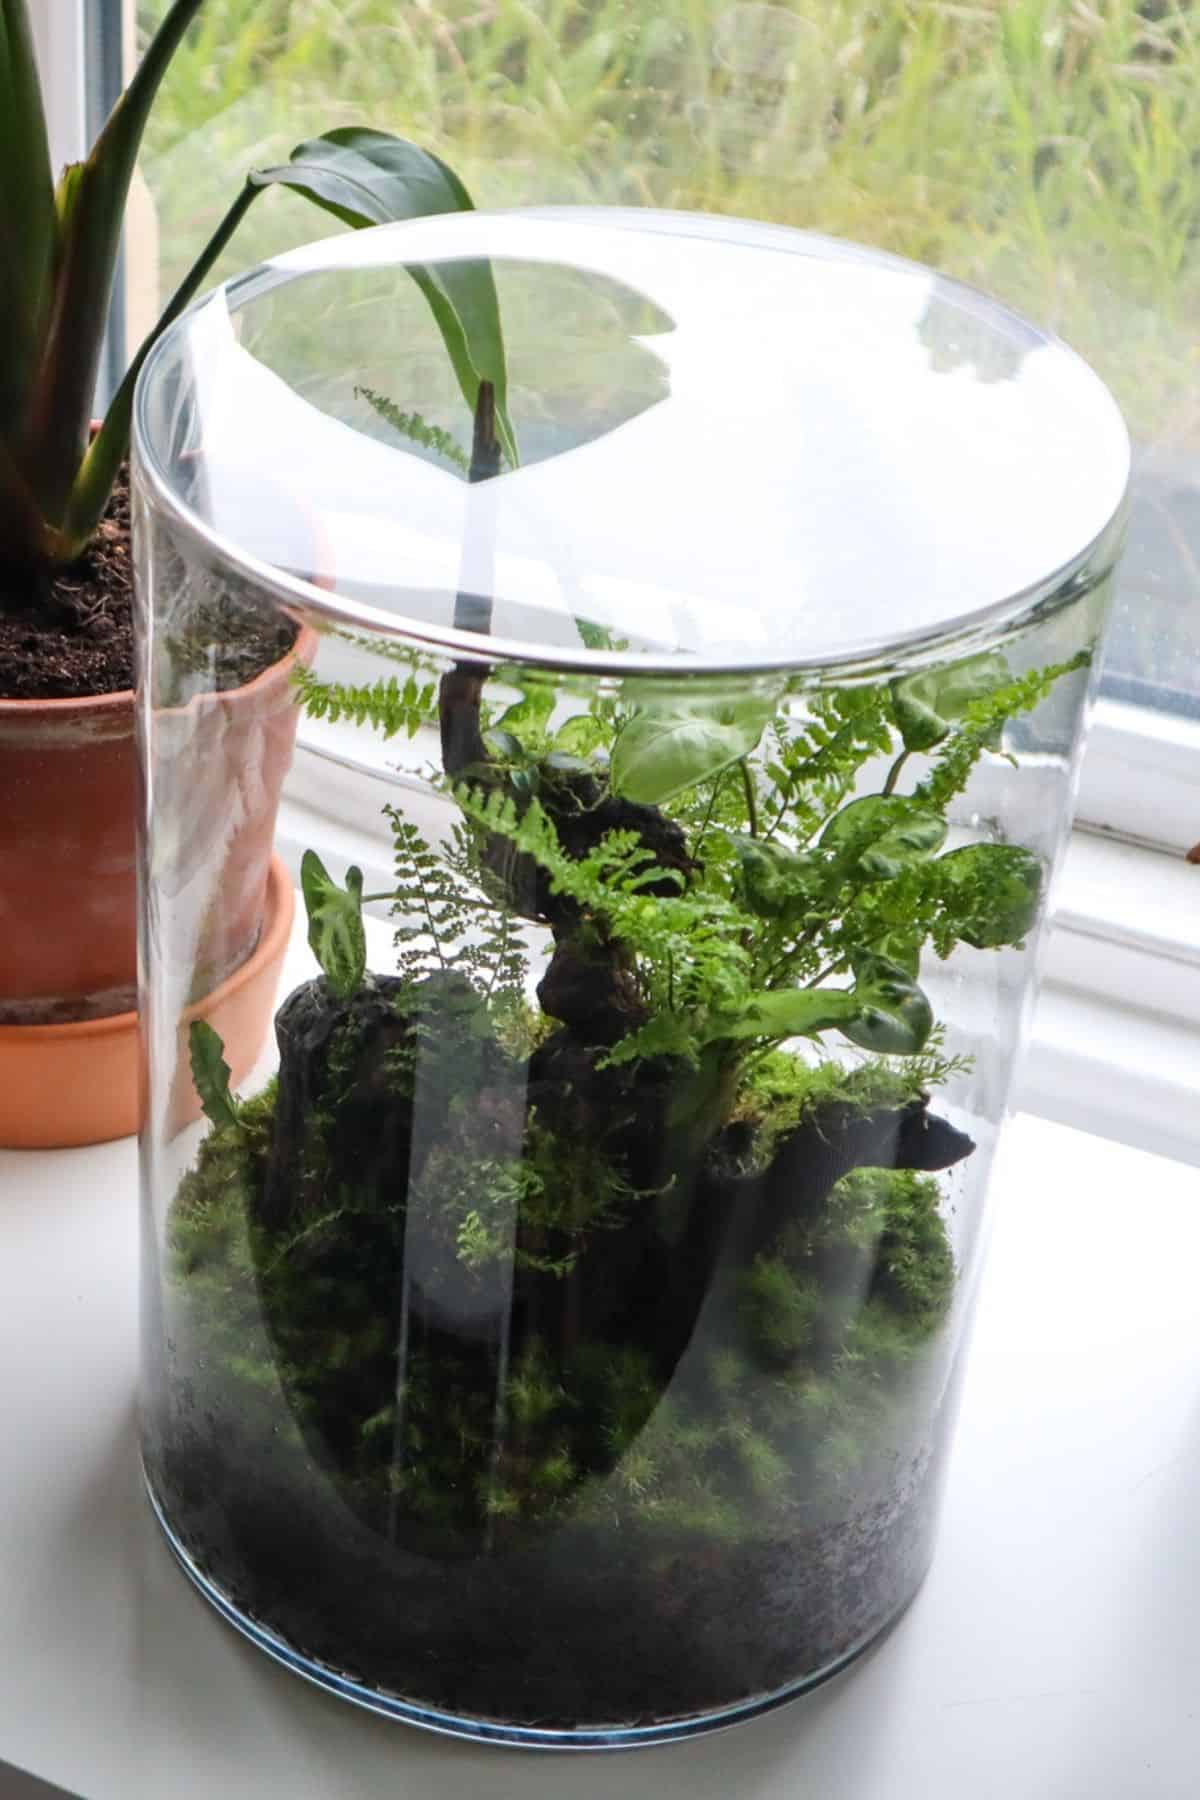
The best lid solution is to grab a custom-cut acrylic sheet. I’ve used acrylic lids time and time again for my projects, and I’m a huge fan. They’re inexpensive and look seamless.
And if you’re ever in a pinch, saran wrap works in the short term.
👉 Shop made-to-order acrylic terrarium lids on Etsy.
2. The Build – Key Terrarium Layers
Once you have your glass container sorted – and you’ve given it a clean – it’s time to assemble your creation.
Start by creating a drainage layer, which will protect your plants’ roots from excess water by giving it somewhere to pool.
Leca (our recommendation), aquarium gravel, or any decorative pebbles will work great. Pour in around an inch in depth.
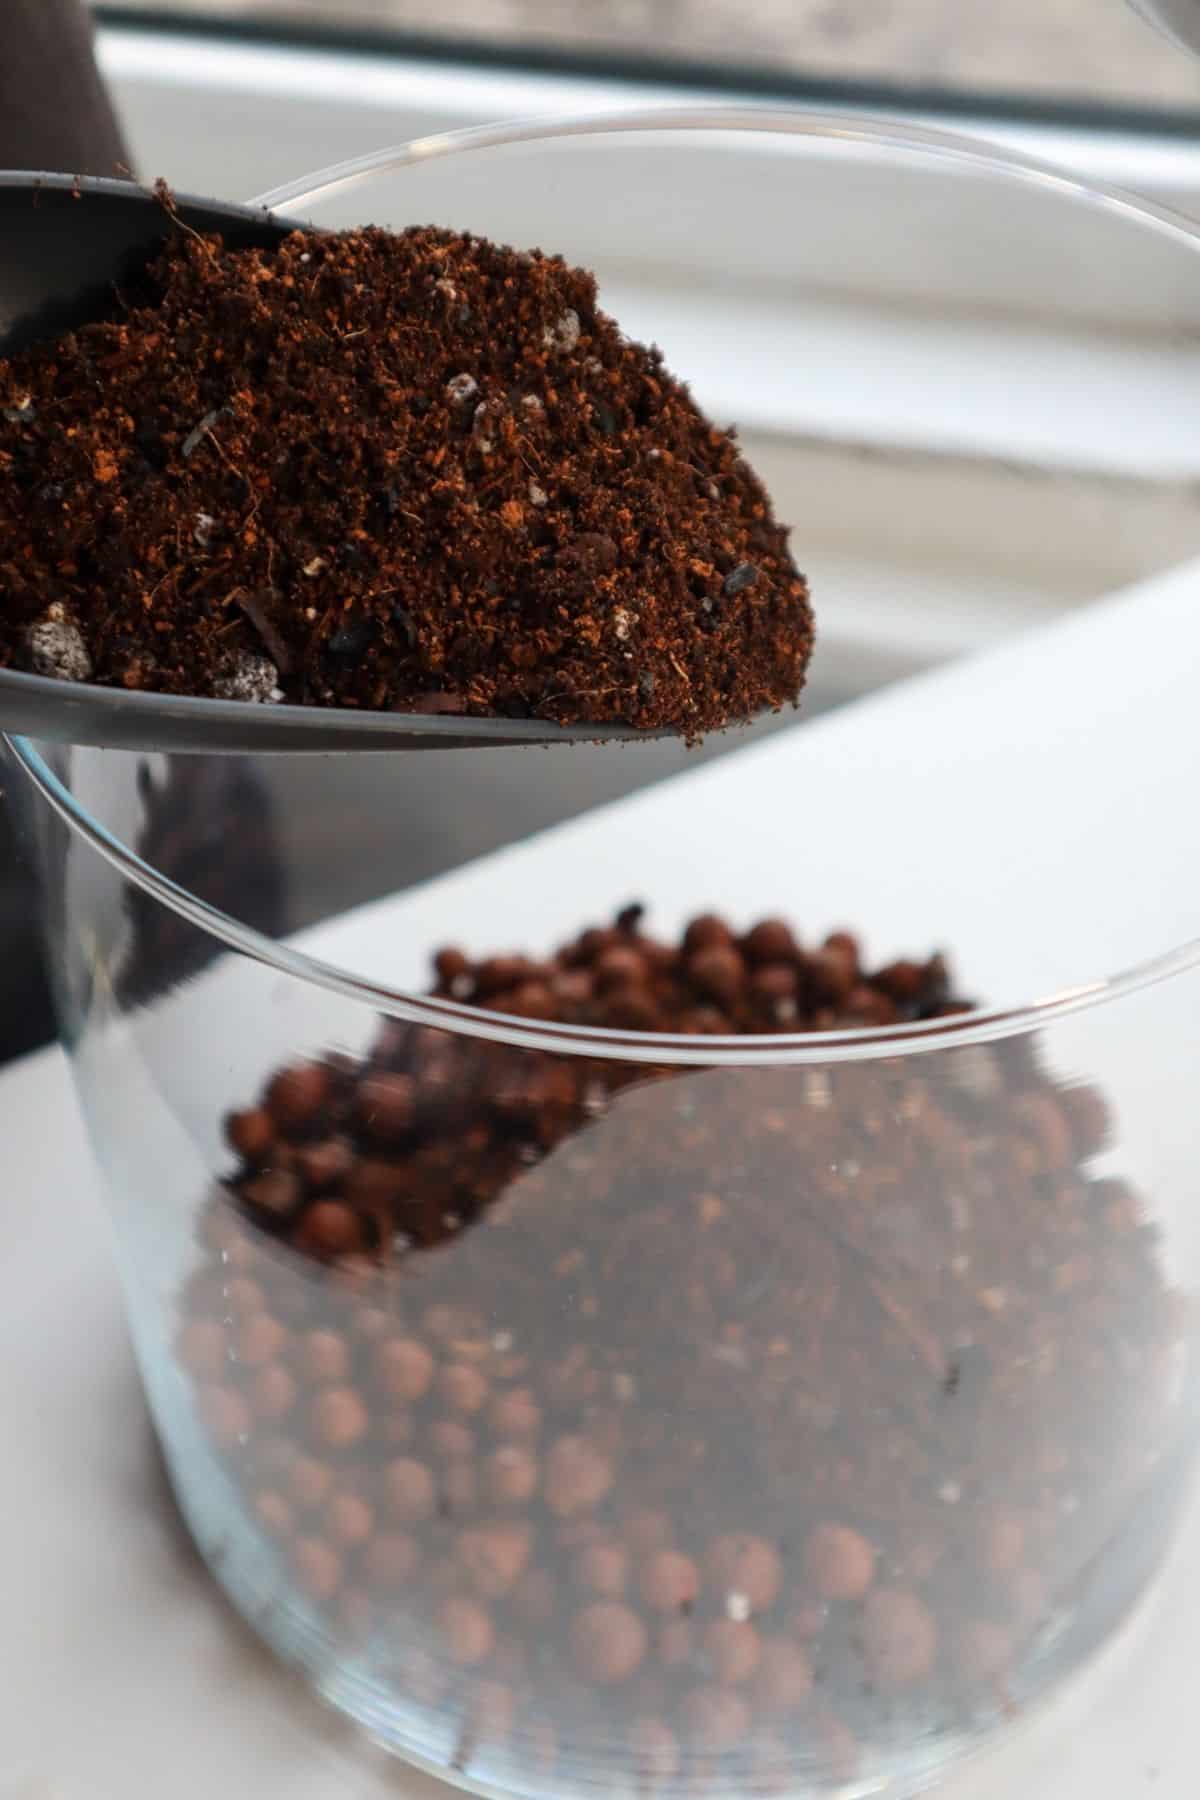
While it might seem fine, potting soil doesn’t drain well enough or resist compaction, so it’s no good in a terrarium.
You can make your substrate mix or grab a pre-mixed bag to make your life easier. A closed terrarium will do well with a tropical mix, and an open terrarium will need an arid mix.
👉 Grab a bag of our tropical terrarium mix here.
Pour in enough to cover your plants’ roots comfortably.
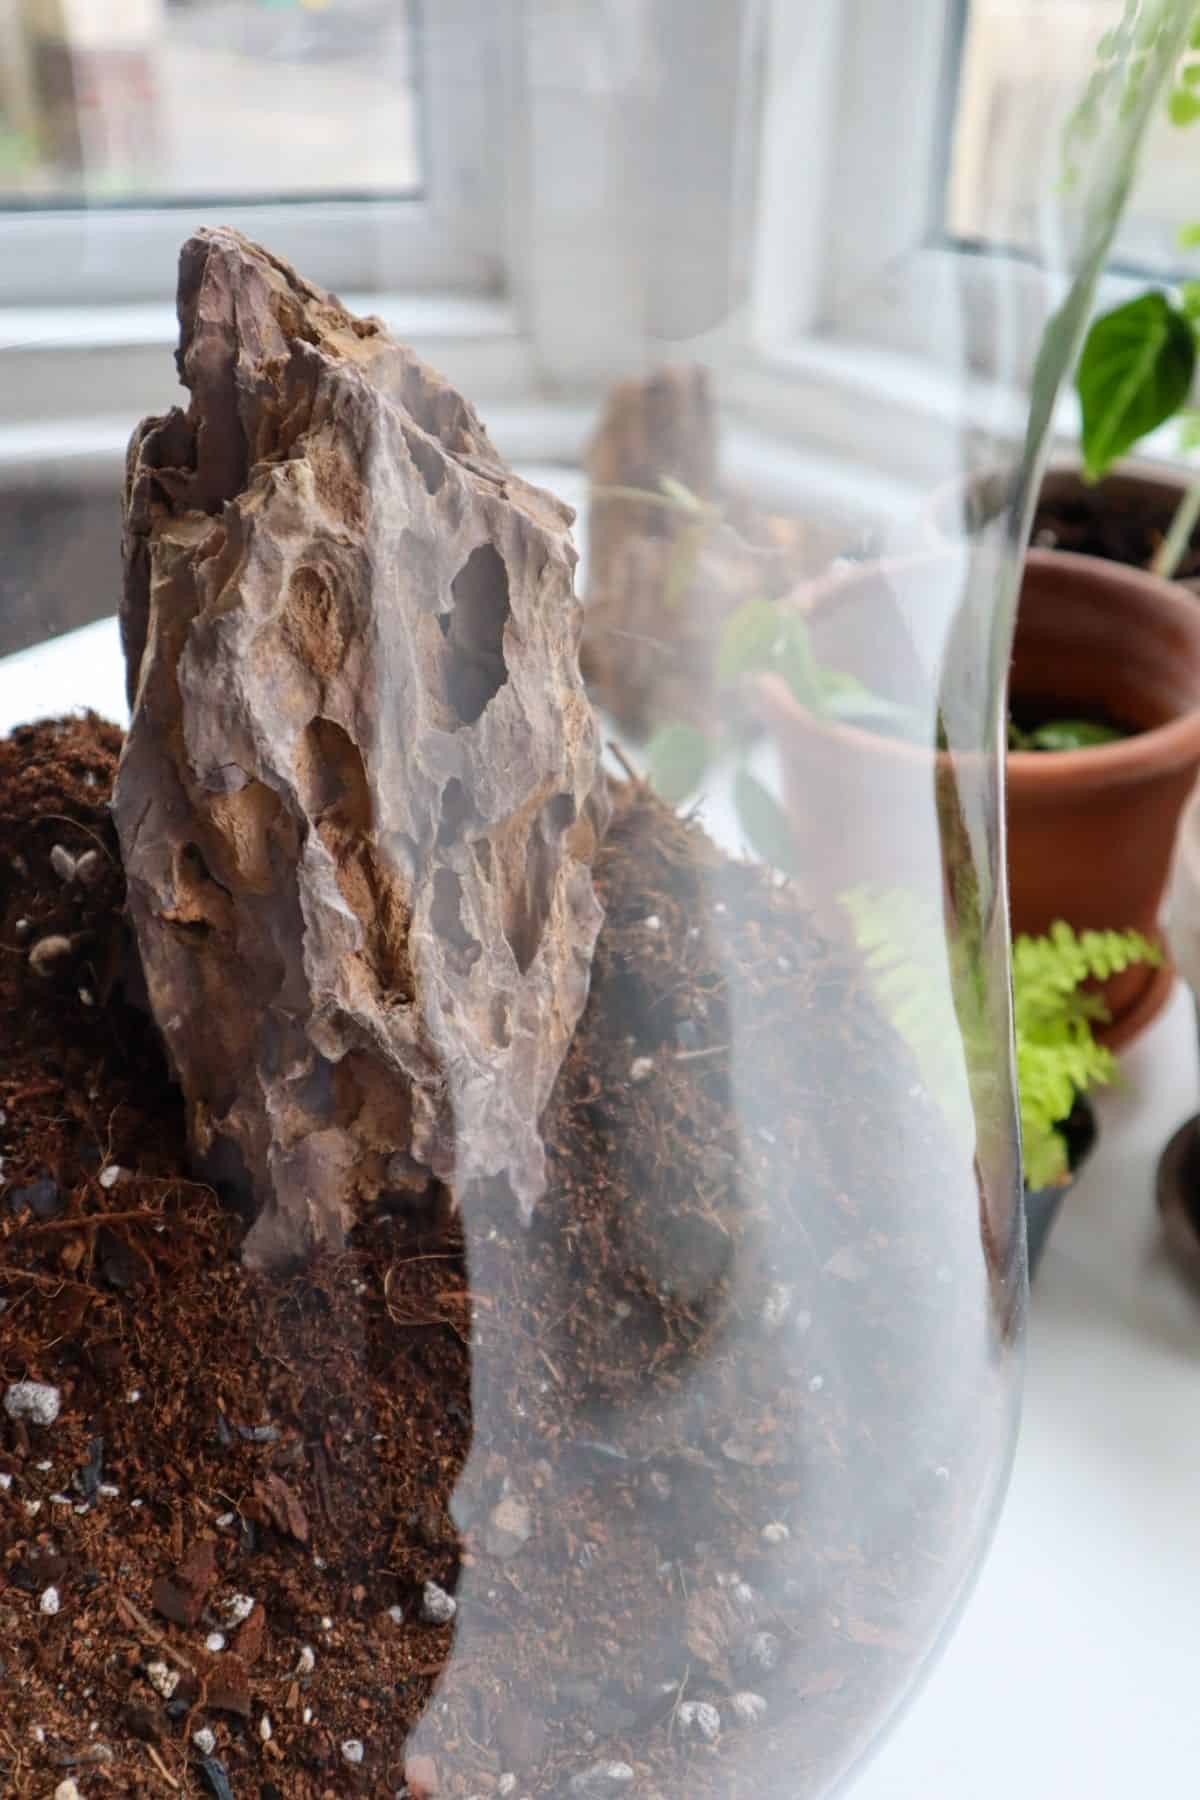
This is the best time to add in any large hardscape items such as stones or driftwood.
Pack the substrate around it to keep it secure, and if you like, sculpt or slope the substrate for a more dynamic landscape.
3. Selecting the Right Plants
Of course, the plants you choose for your build will depend on whether your terrarium is open or closed.
- The likes of Peperomia, Pilea, Ferns (in general), and Fittonia are great closed terrarium plants. And no terrarium is complete without oodles of lovely terrarium moss.
- For an open terrarium setup, succulents, cacti, and air plants are fantastic choices.
Because dry substrate is challenging to plant in, it’s best to give it a spray of water before you dig in.
Create a small depression with a terrarium tool or spoon, place your plants’ roots in and smooth the substrate around.
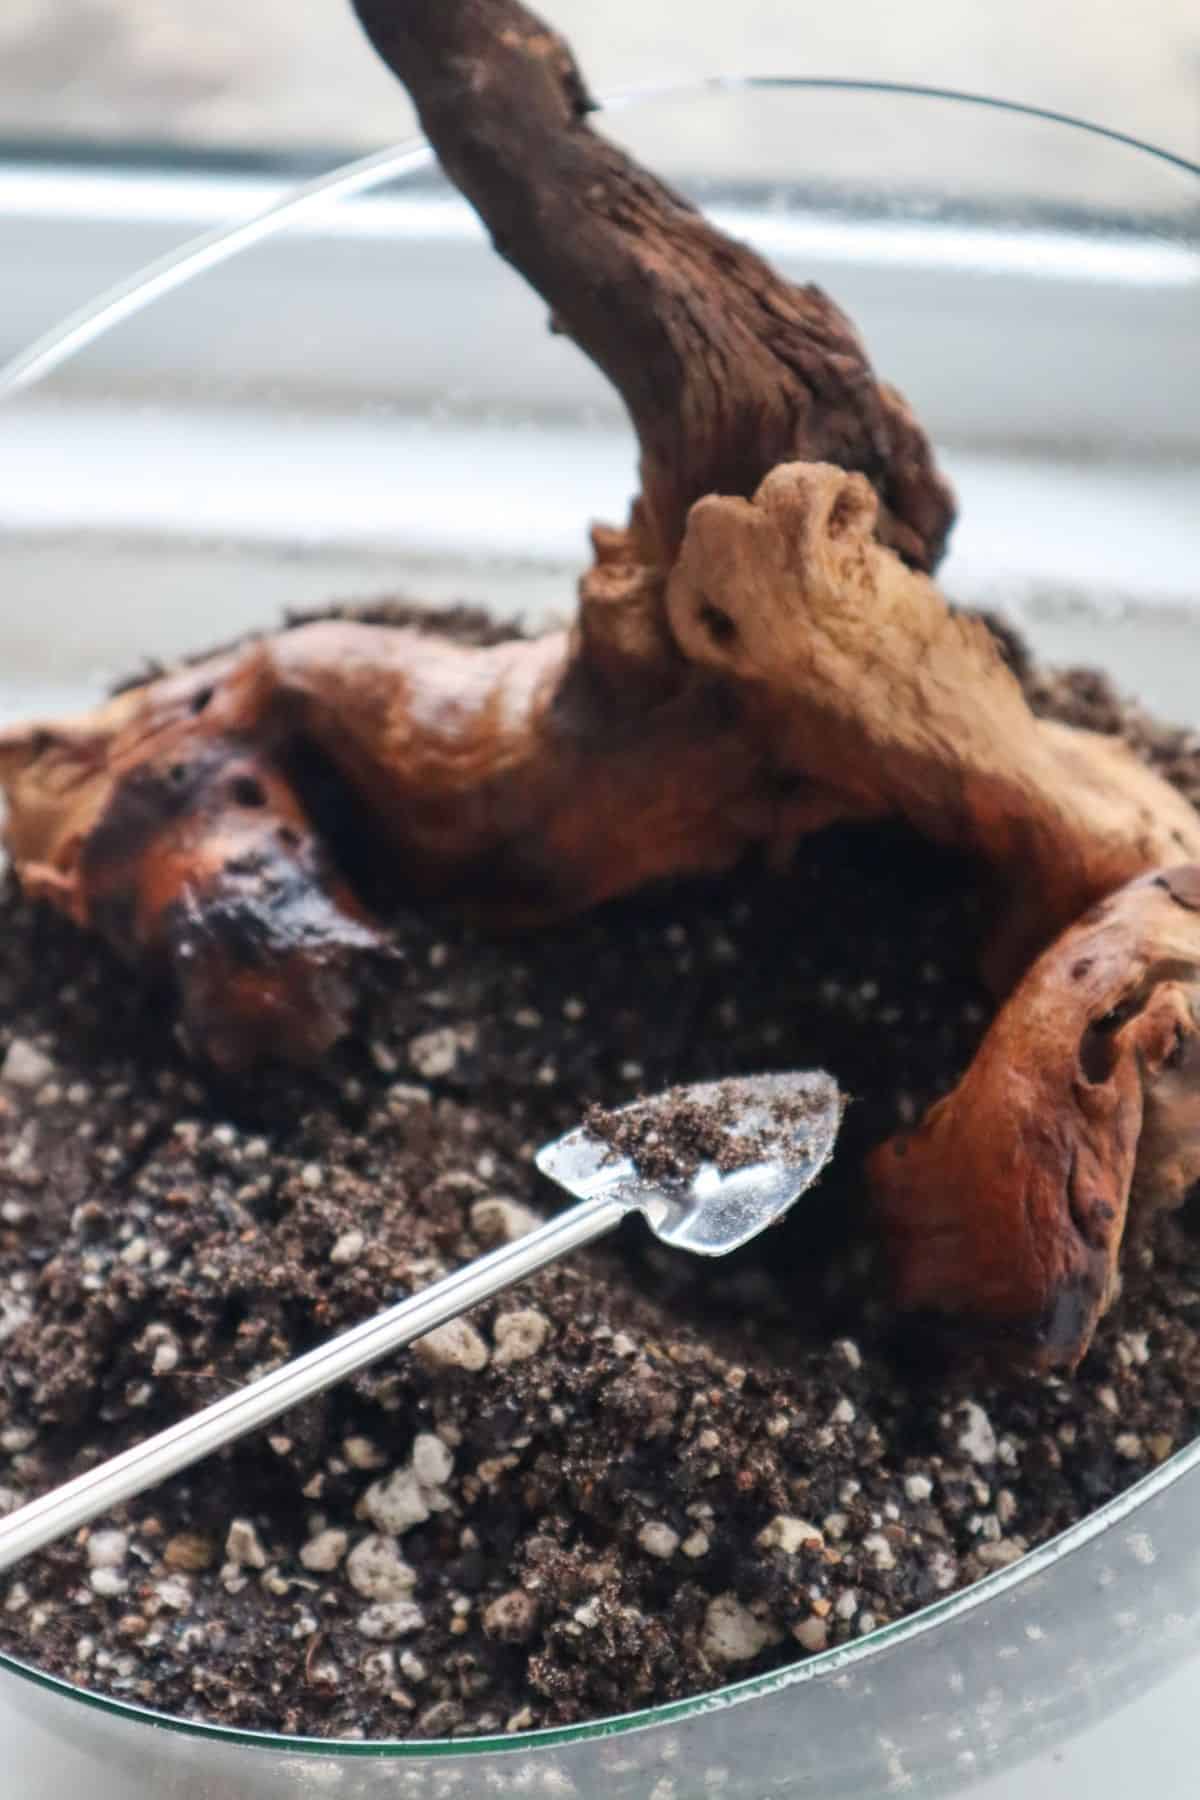
Keep going until all of your plants and moss are in place. Add in any additional items, give it a little spray of water (not much – you can always add more later), pop the lid on if it’s a closed build, and marvel at your new creation!
Terrarium Care
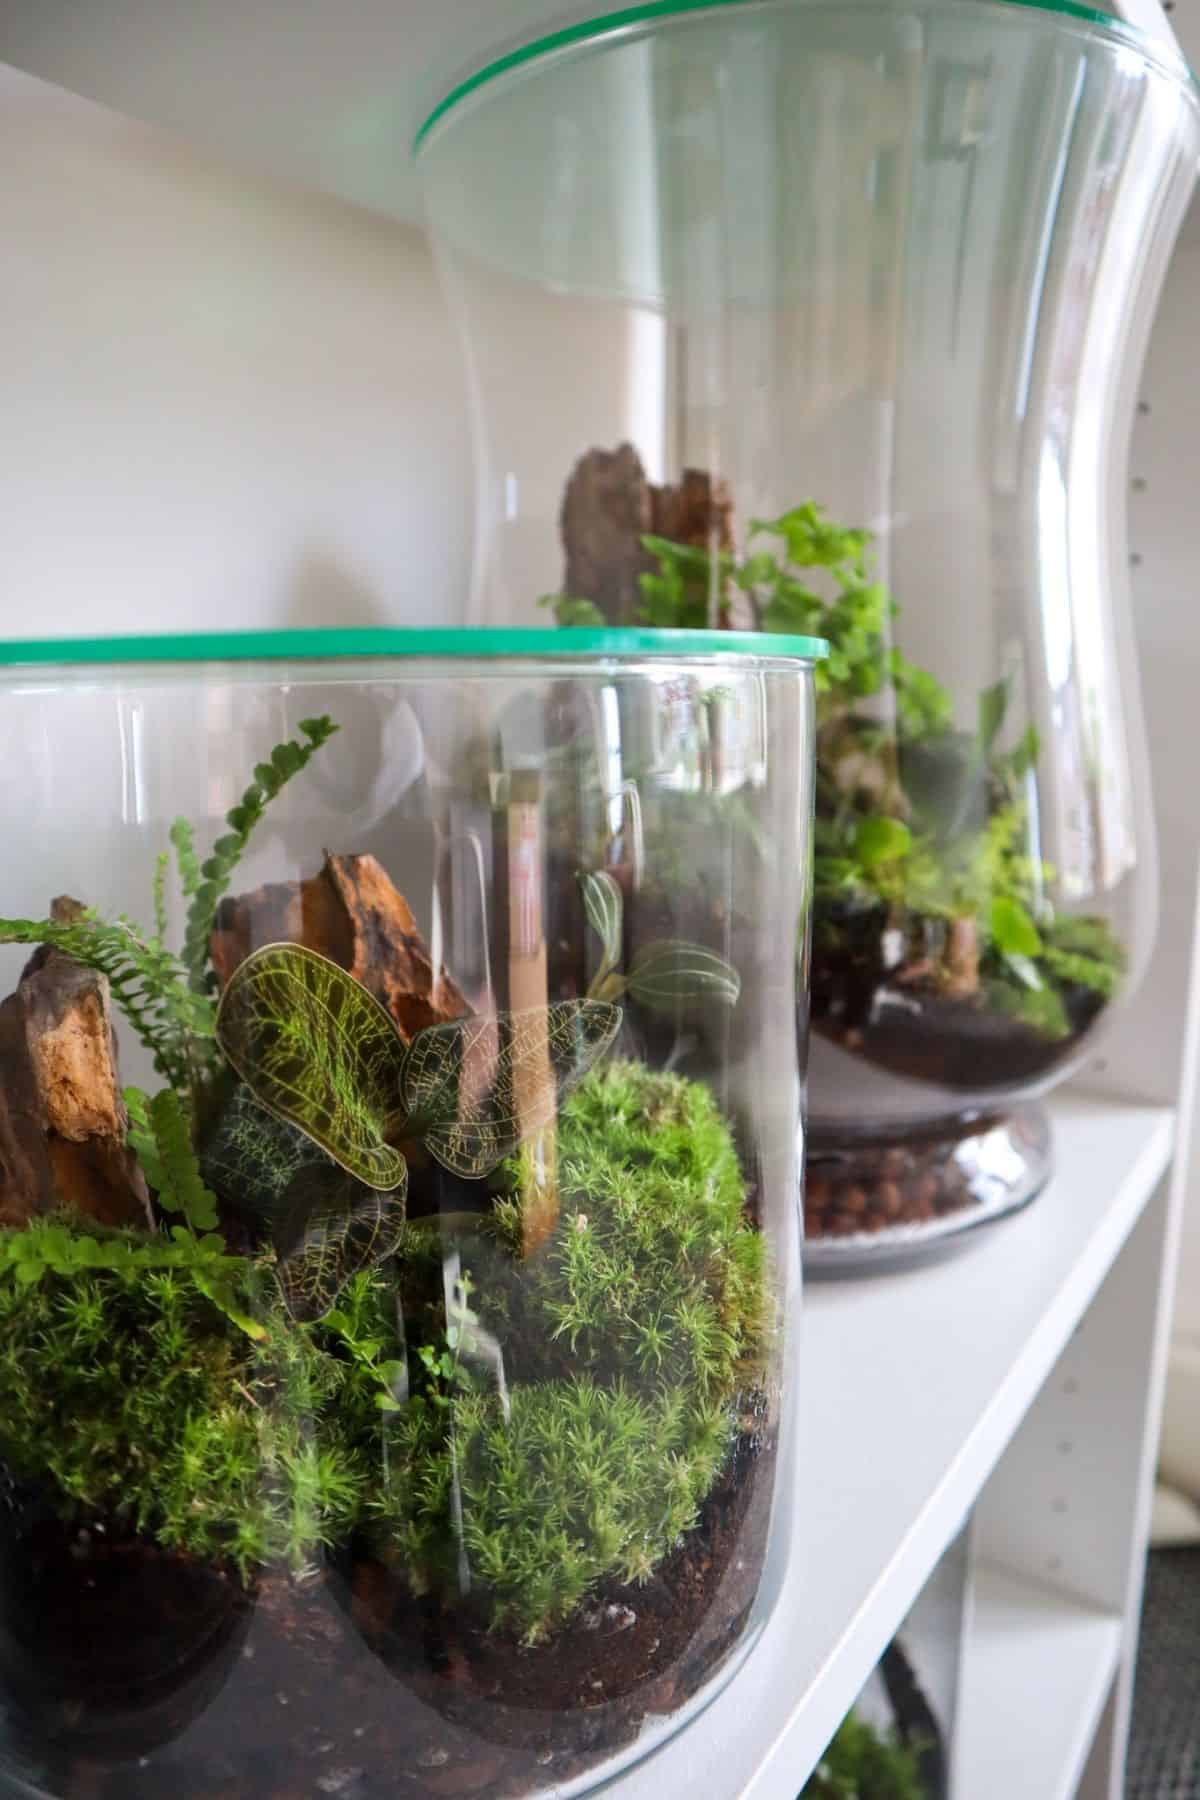
Closed terrarium care is all about interpreting the signs.
Generally speaking, these bad boys will take care of themselves. Still, occasionally, if it’s looking extremely dry, you might need to add a few sprays of water, remove any deceased plants or trim back any unruly ones. It will need bright, indirect light.
On the other hand, open terrariums need direct sunlight and a consistent schedule of being watered and left to dry out between waterings.
That’s It for Today
I hope you’re finishing this article with a fish bowl terrarium you’re proud of! Tag us on Instagram or share it in the Facebook group. If you’re ready for your next challenge, why not take on a fish tank terrarium? Till next time x
