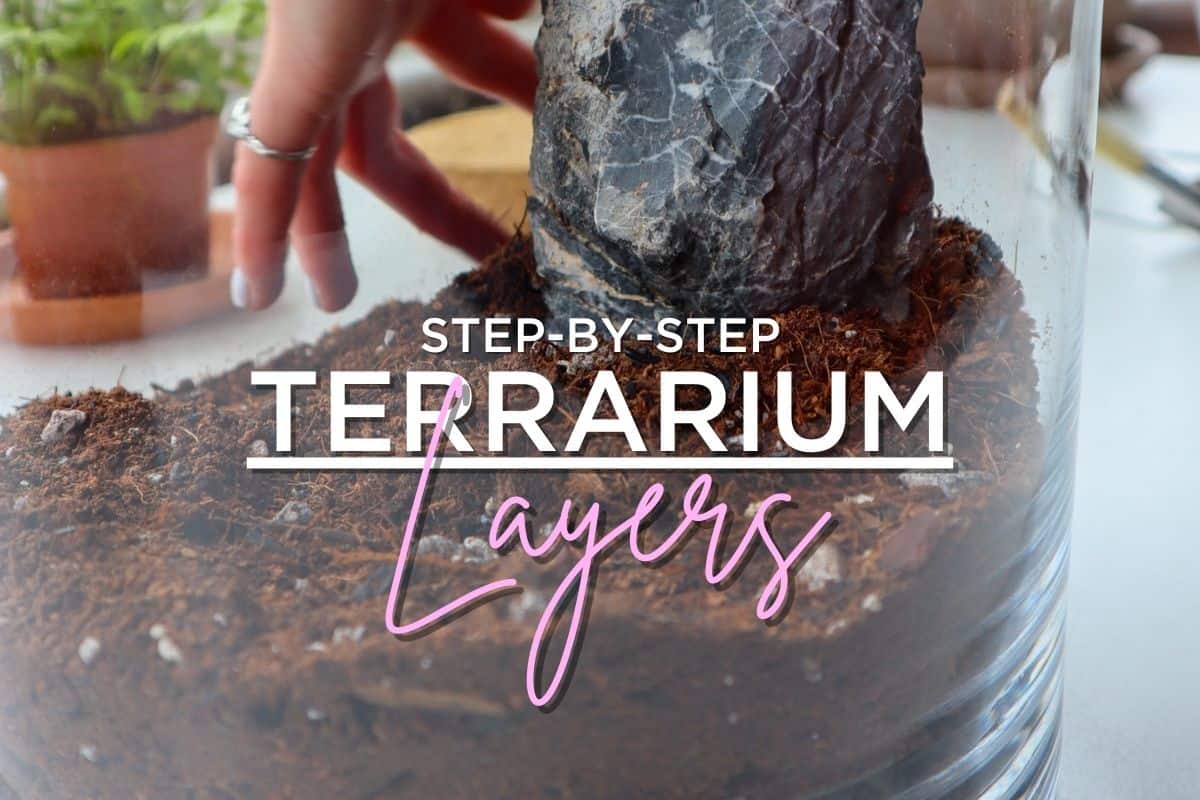
A stable terrarium starts with the right structure.
In a closed terrarium build, each layer has a specific job, from managing excess moisture to supporting healthy root growth. When those layers are stacked in the correct order, the whole system works with you instead of against you.
So let’s break down the terrarium layers in the right order – and why each one is there in the first place.
Terrarium Layers Sequence (Quick Reference)
When you’re building a closed terrarium, the order of the layers really matters.
Each one sits on top of the last and plays a specific role – some layers are essential, others are flexible, but what matters most is how they work together. With that in mind, here’s the standard terrarium layers order:
- Drainage Layer – A reservoir for excess water to collect, helping prevent waterlogged roots and stagnant soil.
- Barrier Layer – Separates the substrate from the drainage layer so it doesn’t clog over time.
- Activated Charcoal Layer – Optional, but commonly used to help absorb impurities and keep things smelling fresh.
- Substrate/Soil Layer – The supporting structure and growth medium for our plants, this will be the bulk of your material.
- Hardscape – Rocks and wood that shape the landscape and provide structure for planting.
- Plants – Your feature plants first, then mosses and fillers to pull everything together.
- Decoration – Leaf litter, seed pods, or purely aesthetic additions to finish the look.
Next, we’ll break down what each layer actually does, and when you can bend the rules.
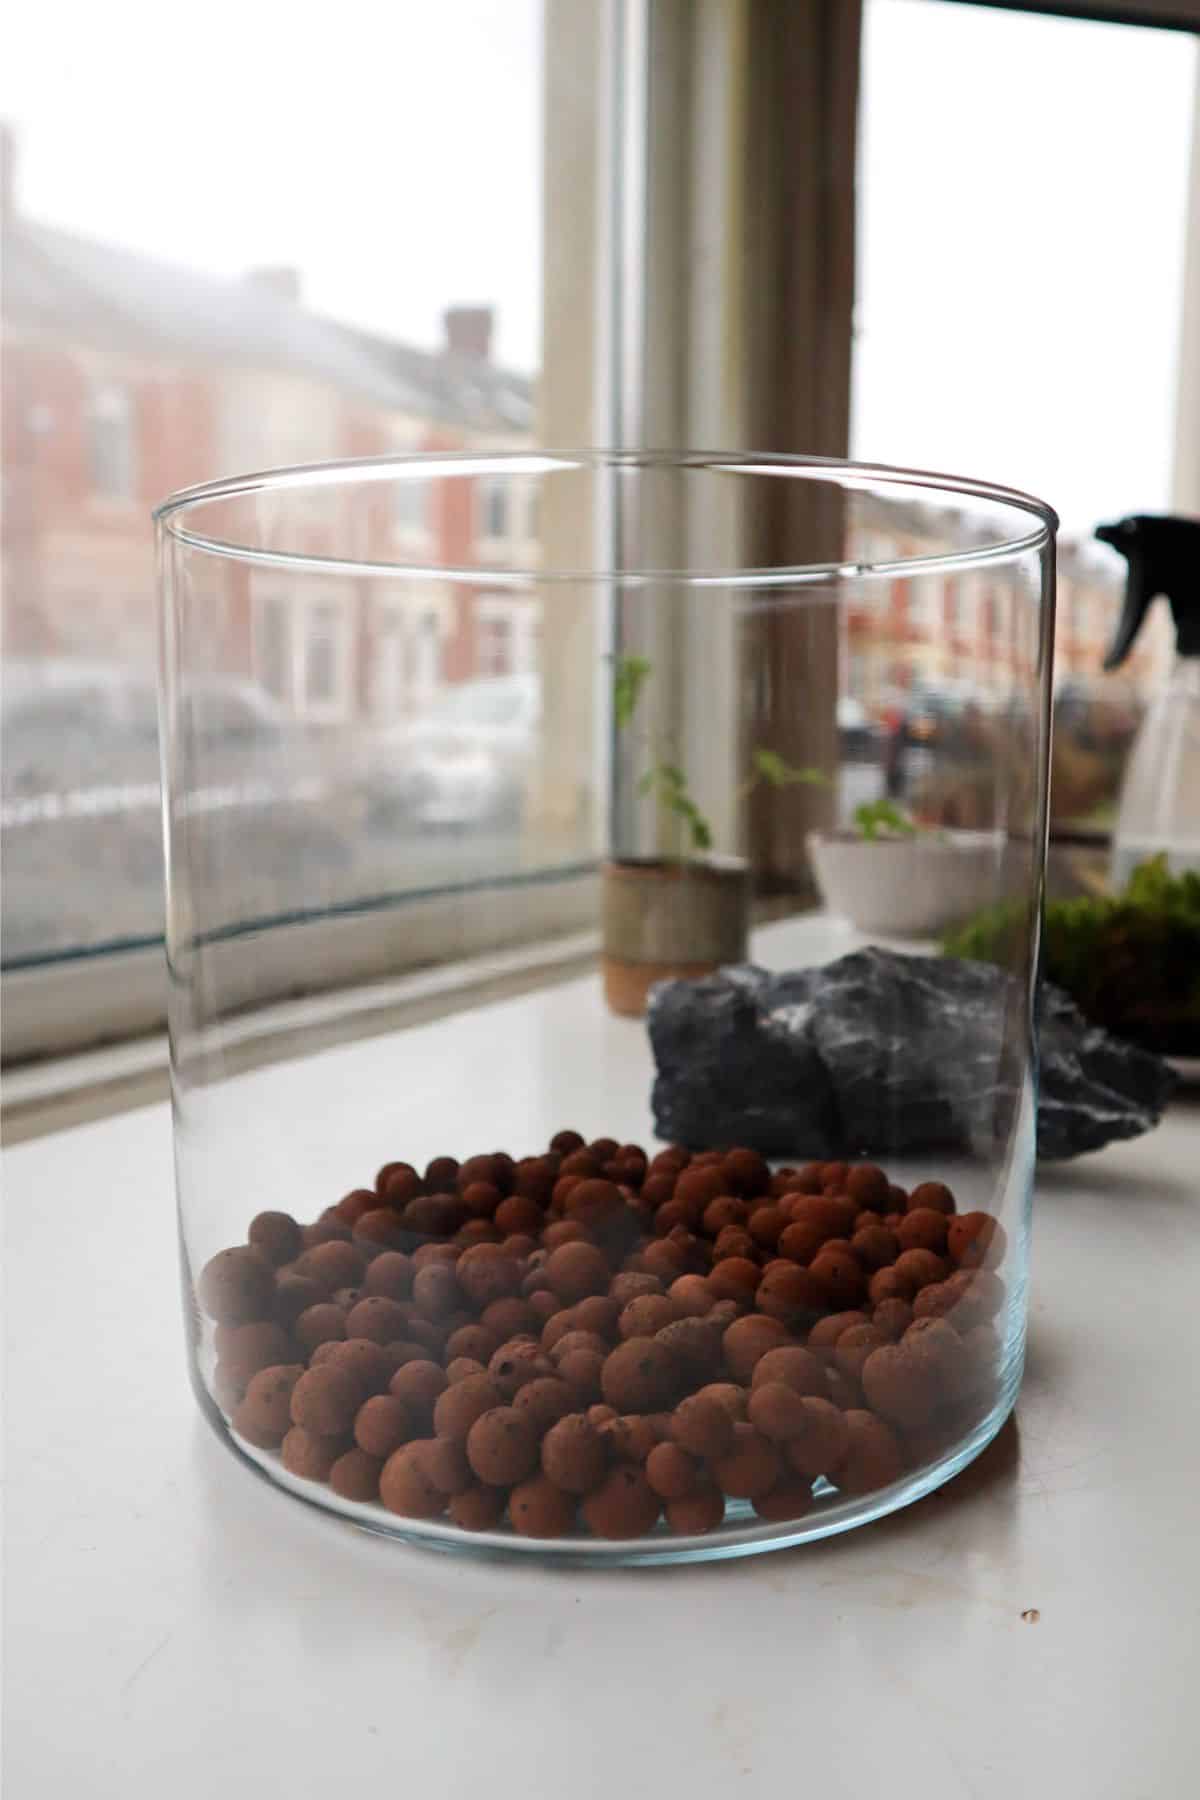
1 | The Drainage Layer
A strong terrarium foundation underpins the whole structure.
Much like the one beneath our home, it should be able to resist compaction, support the layers above it, and provide a space for excess water to drain into.
A drainage layer (otherwise known as a false bottom) is the most common way to avoid this issue.
Essentially, the false bottom is a reservoir created by a layer of chunky drainage material. These can be large rocks, colored aquarium gravel, decorative pebbles, or other such non-uniform objects.
The water can drain into here from the substrate (protecting your plants from soggy soil and root rot) before later evaporating to perpetuate the water cycle.
Ideally, you’ll want something lightweight so as not to crack the glass container, so I tend to recommend something like lava rock or leca.
2 | Barrier Layer
To work effectively as a reservoir, the drainage layer must have space for water to freely drain into.
The whole process quickly grinds to a halt if it gets clogged up with soil or debris… and that’s exactly what we’re putting on top of it.
So, it’s a good idea to use a barrier of sorts to separate the drainage layer from the substrate layer. Without one, at some point, the plants’ roots can and will grow into the drainage layer, so if you want your terrarium to go the distance, this layer is essential.
You can use:
- Something natural, like a spongy sphagnum moss layer. This brings multiple benefits, from water retention to antibacterial action, but you may need quite a thick layer to do the job (and it’s not to everyone’s taste aesthetically).
- Something artificial, like a mesh. This is much thinner and less conspicuous, but just make sure it’s resistant to water, as a steel mesh is likely to rust over time.
Both can work well, but I do think the mesh is a better option.
You can find terrarium substrate mesh on our store at a range of sizes to fit your project.

3 | Activated Charcoal Layer
While not strictly essential, a layer of activated charcoal can be used to purify the water.
Though just how much it helps is difficult to quantify. Materials-wise, your main choices are between activated charcoal and horticultural charcoal. Both can perform filtration, but the former will be far more effective.
Just note you’re probably better off choosing a chunkier charcoal rather than a powder. A fine powder may flow into the drainage layer, even through a barrier mesh.
We sell a coconut-based, fine-grade activated charcoal – so it’s versatile and eco-friendly.
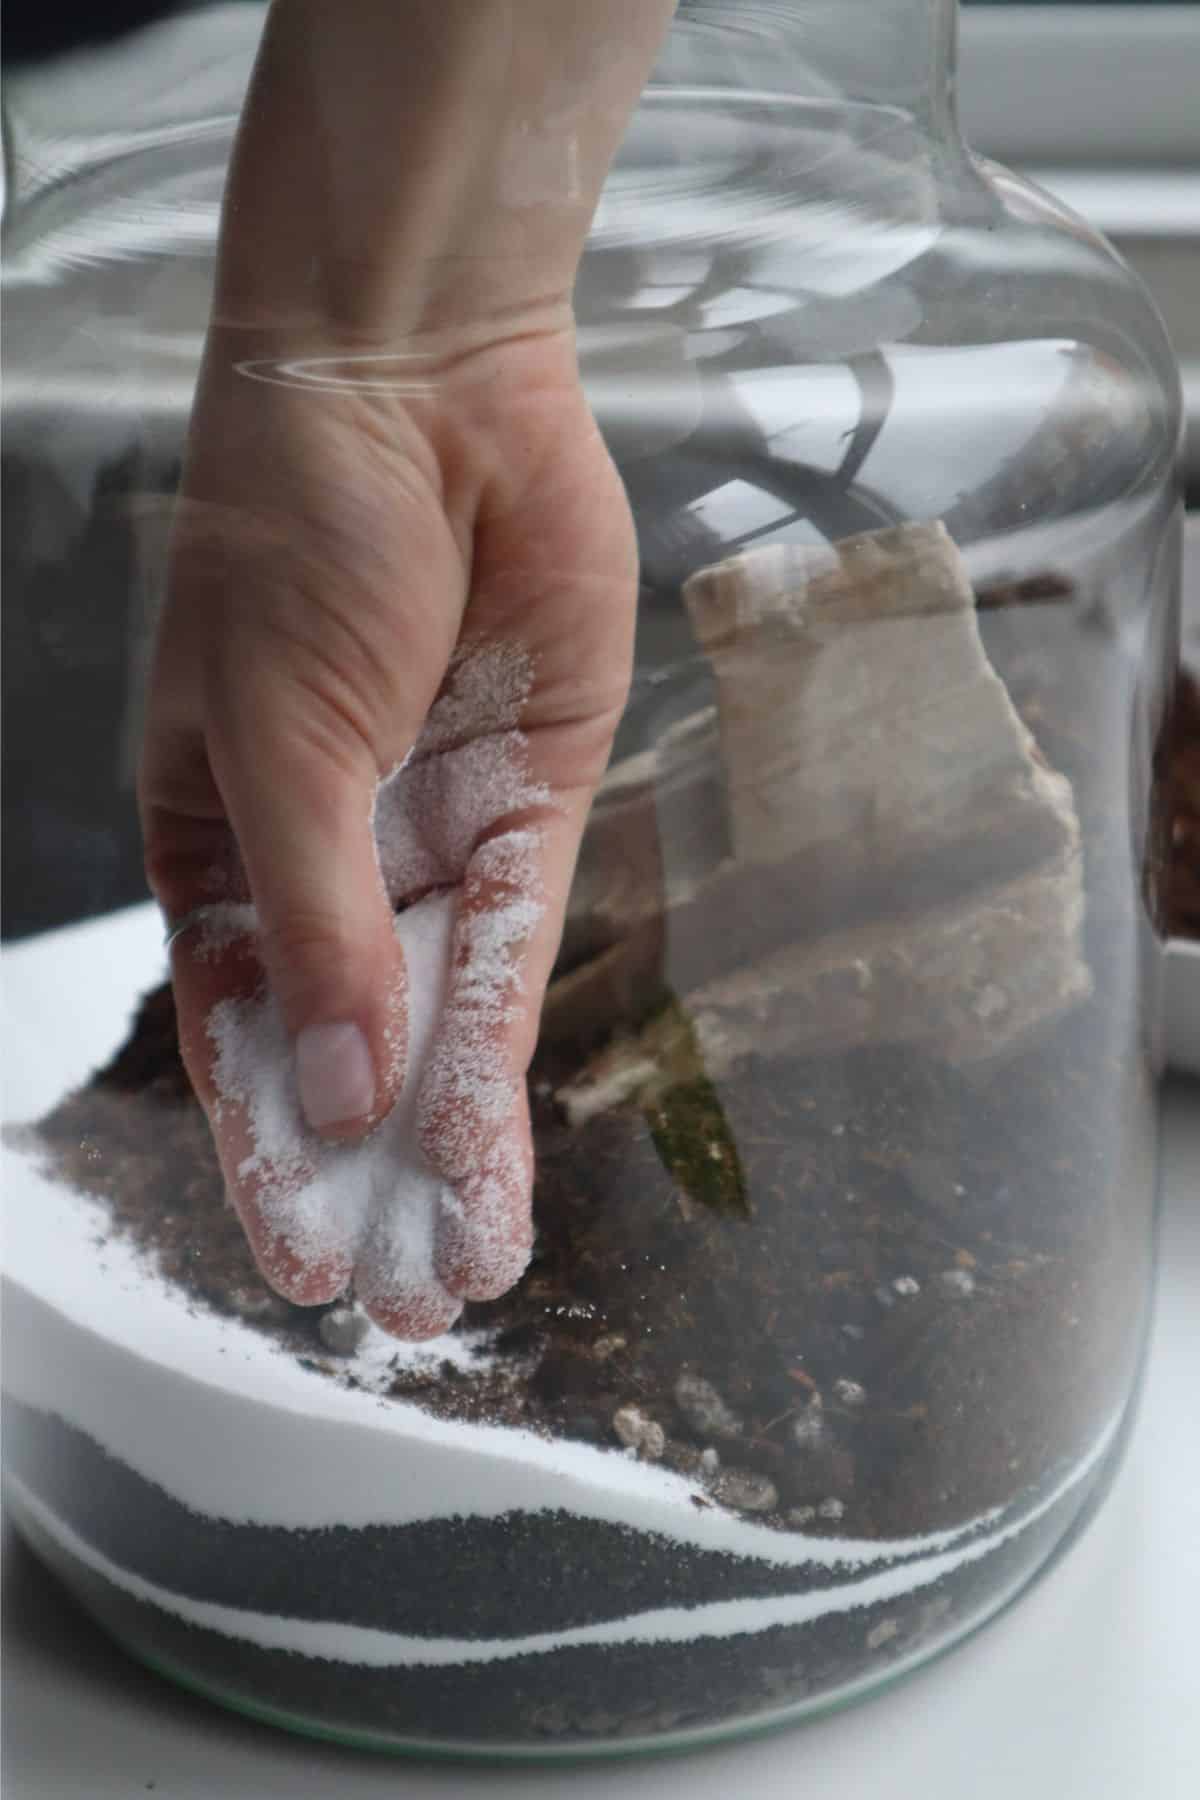
Decorative Sand Layer (Optional*)
For those looking to really accentuate the layers of a terrarium, a decorative sand layer is something to experiment with.
Honestly, by delicately layering colored sand, you can create some lovely crisp lines.
4 | Terrarium Soil Layers
There are a whole bunch of options when it comes to choosing terrarium substrates.
The one that’s right for you will depend on your choice of plants and build. But if you’re going with tropical plants, then good drainage, water retention, and aeration are the qualities you want to shoot for.
A potting soil mix is far from ideal for tropical plants. You’ll need something light and chunky instead, and our terrarium mix is designed to be exactly that.
In terms of how thick this layer needs to be, let the plants be the judge. It must be able to accommodate the biggest root ball and still have room for the roots to grow.
However, just remember, you can always slope the substrate to create areas of greater and lesser depth as needed!

Alternatively, if you need to accommodate some larger plants (or simply don’t like the look of rocks at the bottom of your terrarium), you can forego the drainage layer altogether.
You’ll need a mix that has the right amount of drainage and support for plants – both nutritionally and physically – but it’s arguably more naturally aesthetic.
There’s the argument that once you have the watering down to a tee, you don’t really need a drainage layer. Some go so far as saying that if you already have water pooling in a drainage layer, it’s already too late…
Personally, I see a drainage system as a helpful fail-safe. I think if you’re new to terrariums, they can absolutely provide some helpful reassurances and opportunities for unique designs. Everything is an experiment!
Next, we’re onto the more dynamic parts of how to make a terrarium.
5 | The Hardscape
In the art of terrarium building, hardscape is a term for the tough, physical elements that you might add.
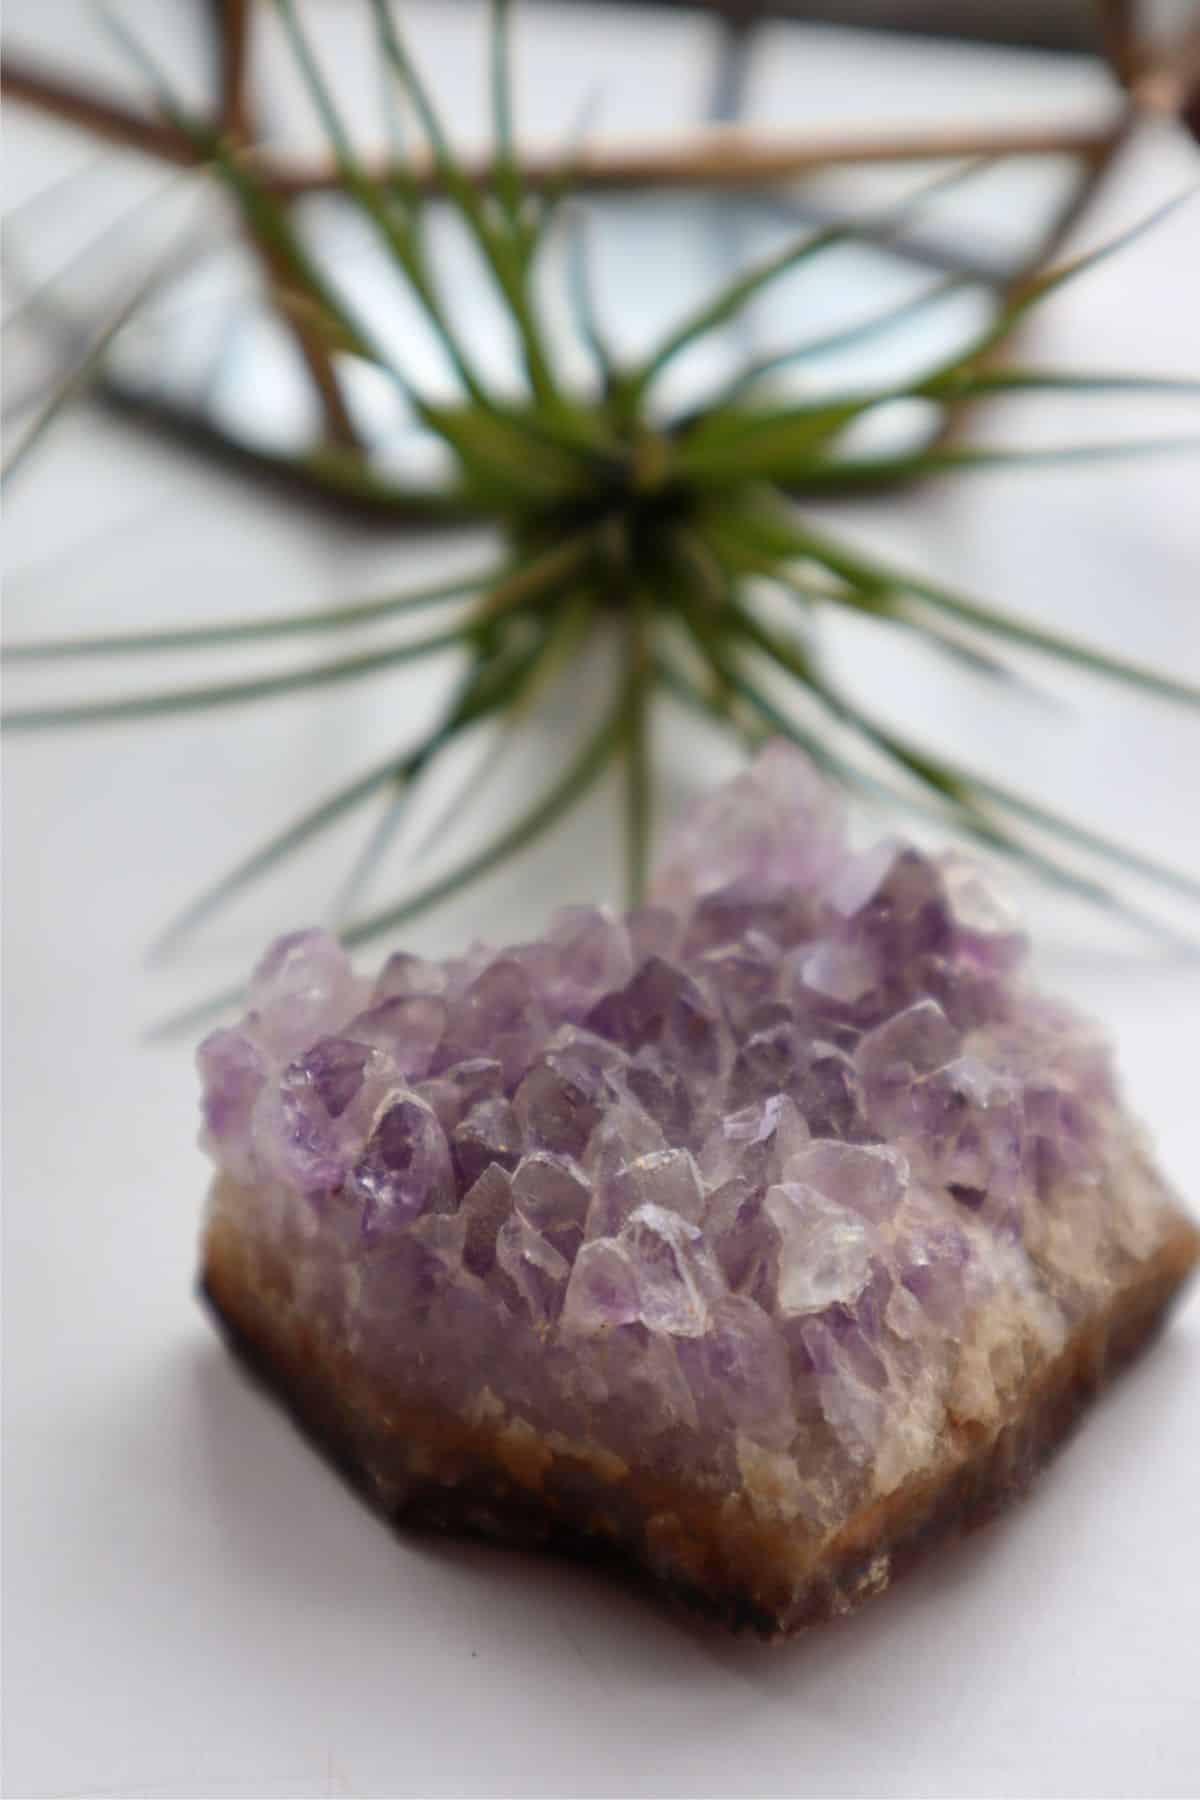
Decorative rocks (e.g., Dragon Stone) and driftwood branches (e.g., Manzanita Wood) are the most common kinds, but the likes of crystals and pebbles would fall into this category too.
Hardscape isn’t used in every build, but it can elevate a terrarium in a variety of ways:
- Helps build a solid base – embedding large physical objects in the substrate can really help to stabilize it, especially if it’s uneven (if you’re making a higher background, for example).
- Create a sense of depth – you can physically manipulate the terrarium landscape, using scale and focal points to create a sense of depth. Adding a large object at the front and smaller ones at the back is one way to do this.
- 3D planting opportunities – rocks and branches are able to comfortably grow a variety of plant species on them. This allows for much more creative expression in how you plant your terrariums.
- Pure decoration – if nothing else, hardscape is beautiful unto itself, and can often be a prime feature on its own.
Hardscape elements should generally be added straight after the substrate, as they’re often the main feature, but also because their addition can alter the landscape so much.
There’s no point spending hours creating a beautiful green landscape only to have it warped by a large stone.

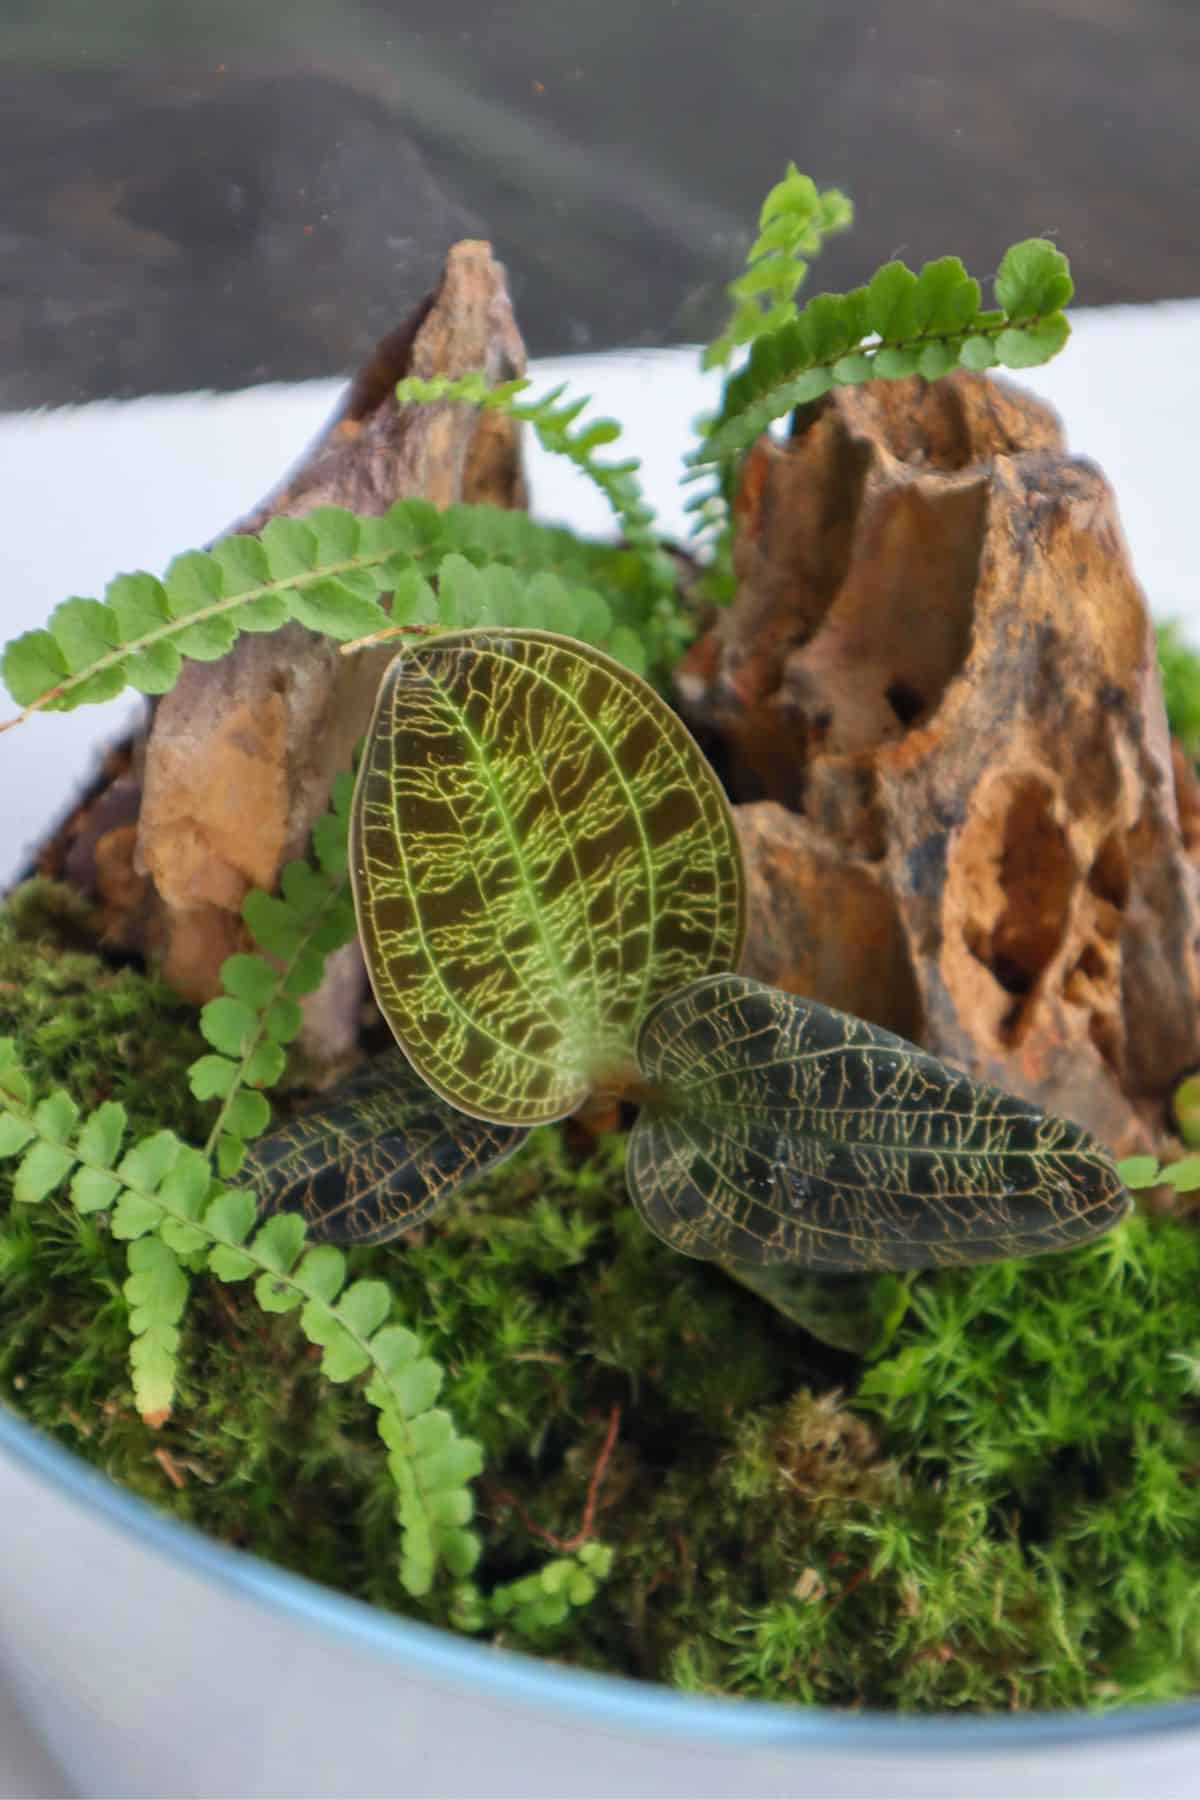
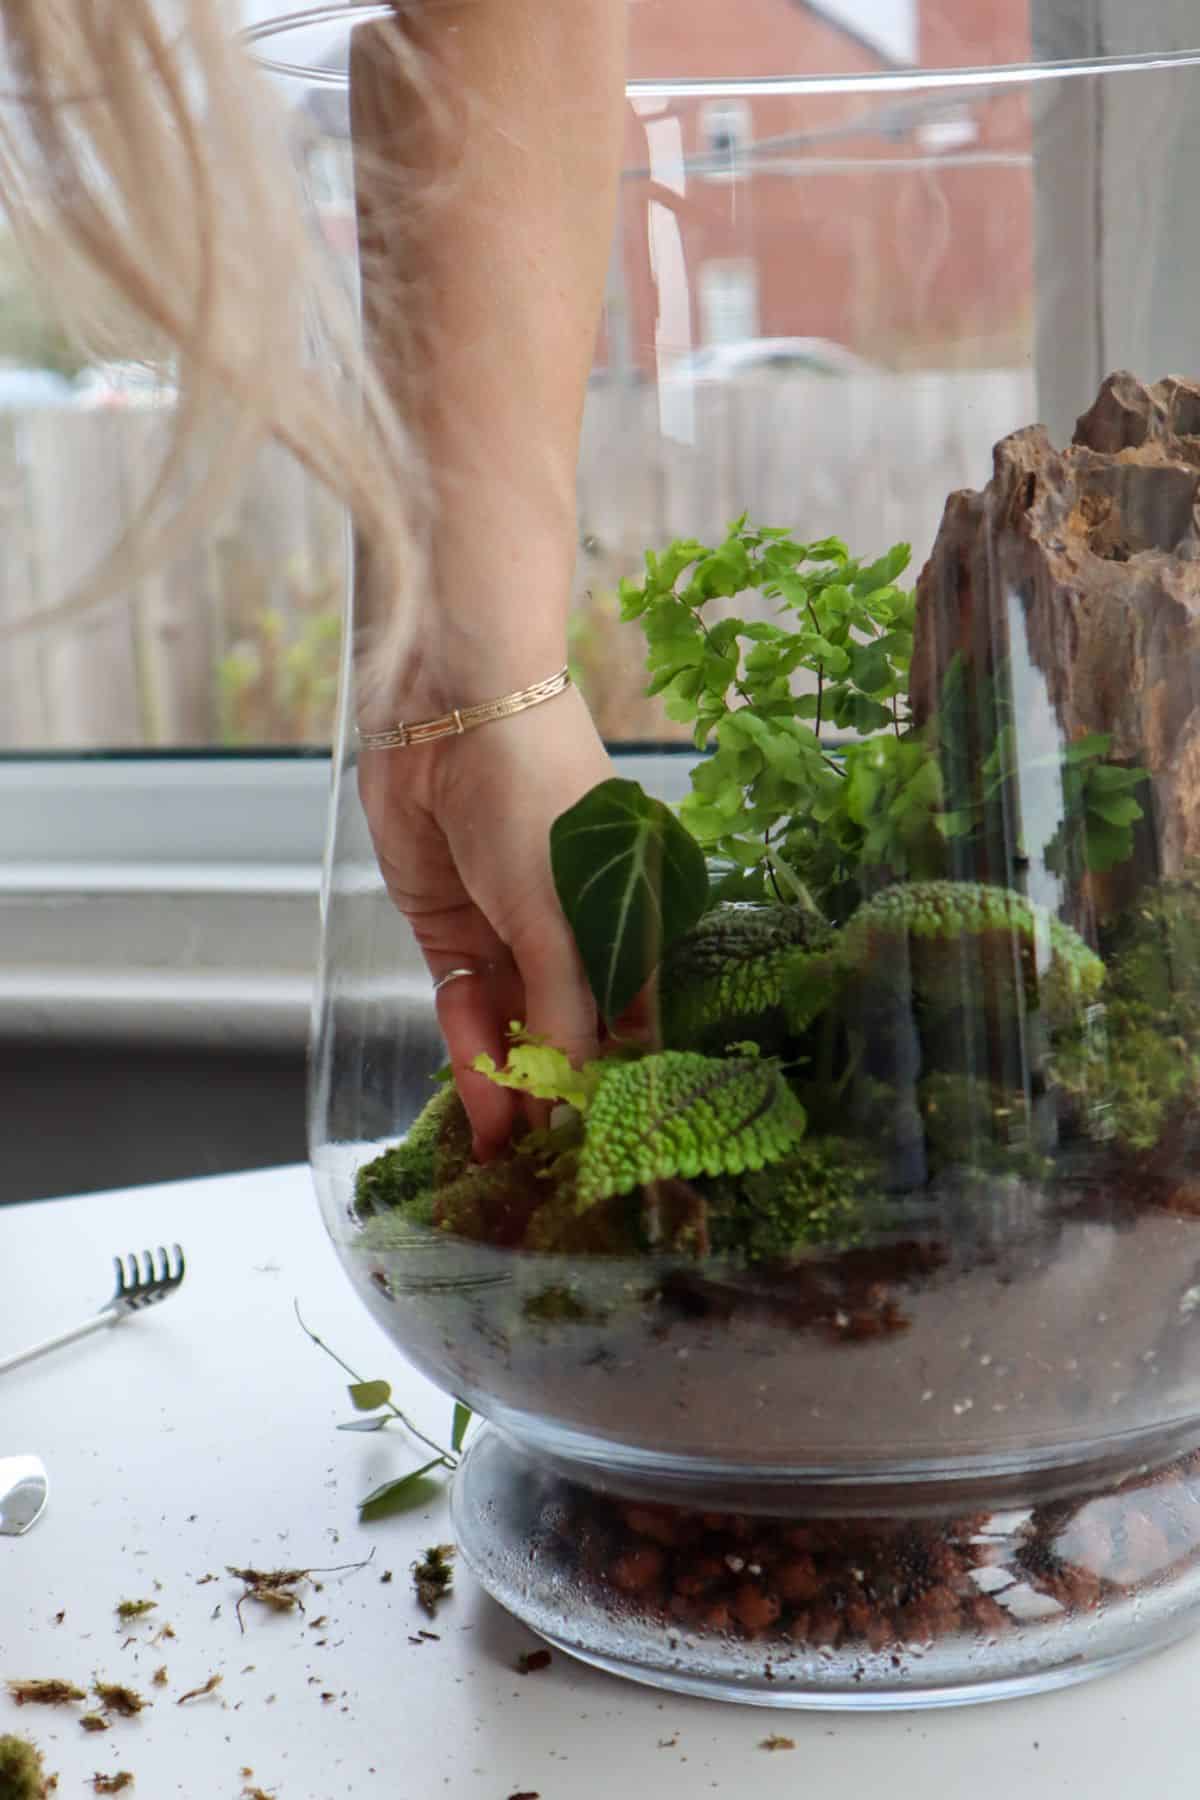
6 | The Plants
You’ll generally want to start planting with your biggest and most important plants.
Not just because bigger plants will be harder to place when your terrarium is full, but also because your feature plants should take priority in the best viewing spots.
Mosses typically come last because they’re primarily there to cover exposed earth for a more natural look, and you don’t know what’s left exposed till the end. Right?
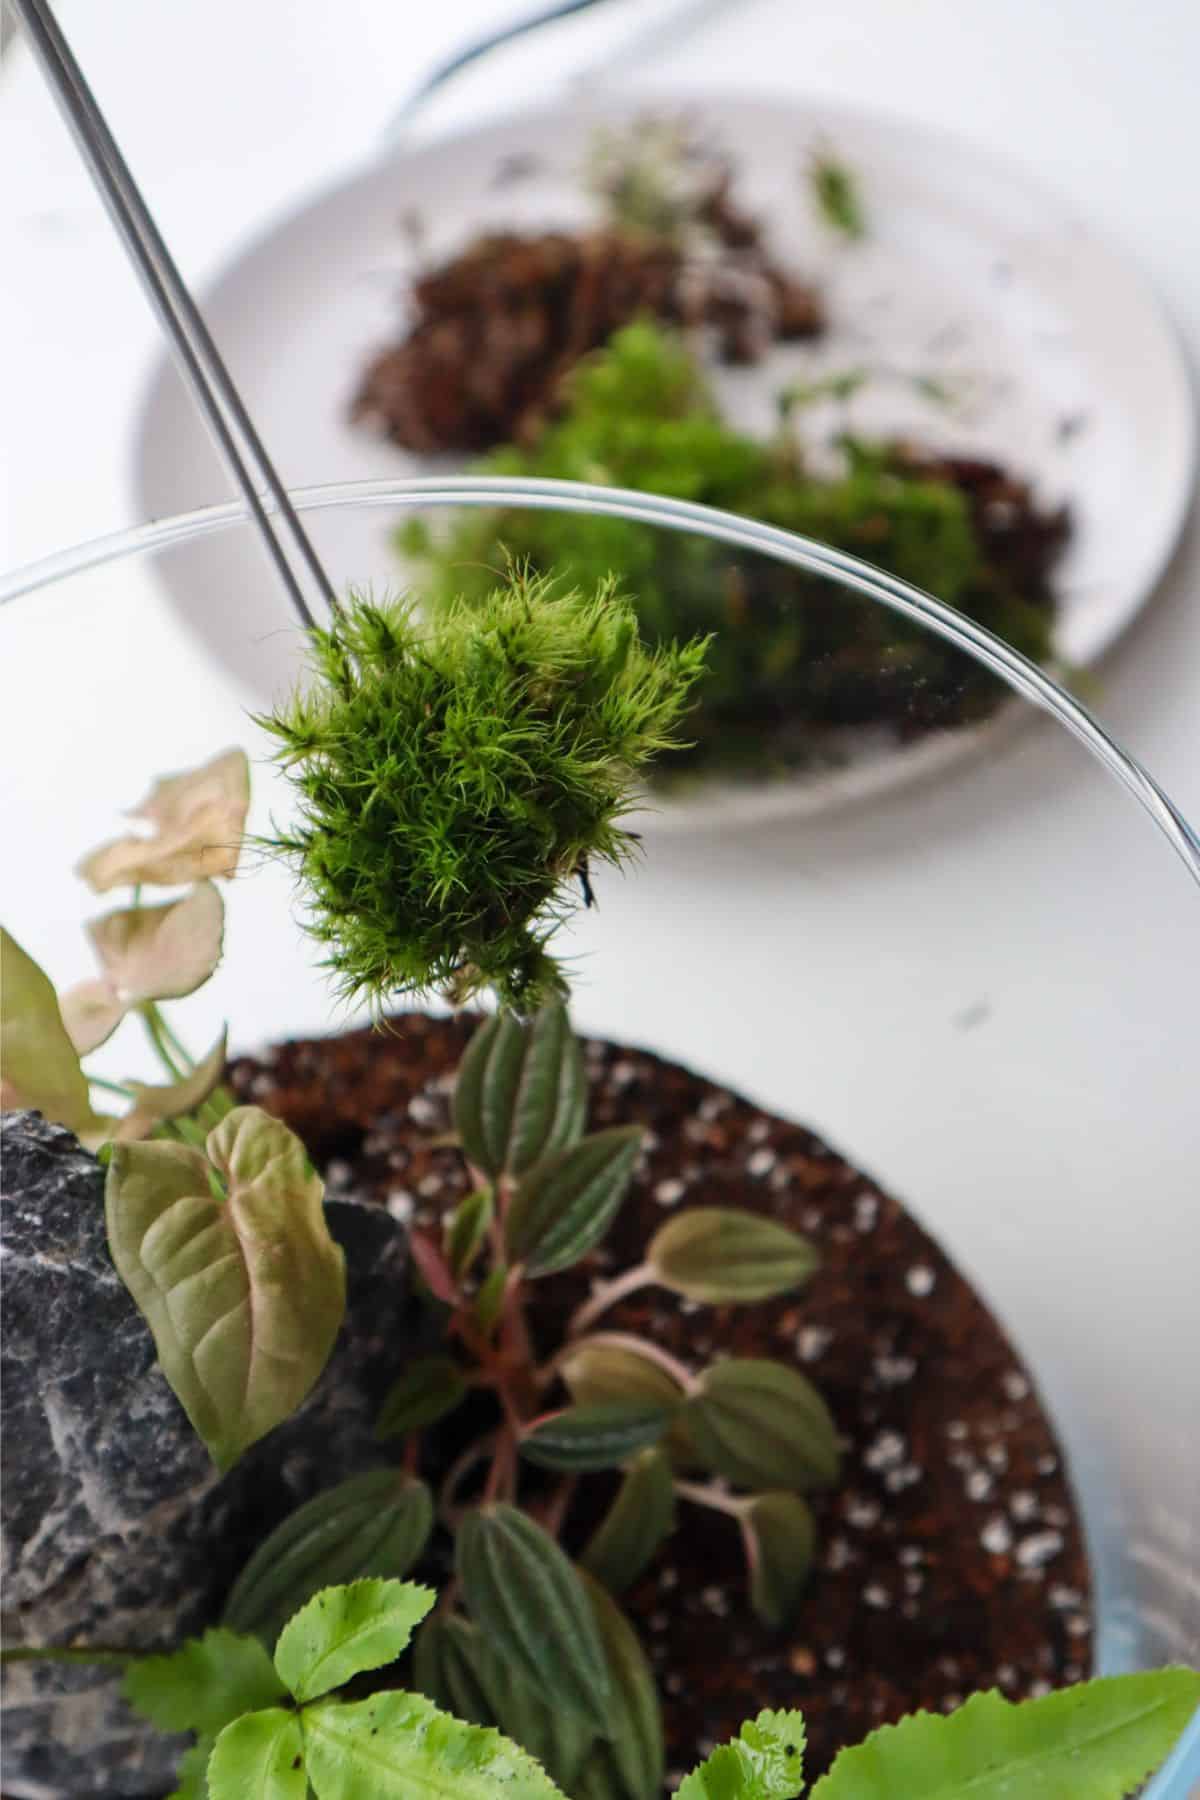
Generally, moss is great for pulling together the final look. Different mosses are better for different things, and often a mix of species is best to achieve a diverse, natural look.
If you have opted for some wonderful driftwood additions, now is the time to attach any epiphytic plants you might have.
Semi-aquatic ferns and miniature vines are great options for a tropical closed terrarium (though air plants need some occasional airflow).
7 | Final Decorations
It’s entirely up to you how you decorate your terrarium and what you use to do it.
Whether you prefer to preserve the pristine plant environment or you want to construct an entire Jurassic Park set with dinosaur figurines (a solid choice), it’s your decision.
Common ways to add decorative layers are by covering the soil with decorative stones and seashells, placing figurines amongst the plants, or even adding waterfall features.
*One thing to note is that you’ll definitely want non-reactive decorations.
Bringing It All Together
Layering isn’t about following a rigid formula. It’s about understanding what each layer is doing.
Once you know how moisture moves through a sealed setup and why roots need both air and support, the order starts to make intuitive sense. From there, you can adjust thickness, experiment with materials, or simplify where it suits your build.
If you’re planning a full enclosed setup from scratch, it helps to see how all of these structural pieces fit into a complete closed terrarium build.
Just made my first Terrarium in a Demijohn. Waiting to see the outcome. Not yet decorated and sealed.
Congrats, you must like a challenge if you’re trying a demijohn first!
Hi thank you for the helpful advice.
Love to see pics… and know how much medium and such you used. What plants did you select… I’ve just acquired two demijohns… and looking to turn one into a terrarium…
Enjoy the content
I’ve been making terrariums for my wife’s business for about 2 years now and it’s been a learning curve! I personally prefer to layer using a gravel drainage bottom layer, a good layer of activated charcoal, then substrate, I also build up layers of sand and fine gravel as I build up, makes the terrarium look like it’s been perfectly dug out of the ground with geological looking lines in the substrate. I have also just introduced tropical isopods and springtails for the ultimate self sustainable biosphere. Its so rewarding mentally and of course its awesome when you get great feedback from customers. Thoroughly enjoyed your article!! 👍
Absolutely, there’s definitely an art to layering up that I haven’t quite mastered yet! It’s great to hear you’re finding such success with terrariums Daniel. 😀
How thick should the layer of gravel be?
Hi Madeline, there’s no ideal number per se – it’s going to depend on your container and design – but I usually aim for about 1-2 inches.
Thanks for all your helpful information!
Hi! Should the sphagnum moss be alive or dried?
Dried is the default choice for inner layers. Live moss will likely still work, but it’ll probably, you know, grow.
Hi! Thank you for posting this article, it’s very informative. I was wondering if you can plant ferns in a closed terrarium, and if so, do you have any paticular species reccomendations? Thank you!
Absolutely – ferns are great choices. Check out our minature ferns and terrarium ferns guides.